
Home
Pregnancy, Breastfeeding, and Pumping: The Ultimate Guide for Moms
How to Put on Wearable Breast Pump: A Step-by-Step Guide
How to Put on Wearable Breast Pump: A Step-by-Step Guide
Wearable breast pumps have revolutionized the way mothers express milk, offering convenience and discretion. However, knowing how to put on a wearable breast pump correctly is essential for maximizing comfort and efficiency. This guide will walk you through the process step by step, ensuring you get the most out of your pumping sessions.
Understanding Your Wearable Breast Pump
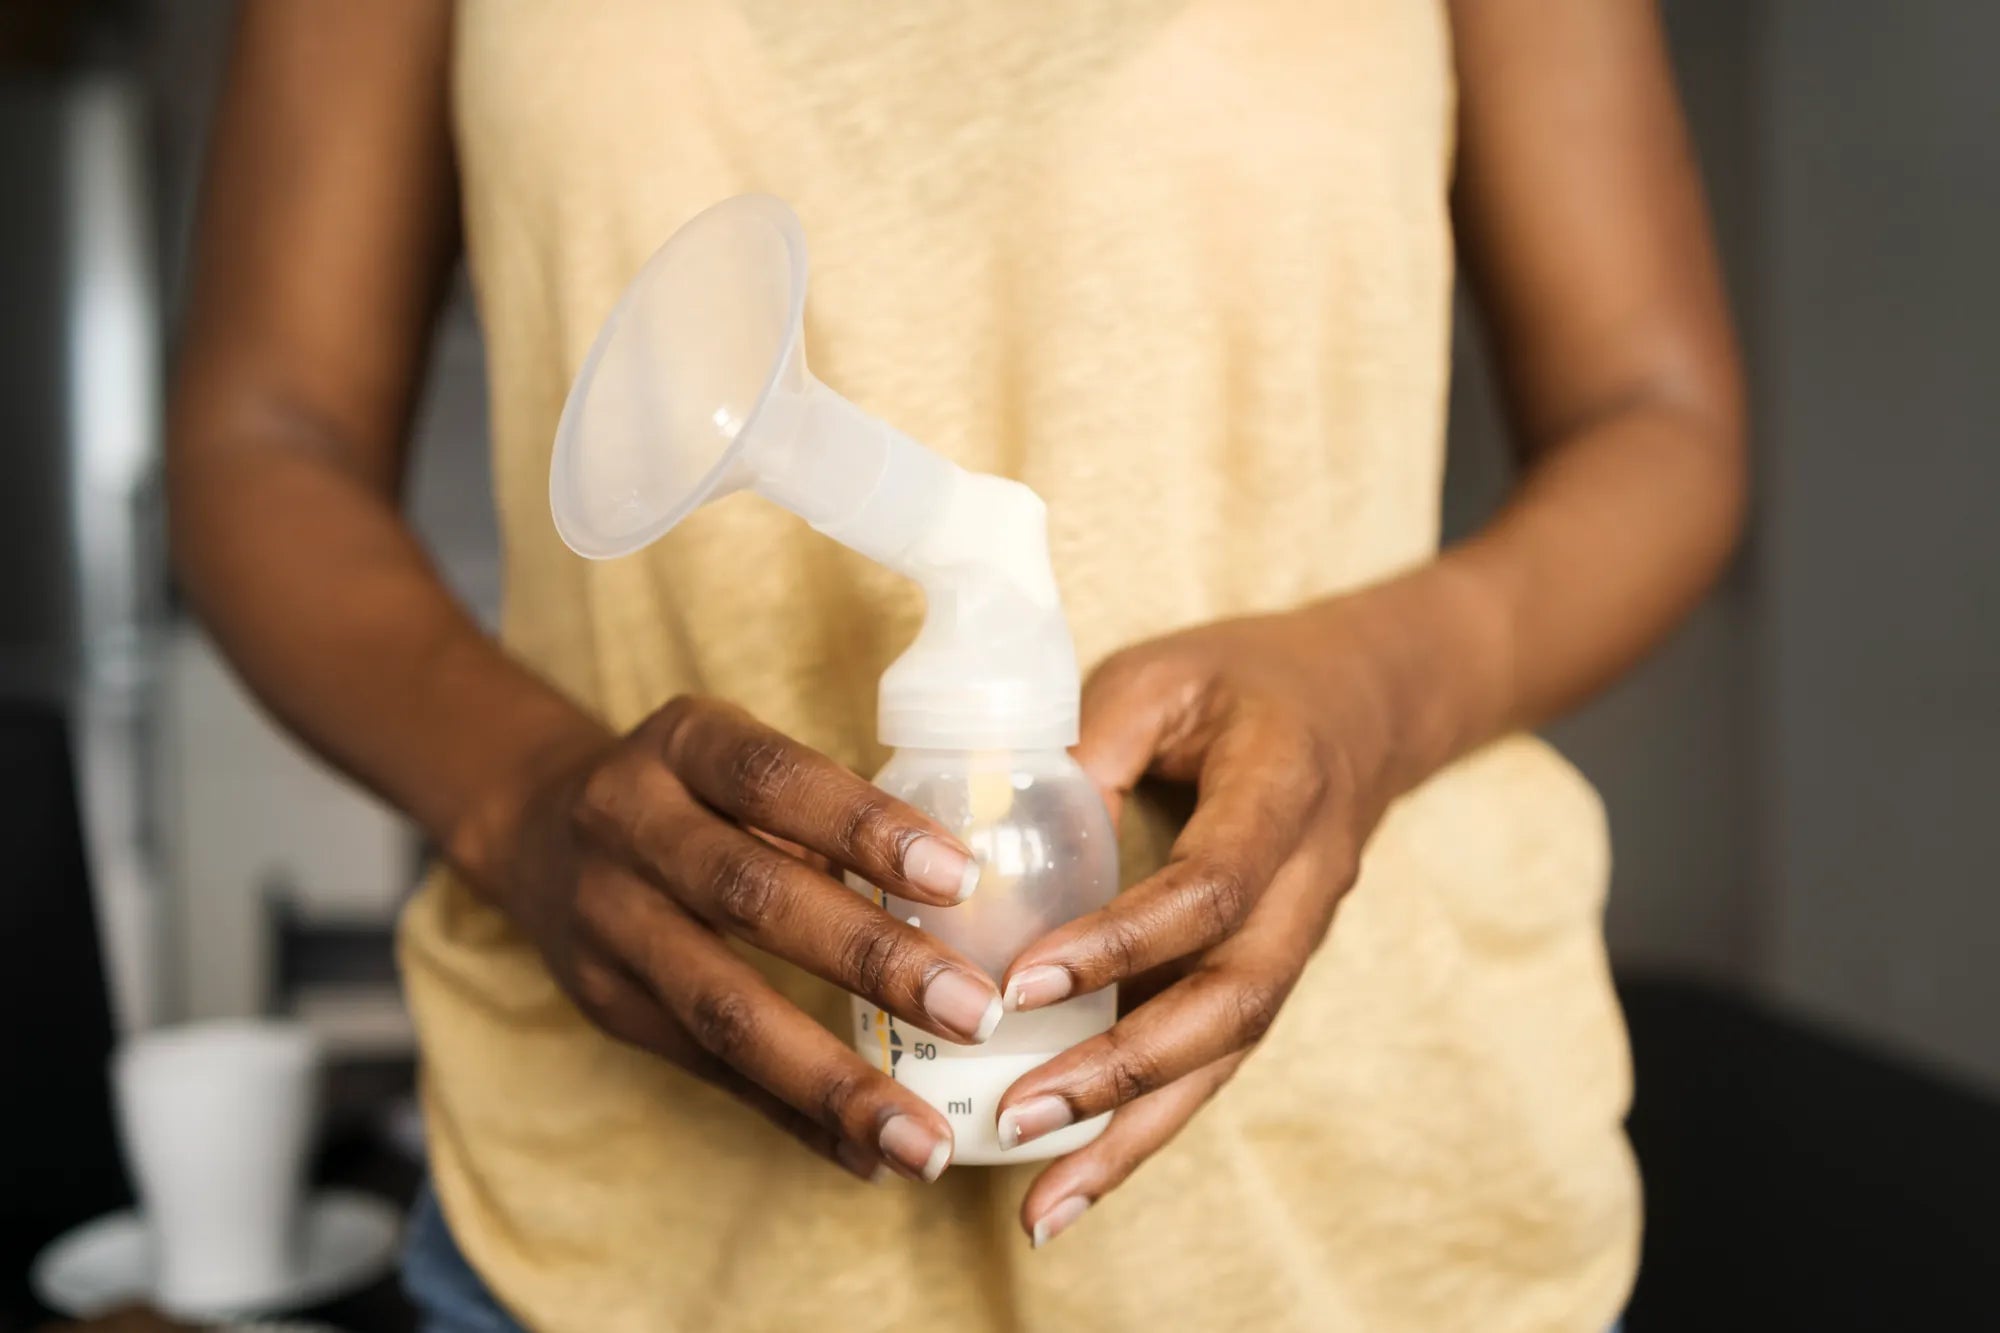
Before diving into the steps, it's crucial to familiarize yourself with the components of your wearable breast pump. Typically, these devices consist of a pump unit, breast shields, collection bottles, and a power source. Understanding how these parts work together will make the setup process smoother.
Step 1: Assemble the Components
Start by assembling all the necessary components. Ensure that the breast shields are securely attached to the pump unit and that the collection bottles are properly fitted. Double-check that all connections are tight to prevent leaks during use.
Step 2: Position the Breast Shields
Proper positioning of the breast shields is vital for effective pumping. Place the shields over your nipples, ensuring they are centered and snug. Adjust the fit as needed to avoid discomfort or pinching.
Step 3: Secure the Pump Unit
Once the breast shields are in place, secure the pump unit to your body. Most wearable breast pumps come with adjustable straps or bands to ensure a snug fit. Make sure the unit is positioned comfortably and doesn't shift during use.
Step 4: Power On the Pump
Turn on the pump and select your desired settings. Start with a lower suction level and gradually increase it to a comfortable intensity. Pay attention to how your body responds and adjust the settings as needed.
Step 5: Begin Pumping
With everything in place, begin your pumping session. Stay relaxed and monitor the process to ensure everything is functioning correctly. If you experience any discomfort, stop and readjust the components.
Step 6: Monitor Milk Flow
Keep an eye on the milk flow into the collection bottles. If you notice a decrease in flow, check the positioning of the breast shields and pump unit. Proper alignment is key to efficient milk expression.
Step 7: End the Session
Once you've finished pumping, turn off the device and carefully remove the pump unit. Detach the collection bottles and store the milk as needed. Clean all components thoroughly to maintain hygiene.
Tips for a Comfortable Experience
To enhance your pumping experience, consider the following tips:
- Use a hands-free pumping bra for added support.
- Find a quiet, comfortable space to pump.
- Stay hydrated and maintain a healthy diet to support milk production.
- Take breaks if needed to avoid fatigue.
Troubleshooting Common Issues
If you encounter any issues while using your wearable breast pump, here are some common solutions:
- Leaks: Check all connections and ensure they are tight.
- Discomfort: Adjust the breast shields and pump unit for a better fit.
- Low Milk Flow: Ensure proper alignment and consider increasing suction gradually.
Maintaining Your Wearable Breast Pump
Regular maintenance is essential for the longevity and performance of your wearable breast pump. Clean all components after each use and inspect them for wear and tear. Replace any damaged parts promptly to ensure optimal functionality.
Mastering how to put on a wearable breast pump can make your pumping journey more comfortable and efficient. With the right techniques and a bit of practice, you'll be able to express milk with ease and confidence. Embrace the convenience of wearable technology and enjoy a smoother breastfeeding experience.
Share