


Home
Pregnancy, Breastfeeding, and Pumping: The Ultimate Guide for Moms
How to Get Water Out of Breast Pump Tubes: A Comprehensive Guide for Moms
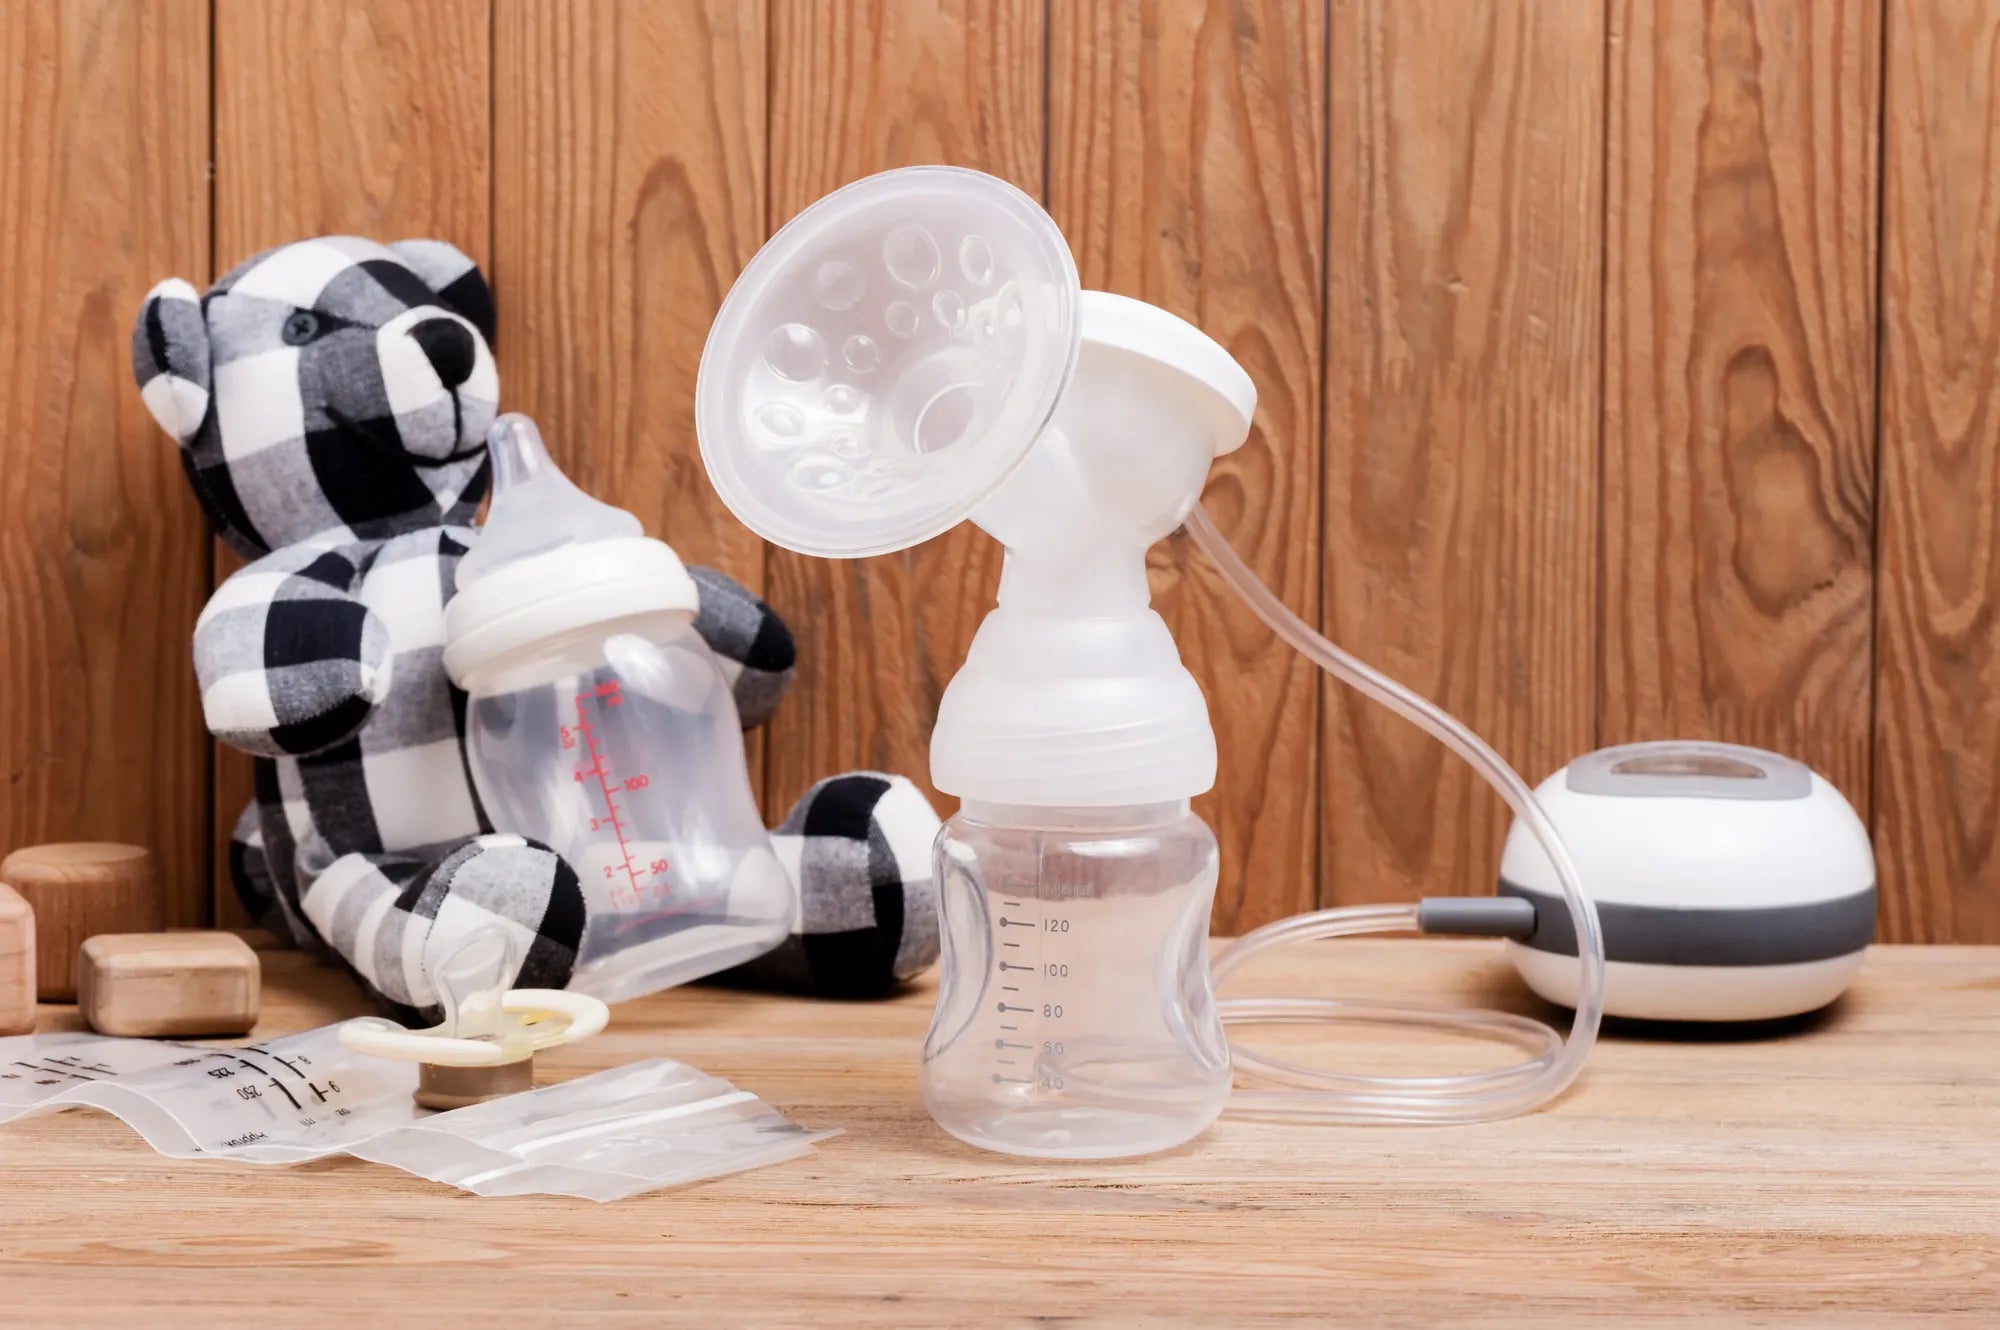
How to Get Water Out of Breast Pump Tubes: A Comprehensive Guide for Moms
Introduction: Why Dry Tubes Are Critical for Pumping Success and Safety
Finding water in your breast pump tubes is a common, yet frustrating, experience for many pumping mothers. It's more than just a minor inconvenience—it's a potential risk to your pump's performance and, more importantly, to your baby's health. Moisture trapped in tubing creates a perfect environment for mold and bacterial growth, which can contaminate your expressed milk. Furthermore, water droplets can disrupt the critical vacuum seal, leading to a noticeable loss of suction and reduced milk output.
This comprehensive guide will walk you through exactly how to get water out of breast pump tubes safely and effectively. You'll learn multiple removal techniques, crucial mistakes to avoid, and, most importantly, how to prevent moisture buildup in the first place. As a trusted brand in maternal care, MomMed is committed to empowering your breastfeeding journey with reliable, innovative products and the knowledge to use them confidently.
Understanding proper pump maintenance is part of ensuring a comfortable and successful experience. Whether you use a traditional electric pump or a hands-free wearable like the MomMed S21, keeping components dry is non-negotiable for hygiene and efficiency.
Understanding the Problem: The Science of Moisture in Pump Tubing
To effectively solve the problem, it's helpful to know why it happens. Moisture inside breast pump tubing is almost always due to condensation, not a leak. This occurs when warm, humid air from your body and the freshly expressed milk meets the cooler interior of the plastic tubing. The temperature difference causes the water vapor in the air to turn into liquid droplets on the tube walls.
Another common cause is backflow or overflow. If your collection bottle overfills or if milk backs up from the flange due to a poor seal or sudden movement, liquid can travel up into the tubing. This is why it's vital to monitor your bottles and ensure all connections are tight before starting a pumping session.
Improper cleaning and drying techniques also contribute. Rinsing tubing or failing to let all pump parts air-dry completely before storage traps moisture. It's a routine issue, not a reflection on your care, but one that requires a consistent and correct approach to manage.
Your Step-by-Step Guide to Removing Water from Tubes
When you spot moisture, act promptly. The method you choose depends on how much water is present and your available tools. Always start with the simplest technique.
Method 1: The Air-Dry Technique (Best for Prevention and Light Moisture)
This is your first and best defense. Immediately after pumping, disconnect the tubing from both the pump and the collection bottles or flanges. Shake the tubes gently to dislodge any large droplets.
Hang the tubes in a clean, dry, well-ventilated area. A shower curtain rod, a dedicated drying rack, or even a clothes hanger in a low-dust environment works perfectly. Ensure both ends are open and pointing downward to allow gravity to assist.
Let the tubes air-dry completely for at least 4-6 hours, or ideally overnight. This method requires patience but is the safest, as it introduces no foreign objects or force that could damage the tubing. Make this a non-negotiable part of your post-pumping routine.
Method 2: The Swinging Method (For Visible Droplets and Light Condensation)
If you need to use your pump again soon and see visible water beads, the swinging method can help. First, ensure the tubes are disconnected from all other pump parts. Hold one end of the tube securely in your hand.
Stand in an open space, like a bathroom or outdoors, and gently swing the tube in a wide, vertical circle. The centrifugal force will push the water droplets toward the open end and out. Be gentle—vigorous swinging can stress the tubing connections.
Safety Tip: Always swing away from your face, other people, and breakable objects. Do this for 30-60 seconds, then inspect the tube. You may need to repeat from the other end. Follow up with air-drying to ensure no residual humidity remains.
Method 3: Using a Syringe or Turkey Baster (For Stubborn Moisture)
For moisture that won't budge with swinging, a clean, dry tool can inject air to push it out. Use a large medical syringe (without a needle) or a brand-new turkey baster reserved solely for pump care.
Insert the tip of the syringe or baster snugly into one end of the disconnected tube. Point the other end of the tube downward into a sink or towel. Slowly and steadily depress the plunger to force a stream of clean, dry air through the tube.
This pressurized air should displace the water. You may need to do this from both ends. Afterward, still allow the tube to air-dry as described in Method 1 to handle any remaining humidity. Never use your mouth to blow into the tubes, as this introduces bacteria.
Method 4: The "Pump Assist" Method (A Careful Last Resort)
If other methods fail and your pump motor is designed for it, you can use the pump itself to draw air through the tubes. This is a last resort due to potential motor strain. First, ensure the tubes are completely disconnected from bottles, flanges, and backflow protectors.
Connect only the clean, dry ends of the tubing directly to the pump ports. Place the other open ends of the tubes in a clean, dry area. Turn the pump on to the lowest possible suction setting in expression mode.
Let it run for no more than 2-3 minutes. The pump's suction will pull ambient air through the tubes, helping to evaporate and remove moisture. Critical Warning: Never run the pump for extended periods without the collection system attached, as this can overwork the motor. Always consult your pump's manual first.
What NOT to Do: Critical Mistakes That Can Ruin Your Pump or Harm Your Baby
In your urgency to dry the tubes, avoid these common but damaging mistakes. They can compromise your pump's function, introduce contaminants, or create safety hazards.
Never blow into the tubes with your mouth. Your breath contains bacteria and microbes that can contaminate the tubing. This moisture and bacteria can then be pulled into your pump motor or, in a worst-case scenario, into your milk during your next session.
Avoid inserting anything absorbent. Do not try to thread a paper towel, cotton swab, or piece of cloth through the tubing to soak up water. These materials can leave behind lint, fibers, or even fragments inside the tube, which can then be inhaled by the pump motor or enter the milk pathway.
Steer clear of direct heat sources. Do not use a hair dryer, microwave, oven, or radiator to dry the tubes. Excessive heat can warp, melt, or weaken the plastic and silicone, damaging their integrity and creating leaks. It can also be a fire hazard.
Never store tubes while damp. Sealing slightly damp tubes in a bag or drawer is the fastest way to encourage mold growth. Always, without exception, ensure tubes are bone-dry before storage.
<Prevention is Key: Proactive Habits to Keep Your MomMed Pump Tubes Dry
The best strategy is to stop moisture before it starts. Implementing these habits will save you time and worry, and extend the life of your pump parts, whether you use a MomMed Swing electric pump or a wearable model.
First, ensure a tight seal before pumping. Double-check that all connections—from flange to bottle to tubing to pump—are clicked in firmly. A loose connection is a prime entry point for moist air and a cause of backflow.
Second, manage temperature differentials. If your flanges and bottles are cold from the fridge or washing, let them come closer to room temperature before attaching them to your warm body. This reduces the immediate condensation that forms when warm, moist air hits a cold surface.
Third, establish a flawless cleaning routine. Wash all washable parts (per your manual's instructions) immediately after use. For tubing, unless specified as washable (like some MomMed closed-system designs), avoid getting water inside. Instead, focus on hanging them to dry in an open air flow. A dedicated drying rack for pump parts is a worthwhile investment.
Finally, inspect regularly. Before each use, hold your tubes up to the light and check for any moisture droplets or, worse, signs of mold (black or pink specks). Catching issues early is the cornerstone of prevention.
Troubleshooting & FAQ: Your Top Questions Answered
Here are clear, actionable answers to the most common questions about breast pump tube moisture.
Q1: What should I do if I see mold or mildew inside the tubing?
A: If you see any visible mold, you must replace the tubing immediately. Mold spores cannot be safely removed from the interior of long, narrow tubes. Using moldy tubing risks contaminating your milk and causing illness. MomMed offers replacement tubing sets that are BPA-free and compatible with our pumps, ensuring a perfect fit and continued safety.
Q2: Can I wash my breast pump tubes in the sink or dishwasher?
A: Generally, no. Most standard breast pump tubing is not designed to be washed, as submerging it forces water inside that is nearly impossible to fully dry, leading to mold. However, always check your specific pump manual. Some closed-system pumps, including certain MomMed models, have designed their tubing or use protective membranes to prevent milk backflow, which may have different care instructions. When in doubt, avoid washing the tubes.
Q3: Why does my pump seem less powerful? Could wet tubes be the cause?
A> Absolutely. Water droplets inside the tubing disrupt the airtight vacuum seal the pump creates. This loss of suction directly translates to weaker pull and less efficient milk removal, which can impact your supply. If you notice a drop in performance, disconnecting and thoroughly drying all tubing is one of the first troubleshooting steps you should take.
Q4: How often should I replace my breast pump tubing?
A: Tubing should be replaced if you see cracks, holes, mold, or permanent moisture stains. Even with perfect care, plastic can degrade over time. A good rule of thumb is to inspect monthly and consider replacing every 3-6 months with regular use to ensure optimal performance and hygiene. Using worn tubing can affect suction.
Q5: Is it safe to use my pump if a little water got into the motor?
A: No. If water has traveled down the tubing and into the pump motor itself, unplug the pump immediately and do not use it. Using an electrical device with internal moisture can cause a short circuit, motor failure, or even an electrical hazard. Contact the manufacturer (MomMed customer support is known for helpful guidance) for instructions. This highlights why preventing backflow and keeping tubes dry is a safety issue.
Comparison of Moisture Removal Methods
| Method | Best For | Time Required | Risk Level | Effectiveness |
|---|---|---|---|---|
| Air-Dry | Prevention & daily drying | 4-8 hours | None | High (with time) |
| Swinging | Visible droplets | 2-5 minutes | Low (if done gently) | Medium-High |
| Syringe/Baster | Stubborn moisture pockets | 5-10 minutes | Low (with clean tools) | High |
| Pump Assist | Last resort, light condensation | 2-3 minutes | Medium (motor strain) | Medium |
| Hair Dryer/Heat | NOT RECOMMENDED | N/A | High (damage/fire) | Unsafe |
Conclusion: Empower Your Pumping Routine with Confidence and Care
Managing moisture in your breast pump tubing is a manageable aspect of your pumping journey when you have the right knowledge. By understanding the causes, mastering safe removal techniques like air-drying and the syringe method, and committing to proactive prevention, you protect your investment, ensure optimal pump performance, and most critically, safeguard your milk's purity for your baby. Remember, consistent care routines are as important as the pump itself.
Your comfort and confidence are paramount. MomMed designs products like the S21 Wearable Breast Pump with these realities in mind, featuring a closed-system design that helps protect against milk backflow into the tubing. However, no system is entirely immune to condensation, making these practices universal. By integrating these steps, you turn a common frustration into a simple, routine part of your day, freeing you to focus on what matters most—nourishing your little one.
Shop the MomMed collection at mommed.com for all your breastfeeding and pregnancy needs, from reliable, hospital-grade pumps and easy-to-clean accessories to supportive nursing bras and accurate pregnancy tests. Let us be your partner in every step of motherhood.