


Home
Pregnancy, Breastfeeding, and Pumping: The Ultimate Guide for Moms
How Do You Feed Pumped Breast Milk: A Comprehensive Guide for Confident Parents
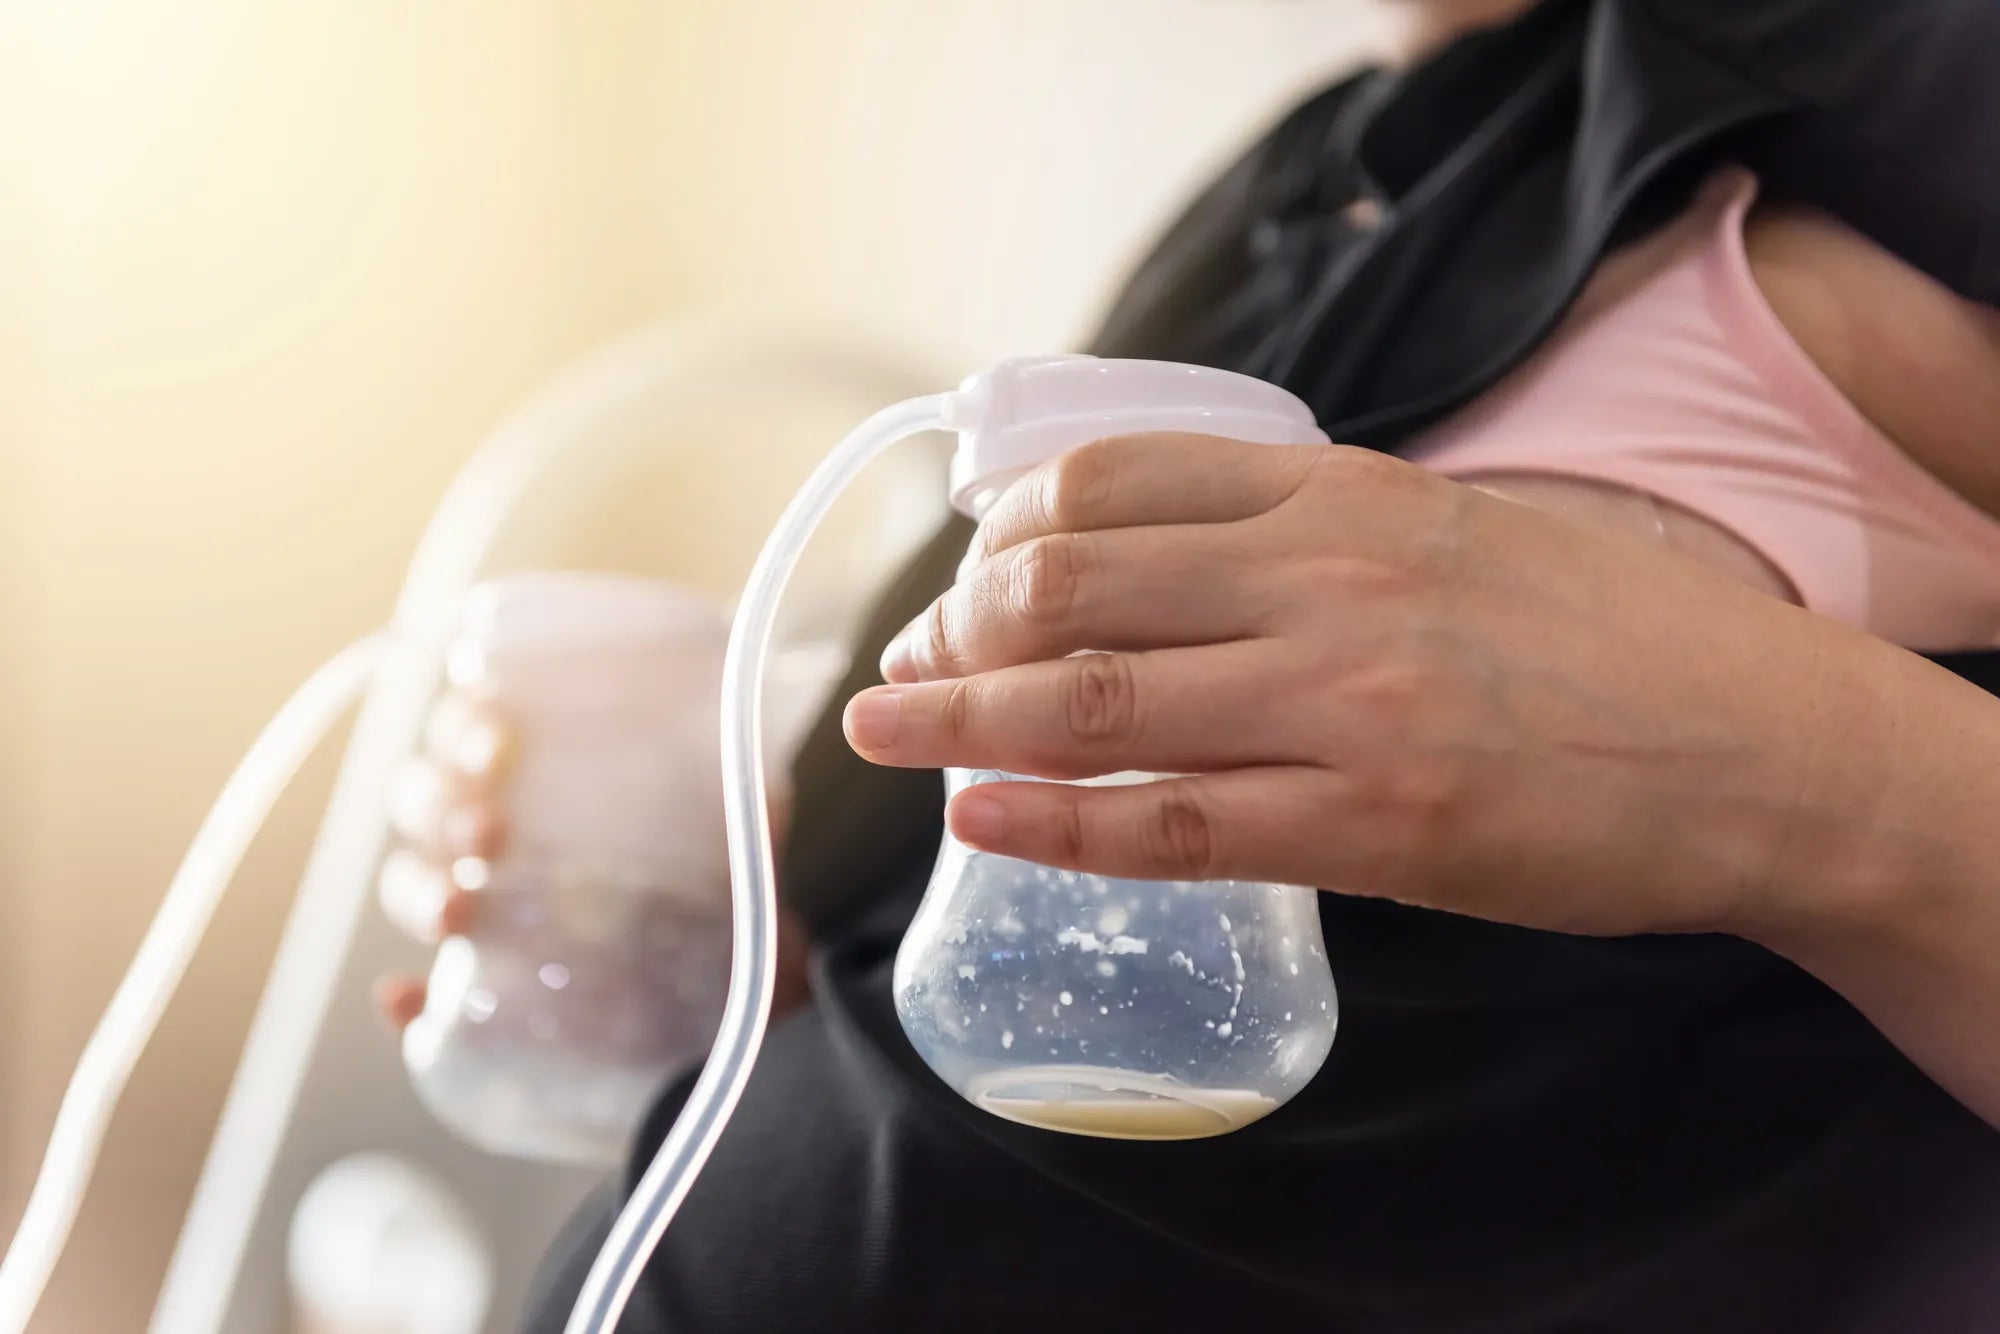
How Do You Feed Pumped Breast Milk: A Comprehensive Guide for Confident Parents
You've dedicated time and effort to expressing your liquid gold. The next, equally crucial step is knowing how to feed pumped breast milk safely and effectively. This comprehensive guide will walk you through every stage, from proper storage protocols to mastering paced bottle-feeding techniques. We'll cover how to preserve nutrients, ensure safety, and foster a positive feeding experience for you and your baby, turning your pumping achievements into successful, nourishing feeds.
Introduction to Feeding Pumped Breast Milk
Pumping breast milk is a significant commitment, representing love, dedication, and often, complex logistics. However, the journey doesn't end at the pump. Knowing how to feed pumped breast milk correctly is essential for your baby's health, your peace of mind, and maintaining your hard-earned milk supply. This process involves a chain of critical steps: proper storage, safe thawing and warming, and responsive feeding methods.
Feeding expressed milk allows for flexibility and enables partners and caregivers to share in the bonding experience of feeding. Yet, it requires specific knowledge to ensure the milk's immunological and nutritional benefits are preserved. Incorrect handling can lead to nutrient degradation, bacterial growth, or feeding difficulties like nipple confusion or overfeeding.
This guide synthesizes recommendations from leading health authorities like the CDC and the Academy of Breastfeeding Medicine with practical tips from lactation consultants. We will demystify the entire process, empowering you to feed your baby with the same confidence as direct breastfeeding. Whether you're returning to work, managing low supply, or simply valuing the flexibility pumping provides, mastering these skills is fundamental.
From the moment you detach the collection bottle, your milk's journey to your baby begins. Let's ensure that journey is seamless, safe, and successful. We'll start with the foundational step that determines everything that follows: storing your milk correctly.
Storing Your Liquid Gold: Best Practices for Freshness & Safety
Proper storage is the cornerstone of feeding pumped breast milk. Adhering to evidence-based guidelines preserves the milk's live cells, antibodies, and nutrients. The core variables are time, temperature, and container type. Following these rules minimizes waste and maximizes safety for your baby.
First, always start with clean hands and pump parts that have been washed and sanitized according to manufacturer guidelines. Label every container with the date and time of expression before you store it. This practice is non-negotiable for implementing the "first in, first out" rule. Use the oldest milk first to maintain freshness.
Storage times vary significantly based on temperature. For freshly expressed milk, the CDC recommends: up to 4 hours at room temperature (up to 77°F or 25°C), up to 4 days in the refrigerator (at 40°F or 4°C or below), and within 6-12 months in a standard freezer (0°F or -18°C). These are conservative guidelines for healthy, full-term infants; for preterm or hospitalized infants, consult your healthcare provider for stricter protocols.
Never store milk in the door of the refrigerator or freezer, where temperatures fluctuate. Place it toward the back, where it's coldest and most stable. If you're transporting milk, use an insulated cooler bag with ice packs. Milk that has been previously frozen and thawed should be used within 24 hours when kept in the refrigerator and should never be refrozen.
Choosing the Right Storage Containers
The container you choose impacts convenience, safety, and space efficiency. The two primary options are pre-sterilized breast milk storage bags and hard-sided containers made of food-grade glass or BPA-free, FDA-approved plastic.
Storage bags are popular for freezing because they are space-efficient. When using bags, squeeze out excess air before sealing to help preserve nutrients and prevent freezer burn. Always place bags upright in a container in the freezer until frozen solid to prevent leaks. However, bags can be more prone to tearing and contamination if not handled carefully.
Hard-sided containers are durable and reusable, making them eco-friendly. Glass containers are easy to clean and don't retain odors or stains. BPA-free plastic bottles are shatterproof and often directly compatible with your pump and bottle system. The key is ensuring the container is intended for food storage and seals tightly. Many pumping systems, like MomMed's kits, include compatible, food-grade storage bottles designed to integrate seamlessly from pump to fridge to feed.
A critical rule: avoid using disposable bottle liners or generic plastic bags not designed for breast milk storage. They are not sturdy enough and may leach chemicals into the milk. Regardless of your choice, never fill a container to the brim; leave about an inch of space to allow for expansion during freezing.
The Thawing & Warming Process: Preserving Nutrients and Safety
Thawing and warming breast milk must be done gently to protect its delicate components. The goal is to bring the milk to a safe, palatable temperature without degrading its nutritional and immunological value. Rushing this process is one of the most common mistakes, potentially harming both the milk and your baby.
The safest method for thawing frozen milk is to plan ahead. Place the frozen container in the refrigerator the night before you need it. It will typically thaw completely in about 12 hours. For a quicker method, hold the sealed container under cool running water, gradually increasing the water temperature to warm. Never use hot water directly on frozen milk, as it can destroy beneficial enzymes and create hot spots.
The absolute rule is to never thaw or warm breast milk in a microwave. Microwaves heat unevenly, creating dangerous "hot spots" that can scald your baby's mouth and throat. They also can break down proteins and damage the live cells and antibodies that make breast milk so valuable. Similarly, avoid placing bottles directly on the stove or in boiling water.
To warm refrigerated (not frozen) milk, place the sealed container in a bowl of warm water or run it under warm tap water for a few minutes. Gently swirl the container to mix the milk, as breast milk naturally separates into a fatty layer and a watery layer. Never shake breast milk vigorously, as this can break down some of its protein structures. The ideal feeding temperature is body temperature, around 98.6°F (37°C). Test the temperature by dripping a few drops on the inside of your wrist; it should feel warm, not hot.
Handling and Using Thawed Milk
Once breast milk has been thawed, its stability window changes. Thawed breast milk (previously frozen) can be kept in the refrigerator for up to 24 hours. It should not be left at room temperature for more than 1-2 hours. This is a stricter guideline than for fresh refrigerated milk because the thawing process can make the milk more susceptible to bacterial growth.
A common question involves milk that has been warmed for a feed. If you warm a bottle and your baby doesn't finish it, it is generally recommended to discard the leftover milk within 2 hours. Do not re-refrigerate or re-warm it. Bacteria from your baby's mouth can contaminate the milk, and repeated temperature changes further degrade quality. To minimize waste, start by warming smaller amounts, such as 2-3 ounces, and prepare more if your baby is still hungry.
You may notice that your thawed milk has a soapy or metallic smell. This is often due to high levels of an enzyme called lipase, which breaks down fats over time. This milk is perfectly safe for your baby to drink, though some may refuse the altered taste. If this is a consistent issue, you can scald freshly expressed milk (heat it until small bubbles form around the edge of the pan, then cool quickly) before freezing to deactivate the lipase enzyme.
Bottle-Feeding Essentials: From Equipment to Technique
Transitioning from breast to bottle involves more than just pouring milk into a container. The right equipment and technique can help prevent bottle preference, reduce gas, and mimic the comforting, responsive experience of breastfeeding. The core philosophy is to make the bottle work for your baby's physiology, not the other way around.
Selecting a bottle and nipple is the first step. Look for bottles with a wide, breast-like base to encourage a wide latch. The nipple flow rate is critical. For a breastfeeding baby, a slow-flow (newborn or size 0/1) nipple is best. This forces the baby to work to draw milk out, similar to the breast, which helps maintain their sucking skills and prevents overfeeding. If the flow is too fast, the baby may develop a preference for the easier bottle, leading to breastfeeding strikes.
The cornerstone of responsive bottle feeding is a method called paced bottle feeding. This technique puts the baby in control of the feeding pace, allowing them to recognize feelings of fullness and reducing the risk of overfeeding, reflux, and gas. It's the single most important skill a parent or caregiver can learn when feeding pumped milk to a breastfed baby.
Hold your baby in a semi-upright position, supporting their head and neck. Avoid laying them flat. Hold the bottle horizontally, parallel to the floor, so only the nipple is filled with milk, not the entire teat. This allows the baby to use suction to draw milk out, rather than having it flow freely via gravity. Encourage the baby to root and open wide to latch onto the nipple, just as they would at the breast.
The Step-by-Step Guide to Paced Bottle Feeding
1. Initiate the Feed: Gently stroke the nipple from the baby's nose to lips to trigger a wide, deep latch. Ensure their lips are flanged out on the wide base of the nipple.
2. Control the Flow: Hold the bottle horizontally. Periodically tip it down or remove it briefly to stop the flow, mimicking the natural pauses that occur during breastfeeding when milk flow slows. This gives the baby a chance to breathe and sense satiety.
3. Follow the Baby's Cues: Watch for signs of swallowing and breathing. Allow the baby to take breaks naturally. You can also initiate breaks every 101-20 seconds or after every 5-10 sucks by tilting the bottle down, which pauses the flow. This is called "pacing."
4. Encourage Bonding: Maintain eye contact, switch sides halfway through the feed (just as you would when nursing), and use the time for skin-to-skin cuddling. This makes bottle feeding a nurturing, relational experience, not just a mechanical transfer of milk.
5. Recognize Fullness: Watch for signs your baby is full: turning head away, closing mouth, falling asleep, or becoming distracted. Never force a baby to finish a bottle. Respecting these cues is vital for healthy self-regulation.
On-the-Go Feeding: Tips for Mobility and Convenience
Life doesn't stop when you're pumping, and neither do feedings. Successfully feeding pumped breast milk outside the home requires planning and the right gear. Whether it's a trip to the park, a return to work, or a weekend getaway, a solid strategy ensures your baby is fed safely and you are stress-free.
Your essential toolkit includes an insulated cooler bag and reliable ice packs. For a short outing, freshly expressed milk can stay in a cooler with ice packs for up to 24 hours. For longer trips, you may need access to a refrigerator. Portion your milk strategically. Instead of carrying one large container, pack milk in single-serving amounts (e.g., 3-4 oz bags or bottles) to avoid thawing or warming more than you need at one time.
When you need to feed, find a comfortable, quiet spot. Use a bottle with an insulated sleeve to help maintain temperature during the feed. If you need to warm a bottle on the go, you can request a cup of warm water at a café or use a portable bottle warmer. Remember the "swirl, don't shake" rule, even when you're out and about.
Modern wearable pump technology has revolutionized on-the-go milk collection, making it easier to maintain your supply while mobile. A quiet, efficient, and comfortable pump like the MomMed S21 Double Wearable Breast Pump allows you to express discreetly without being tethered to an outlet, seamlessly integrating pumping into a busy schedule and ensuring you have milk ready for those out-of-home feeds.
Navigating Daycare or Caregiver Handoffs
Clear communication and preparation are key when someone else will be feeding your baby. Provide a detailed written guide, even if you've explained it verbally. This should include your preferred paced feeding technique, hunger and fullness cues, and warming instructions.
Prepare bottles or bagged milk clearly labeled with your baby's name, the date the milk was expressed, and the volume. Many daycares require bottles to be prepared with the nipple and ring attached but the cap/seal on. Send only the amount needed for the day plus one extra feed, in case of delays. Educate caregivers on the importance of not forcing the baby to finish a bottle.
Discuss your policy on leftover milk. Most experts recommend that any milk left in a bottle after a feed be discarded. Provide small bottles (e.g., 2-3 oz initially) to minimize waste. A clear handoff routine builds trust and ensures your baby's feeding experience remains consistent, whether in your arms or a caregiver's.
Mixing, Combining, and Managing Your Milk Supply
Managing a stash of pumped milk involves logistical questions about combining milk from different sessions. Doing this correctly ensures safety and maximizes your stored supply. The guiding principle is to combine milk of the same temperature to avoid partially warming or cooling batches.
You can combine milk pumped at different times on the same day. Cool freshly expressed milk in the refrigerator for about 30-60 minutes, then you can add it to a container of already cooled milk from earlier that day. Always label the container with the date of the oldest milk in the batch. This practice helps you pool smaller amounts to create full feeds.
Avoid adding warm, freshly pumped milk directly to a container of already frozen milk, as it can cause partial thawing of the frozen portion. Instead, chill the new milk first. Similarly, do not combine thawed milk with fresh milk unless you plan to use the mixture immediately, as it will adopt the shorter shelf life of the thawed milk.
Maintaining your milk supply while bottle-feeding requires consistency. Pumping should generally mirror your baby's feeding schedule to signal your body to continue producing milk. If you are exclusively pumping, most lactation consultants recommend pumping 8-12 times in 24 hours in the early months. Using an efficient, comfortable pump is non-negotiable for supply maintenance. MomMed pumps, designed with hospital-grade suction and multiple stimulation modes, are engineered to effectively remove milk, which is the primary driver of ongoing supply.
Addressing Common Challenges and Concerns
Even with perfect technique, challenges can arise. Being prepared with solutions helps you navigate them calmly. Common issues include bottle refusal, concerns about milk appearance, and managing feeding with a high lipase milk supply.
Bottle Refusal: Some breastfed babies initially reject bottles. Try having someone other than the breastfeeding parent offer the first few bottles. Experiment with different nipple shapes and temperatures. Ensure you're using paced feeding—a fast flow can be overwhelming. You can also try dipping the nipple in a little expressed milk before offering it.
Milk Appearance: Breast milk is not uniform. It can look bluish, yellowish, or even have a greenish tint depending on your diet. It will separate into layers when stored; this is normal. Gently swirling mixes it back together. Pink or red tinges may indicate blood from cracked nipples, which is not harmful to the baby but should prompt a check of your flange fit and latch. Rusty pipe syndrome, an old blood tinge, can also occur in early milk but typically resolves.
High Lipase: As mentioned, this causes a soapy smell/taste in stored milk. If your baby refuses it, scalding the milk before storage is the solution. Quickly heat it to a simmer (bubbles at the pan's edge, not a rolling boil), then immediately cool and freeze it. This preserves the milk's safety and most nutrients while neutralizing the taste issue.
Frequently Asked Questions (FAQs)
Q1: Can I mix milk from different pumping sessions?
Yes, you can combine milk from different sessions on the same day. Ensure all milk is cooled to the same temperature (refrigerated) before combining. Label the container with the date of the oldest milk in the mix.
Q2: Why does my thawed milk smell or taste soapy? Is it bad?
This is likely due to high lipase activity, a natural enzyme in your milk. It is not spoiled or harmful to your baby. Some babies drink it without issue; others refuse. If it's a problem, scald fresh milk before freezing to deactivate the enzyme.
Q3: How do I know if the milk temperature is right for my baby?
Test it by shaking a few drops onto the inside of your wrist. It should feel lukewarm or body temperature—neutral, not hot and not cold. Your wrist is sensitive and gives a good indication of what your baby will feel.
Q4: My baby sometimes refuses a bottle. What can I try?
Try different caregivers, nipple shapes, and milk temperatures. Ensure the flow is slow. Use paced feeding techniques. Don't force it; offer when the baby is calm but hungry, not distressed. Sometimes walking or gentle motion helps.
Q5: How long is a prepared bottle of breast milk good for?
Once a bottle is prepared (milk poured into a feeding bottle), it's best used within 2 hours if kept at room temperature. If refrigerated immediately after preparation, it can be stored for up to 24 hours. Once the baby's mouth has touched the bottle, any leftover milk should be discarded within 2 hours.
Comparison of Storage and Feeding Methods
| Method | Key Benefit | Primary Consideration | Best For |
|---|---|---|---|
| Fresh Milk (Room Temp) | Immediate use, no prep | Short shelf life (4 hrs) | Next feed within a few hours |
| Fresh Milk (Refrigerated) | Preserves most nutrients for days | Requires warming | Feeds within the next 4 days |
| Frozen Milk (Deep Freeze) | Long-term storage (6-12 mo) | Requires thawing time; slight nutrient loss | Building a stash, emergency supply |
| Paced Bottle Feeding | Prevents overfeeding, supports breastfeeding | Requires caregiver education | Breastfed babies taking occasional bottles |
| Traditional Bottle Feeding | Familiar, fast | Can cause flow preference & overfeeding | Formula-fed babies or specific medical needs |
Conclusion: Nourishing with Confidence and Care
Feeding your baby pumped breast milk is a profound act of love and dedication. By mastering the principles of safe storage, gentle warming, and responsive paced bottle feeding, you transform your expressed milk into seamless, nourishing meals that support your baby's health and development. This knowledge empowers you to navigate separation, share feeding responsibilities, and maintain your breastfeeding goals with flexibility.
Remember, the core pillars are cleanliness, temperature control, and following your baby's cues. Each step—from labeling a storage bag to pausing during a bottle feed—builds a foundation of safety and connection. Trust in the quality of your milk and your ability to deliver it. When challenges arise, refer back to these evidence-based guidelines and trust your instincts as a parent.
Your journey is supported by tools designed to make it easier. Investing in reliable, comfortable, and efficient equipment, from storage solutions to a high-quality breast pump, is an investment in your success and your baby's well-being. With the right knowledge and resources, you can feed pumped breast milk with absolute confidence, knowing every drop of your effort is providing the best possible start for your little one.
Shop the MomMed collection at mommed.com for all your breastfeeding and pregnancy needs, from our award-winning S21 Wearable Pump to BPA-free storage bottles, designed to support you at every step of this incredible journey.