


Home
Pregnancy, Breastfeeding, and Pumping: The Ultimate Guide for Moms
Do We Need to Sterilize Breast Pump: A Comprehensive Guide
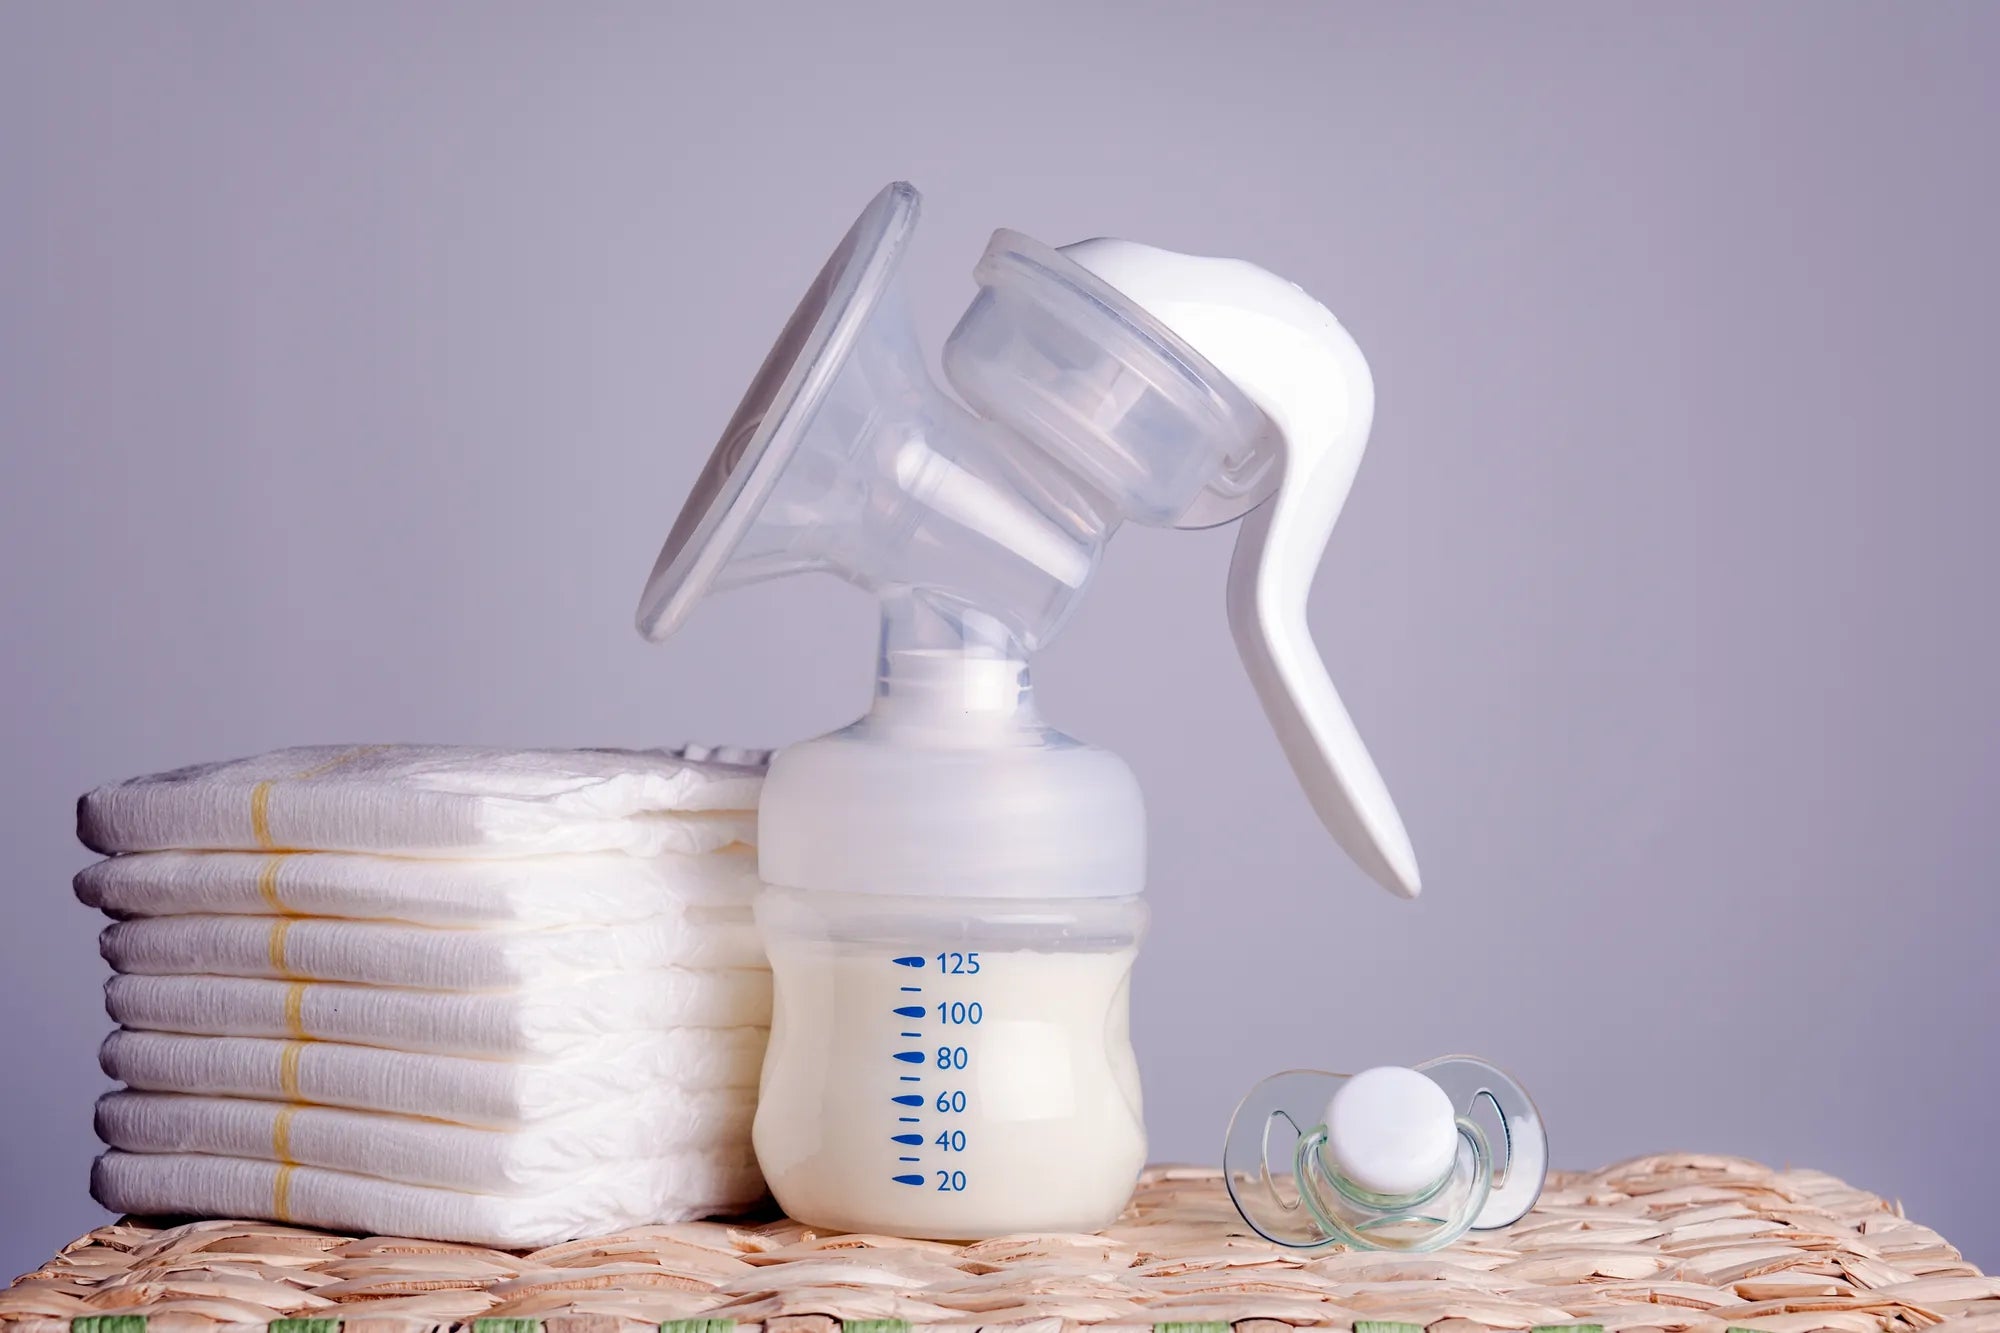
Do We Need to Sterilize Breast Pump: A Comprehensive Guide
Do we need to sterilize breast pump parts? This is one of the most pressing questions for pumping mothers, driven by a desire to provide the safest nutrition. The short answer is yes, but the frequency and method depend on specific circumstances. This comprehensive guide will demystify breast pump hygiene, separating fact from fear, and providing clear, actionable protocols. You will learn the critical health reasons for sterilization, precise when-to guidelines, step-by-step how-to methods, and daily care essentials to build unwavering confidence in your feeding routine.
The Critical Importance of Breast Pump Sterilization
Sterilization is the process of destroying all microorganisms, including bacteria, viruses, and fungi, on pump parts that contact breast milk. For newborns, especially those premature or with health concerns, their immune systems are not fully developed. Harmful pathogens like E. coli, Salmonella, Listeria, and Candida (which causes thrush) can proliferate in milk residue.
These microbes can lead to serious gastrointestinal infections, oral thrush, and general illness. While cleaning with soap removes visible milk fat and debris, it does not eliminate all microscopic threats. Sterilization provides that crucial extra layer of protection, ensuring the milk your baby consumes is from a vessel as clean as possible.
This practice is a cornerstone of the CDC's recommendations for handling expressed breast milk. It aligns with the fundamental principle of infant feeding safety: when in doubt, err on the side of caution. For brands like MomMed, committed to supporting mothers with reliable, hospital-grade products, promoting clear sterilization guidelines is part of ensuring a worry-free experience.
Ignoring this step, particularly during vulnerable periods, introduces unnecessary risk. The peace of mind that comes from knowing you've taken every precaution to safeguard your baby's health is invaluable. It allows you to focus on bonding and feeding, not anxiety about potential contamination.
Cleaning vs. Sterilizing: Understanding the Fundamental Difference
Many parents use the terms "cleaning" and "sterilizing" interchangeably, but they are distinct processes with different goals. Cleaning is the physical removal of milk, dirt, and organic material from a surface. It is done with hot, soapy water and a brush after every single pumping session.
Sterilizing (often called sanitizing in home contexts) is the subsequent step that kills the germs left behind after cleaning. It uses an agency like high-temperature steam, boiling water, or a chemical solution to achieve a near-sterile state. Think of cleaning as wiping a counter, and sterilizing as using a disinfectant spray on it.
The following table clarifies the key distinctions:
| Aspect | Cleaning | Sterilizing/Sanitizing |
|---|---|---|
| Primary Goal | Remove visible milk fat, debris, and grease. | Kill invisible bacteria, viruses, and fungi. |
| Frequency | After EVERY use. | Situational (daily for newborns, after illness, etc.). |
| Typical Method | Warm water, dish soap, and a dedicated brush. | Steam, boiling, cold-water chemical solution. |
| Equipment | Brush, basin, drying rack. | Electric steam sterilizer, microwave bags, large pot, sterilizing tablets. |
| Time Required | 5-10 minutes. | 2-10 minutes for steam/boil, plus cooling; 15-30+ mins for cold soak. |
Both processes are essential components of a complete hygiene routine. Cleaning is your non-negotiable daily habit. Sterilization is your periodic, deep safety protocol. One cannot replace the other; they work in tandem.
When Sterilization is Non-Negotiable: Essential Scenarios
Understanding when to sterilize is as important as knowing how. Adhering to these guidelines minimizes health risks significantly.
For Newborns and Preterm Infants
For babies under 3 months old, and especially for preterm infants, sterilization before every use is highly recommended. Their immune systems are exceptionally vulnerable. The CDC and most pediatricians advise this stringent practice for at least the first 2-3 months, or until your baby's pediatrician gives the all-clear. This period is when the risk of severe infection from pathogens like Cronobacter is highest.
After Illness in Mother or Baby
If you or your baby have been diagnosed with a bacterial or viral infection, thrush (yeast infection), or mastitis, sterilization becomes mandatory. This prevents reinfection or cross-contamination. After a bout of thrush, for example, sterilizing all parts daily for the duration of treatment and a short period after is crucial to break the cycle of infection.
Before First Use and After Extended Storage
Always sterilize brand-new pump parts before their inaugural use. Manufacturing and packaging processes are not sterile. Similarly, if you are taking parts out of storage after weeks or months (e.g., retrieving them for a new baby), a thorough sterilization is necessary to eliminate any dust or microbes that may have settled.
When Using a Shared or Secondhand Pump
A critical note: only the personal collection kit (flanges, valves, bottles, diaphragms) can be properly sterilized. The pump motor itself is considered a personal care item. If using a secondhand or hospital-provided pump, you must use a brand-new, user-specific collection kit. The motor unit should only be wiped clean with a disinfectant cloth on the exterior, following the manufacturer's instructions.
Step-by-Step Guide to Effective Sterilization Methods
All MomMed breast pump parts that contact milk, such as those for the S21 Wearable Pump, are crafted from BPA-free, food-grade materials designed to withstand these common sterilization methods. Always start with thoroughly cleaned parts.
Steam Sterilization (Electric or Microwave)
This is a popular, efficient, and chemical-free method. Electric steam sterilizers are countertop appliances that use steam heat to sanitize in about 10-12 minutes. Microwave steam bags are a more affordable and space-saving option; cycles typically run 2-4 minutes. Ensure parts are placed with openings facing down to allow steam to circulate. Let parts cool and dry completely inside the sealed unit or bag before use to maintain sterility.
The Boiling Water Method
A reliable, low-tech approach. Submerge fully disassembled parts in a large pot of rolling, boiling water. Ensure all items are covered. Boil for at least 5-10 minutes. Use clean tongs to remove parts and place them on a fresh, clean paper towel or drying rack to air dry completely. Be mindful that frequent boiling may accelerate wear on some plastics or silicone over a very long period.
Cold Water Sterilization with Tablets
Ideal for travel or homes without microwave/stovetop access. Use a dedicated, clean container filled with cold water and add a sterilizing tablet or liquid solution (e.g., those containing sodium dichloroisocyanurate). Soak parts for the manufacturer's recommended time, usually 15-30 minutes. After soaking, parts must be rinsed thoroughly with cooled, previously boiled water to remove chemical residues before use.
Daily Care and Maintenance Between Sterilizations
Proper daily care preserves your pump's performance and forms the foundation for safe sterilization. Neglecting daily cleaning can allow biofilm—a stubborn layer of bacteria—to form, making subsequent sterilization less effective.
The Correct Cleaning Protocol After Each Use
Immediately after pumping, rinse parts with cool water to remove initial milk residue. Then, wash them in a basin or sink used only for baby items, using hot, soapy water and a small, dedicated brush. Pay special attention to crevices in valves, membranes, and flange tunnels where milk can hide. Rinse thoroughly under running water. This is vital for maintaining the suction efficiency of pumps like the MomMed S12 or Swing models, as milk-clogged valves are a common cause of suction loss.
Drying and Storage Best Practices
Air drying is the gold standard. Place parts on a clean, dry dish rack or paper towels in an area free from dust and pests. Do not use a dish towel to dry, as it can transfer lint and germs. Once completely dry, you may store parts in a clean, covered container. For mothers practicing the CDC's "refrigerator method," cleaned parts can be stored in a clean, sealed bag in the refrigerator between uses within 24 hours, which reduces washing frequency but does not replace the need for periodic sterilization.
Common Myths and Mistakes to Avoid
Misinformation can lead to unsafe practices. Let's debunk common myths.
Myth 1: "If it looks clean, it is clean." Bacteria are invisible. Milk residue can be microscopic. Visual inspection is not a valid test for cleanliness.
Myth 2: "I can just run it through the dishwasher instead." While a dishwasher with a sanitizing cycle can be effective, the high heat and powerful jets may damage delicate silicone valves and membranes, leading to faster wear and reduced pump performance. Always check your pump manual.
Mistake 1: Not Fully Disassembling Parts. Every single piece that contacts milk must be taken apart for both cleaning and sterilization. This includes tiny valve flaps, backflow protector diaphragms, and connector pieces.
Mistake 2: Letting Parts Sit Unwashed. Allowing milk to dry on parts makes cleaning exponentially harder and allows bacteria to multiply. A quick rinse immediately after pumping is a game-changer.
Frequently Asked Questions (FAQ)
How often should I sterilize my breast pump parts?
For newborns (<3 months) or preterm infants, sterilize before every use. For healthy, full-term infants over 3 months, if they are not immunocompromised, sterilizing once per day may be sufficient, provided parts are meticulously cleaned after each session. Always increase frequency during illness or as recommended by your healthcare provider.
Can I put all my pump parts in the dishwasher?
Check your manufacturer's instructions. Many bottles and flanges are dishwasher-safe on the top rack. However, critical components like duckbill valves, backflow protectors, and silicone membranes should almost always be washed by hand to preserve their integrity and functionality. The heat and pressure can warp them.
Do I need to sterilize the tubing?
No, if the tubing remains dry. In a well-functioning pump with proper backflow protection, milk should not enter the tubing. If it does get wet or milky, it must be cleaned according to the manual (usually by rinsing with a vinegar solution and hanging to dry completely). Do not sterilize tubing in boiling water or steam unless the manual explicitly states it is safe, as heat can damage it.
How do I sterilize MomMed wearable pump parts like the S21?
All MomMed collection kit parts (flanges, milk containers, valves, diaphragms) are fully safe for steam (electric/microwave bag), boiling, and cold-water tablet sterilization. Follow the general methods outlined above. Ensure the wearable pump's motor unit is never submerged or sterilized; wipe only the exterior with a damp cloth if needed.
What if I don't have time to sterilize after every pump?
Implement the CDC refrigerator hack for short-term management: after pumping, place the fully assembled collection kit (without rinsing) in a sealed clean bag in the refrigerator. Use it again within 24 hours. This inhibits bacterial growth between sessions. However, you must still wash it at the end of the day and follow your scheduled sterilization routine. This is not a long-term replacement for cleaning.
Building a Sustainable and Safe Routine
Consistency is key. Integrate pump hygiene into your daily rhythm. Keep a dedicated basin, brush, and drying rack near your pumping station. Consider investing in multiple sets of parts—like extra flange sets for your MomMed pump—to reduce the frequency of washes without compromising safety. Set reminders if needed. Remember, this routine is a profound act of care, protecting your baby's health while you provide them with liquid gold.
The journey of pumping is one of dedication. By mastering the protocols of cleaning and strategic sterilization, you remove a major source of worry. You can pump with absolute confidence, knowing your equipment is as safe as modern guidelines can ensure. This empowers you to continue providing the invaluable benefits of breast milk, whether you're at home or on the go with a wearable pump.
Your commitment to safe milk handling is paramount. Equip yourself with tools designed for this vital task. Shop the MomMed collection at mommed.com for hospital-grade, BPA-free breast pumps like the award-winning S21 Wearable, innovative pregnancy tests, and all your feeding essentials—engineered to support your confidence at every stage of motherhood.