
Home
Pregnancy, Breastfeeding, and Pumping: The Ultimate Guide for Moms
Why Is My Breast Pump Not Suctioning: A Complete Troubleshooting Guide
Why Is My Breast Pump Not Suctioning: A Complete Troubleshooting Guide
Introduction: Understanding the "No Suction" Frustration
Nothing disrupts a pumping session like the sudden, alarming realization that your breast pump is not suctioning. The quiet hum continues, but the familiar pull vanishes, leaving you stressed and uncertain. This common problem, while frustrating, is almost always solvable with systematic troubleshooting.
Understanding why is my breast pump not suctioning begins with recognizing that modern pumps are precise mechanical systems. A failure in suction typically points to a simple issue with one component rather than a complete motor failure. This guide will walk you through every potential cause, from the most frequent to the less common, providing clear fixes for each.
Empowering yourself with this knowledge transforms a moment of panic into a manageable repair task. By the end, you'll be equipped to diagnose and resolve suction issues efficiently, getting you back to comfortable, effective milk expression with minimal downtime. Let's start with the fundamentals of how your pump works.
The Core Components: How Your Breast Pump Creates Suction
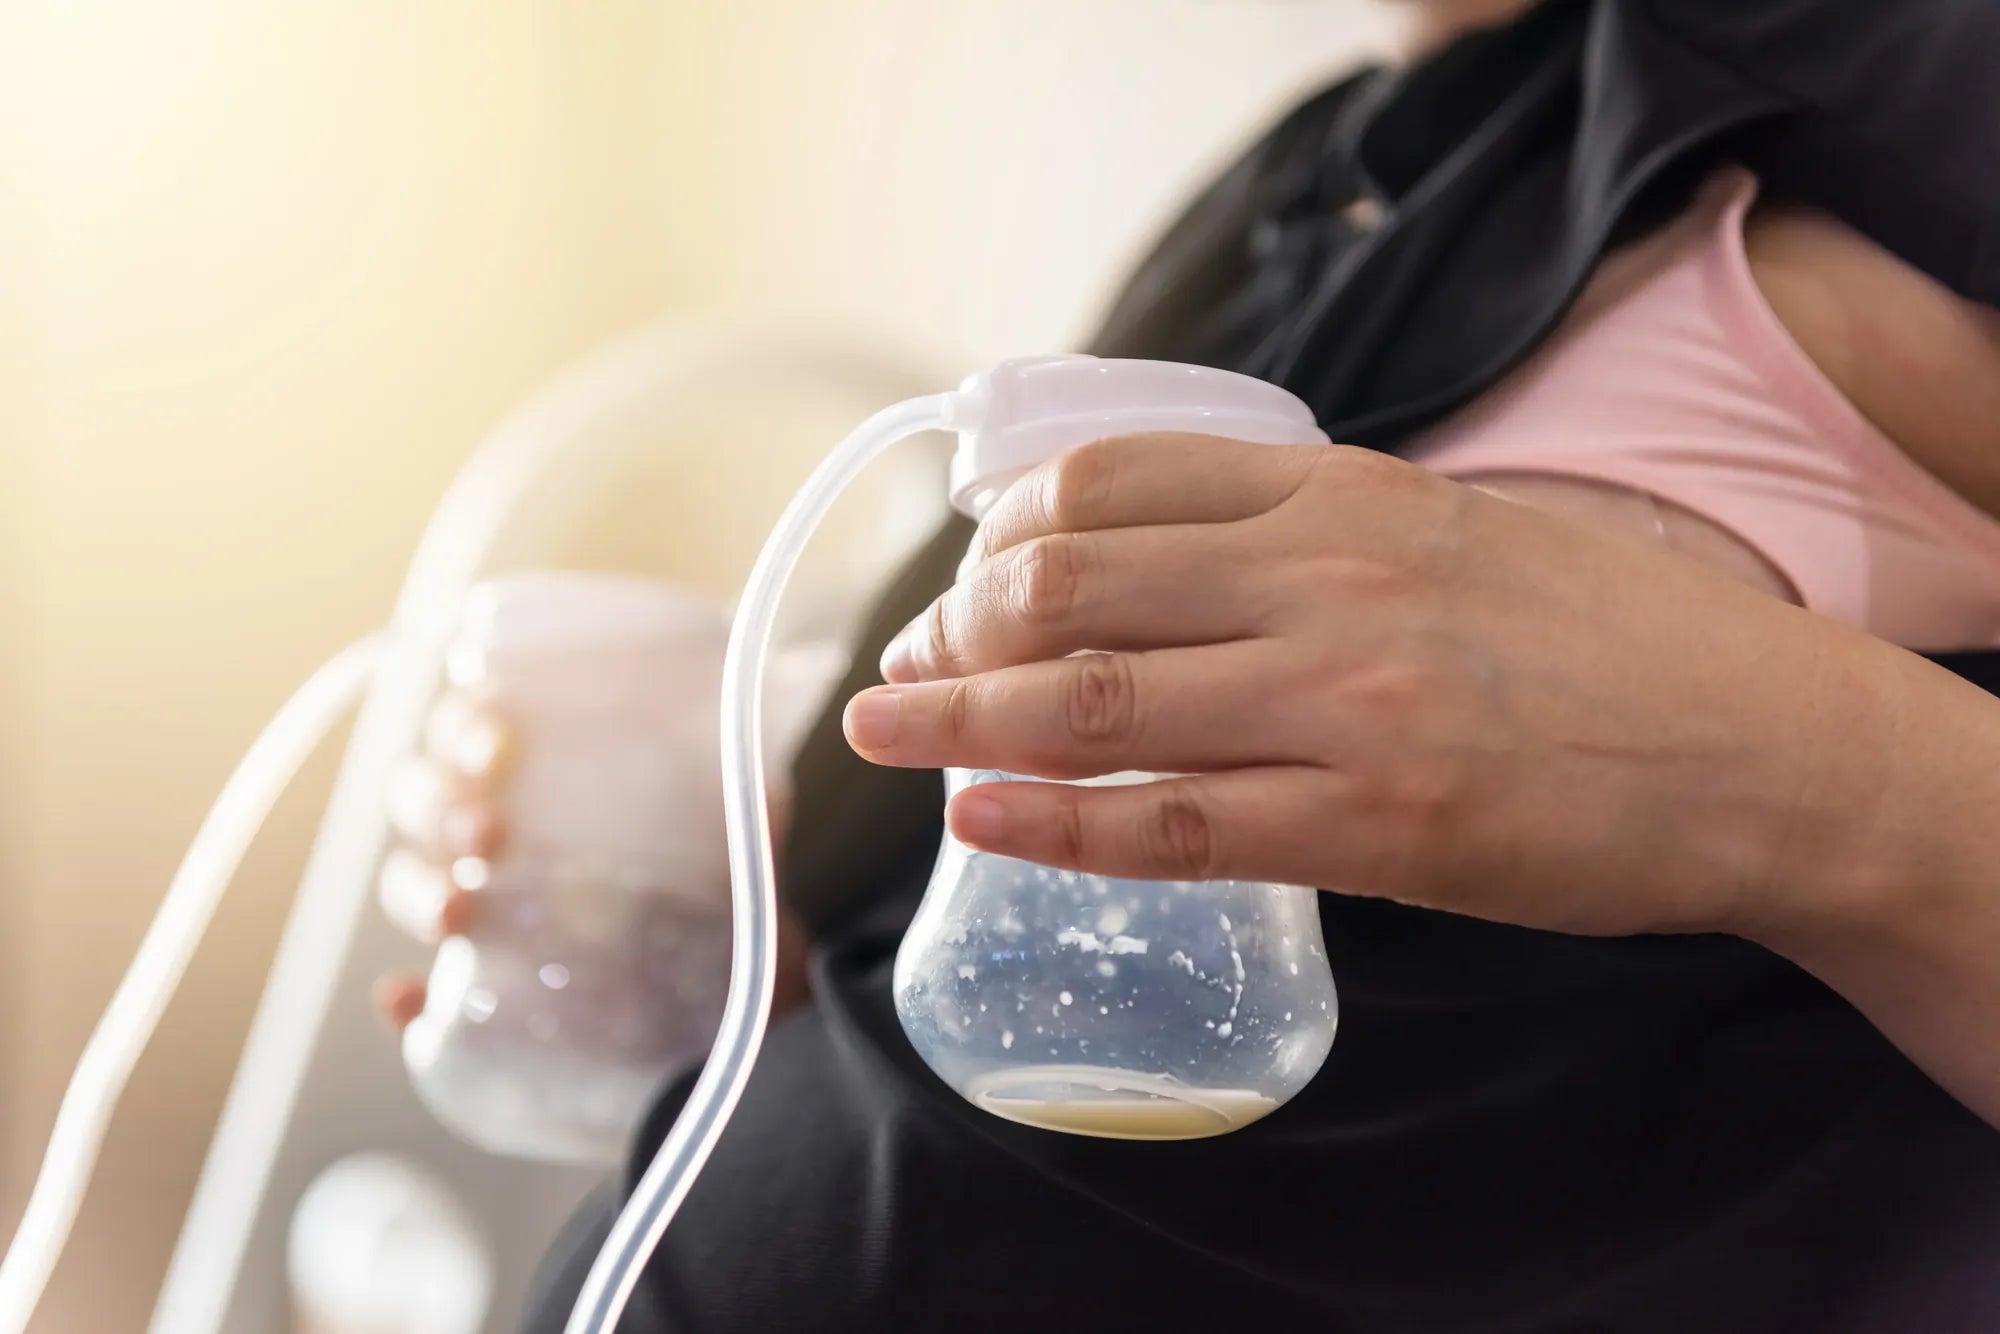
Most electric breast pumps, including closed-system models like those from MomMed, operate on a simple principle: create a vacuum. The motor generates a rhythmic pulse of air pressure. This pulse travels through tubing to a valve mechanism—often a duckbill valve or silicone membrane—located in the breast shield or connector.
When the motor pulls air, the valve closes, creating suction (vacuum) against your breast to draw out milk. When it releases, the valve opens to break the suction, allowing milk to flow into the collection bottle. Any break in this airtight circuit—a cracked tube, a stiff valve, or a poor seal on your skin—will compromise or eliminate suction entirely.
This closed system is designed to protect the motor from moisture and milk. Key components are the motor unit, tubing, breast shield/flange, valve, backflow protector, and collection bottle. Knowing the role of each part is the first step in effective troubleshooting. A failure at any point can answer the question, "Why is my breast pump not suctioning?"
Common Culprits: A Step-by-Step Troubleshooting Guide
When suction fails, follow this logical checklist. Start with the simplest, most accessible parts before considering more complex issues. This method saves time and often resolves the problem quickly.
Check #1: The Seal and Fit
The most immediate cause of lost suction is a broken seal between your breast and the flange. If air is leaking in from around the rim, the pump cannot build vacuum. Ensure your skin is dry and the flange is positioned centrally over the nipple. An incorrect flange size is a leading culprit.
A flange that is too large or too small won't form an effective seal and can cause pain and low output. Your nipple should move freely in the tunnel without rubbing, and minimal areola should be drawn in. MomMed offers multiple flange sizes with its pumps to ensure a proper, comfortable fit, which is foundational for good suction.
Also, check that all connectors are snapped together tightly. A loose connection between the flange, valve housing, and bottle can introduce an air leak. Hand-tighten each piece firmly to ensure the system is sealed before you start pumping.
Check #2: Valve and Membrane Integrity
The duckbill valve or silicone membrane is the heart of the suction mechanism and the part that fails most often. These are consumable items designed to be replaced regularly—typically every 4-8 weeks with frequent use. Remove the valve and inspect it closely under good light.
Look for tiny tears, holes, or a permanent set where the "lips" of a duckbill valve stay slightly open. Feel if the silicone has become stiff or brittle. Even a microscopic defect can prevent the valve from sealing and opening properly. Milk residue can also create a film that sticks the valve shut or impedes its movement.
For membrane-style valves, ensure it is not flipped or installed upside down. A quick test is to try pumping with a brand new valve. If suction returns, you've found the issue. Keeping spare valves on hand is one of the best investments for uninterrupted pumping.
Check #3: Tubing and Connectors
Inspect every inch of your tubing for kinks, cracks, or punctures. A tight bend can completely block the air pathway. Run your fingers along the tube to feel for any damage. Also, ensure both ends are pushed fully and securely into the pump motor and the breast shield connector.
Moisture in the tubing is a common and often overlooked problem. Condensation or a small milk backflow can create a water droplet that blocks airflow. Detach the tubing and swing it in a wide arc (like a lasso) to force any moisture out. Let it air-dry completely, ideally hanging vertically, before reusing.
Never wash the long tubing unless liquid has actually entered it; introducing moisture is the main cause of this issue. If moisture is a recurring problem, check that your backflow protector (if your pump has one) is correctly installed and intact to prevent milk from entering the tube.
Check #4: Motor and Battery Power
A weak or dying power source can result in insufficient motor strength to create strong suction. For wearable pumps like the MomMed S21, ensure the device is fully charged. Try charging it for at least an hour, even if the indicator shows some battery life remaining.
For plug-in pumps, try a different power outlet and check that the adapter is firmly connected. Listen to the motor's sound: a consistent but weak hum may indicate a power issue, while a normal-sounding motor points to a problem elsewhere in the system.
If you suspect the motor itself is failing (evidenced by unusual noises, burning smells, or no sound at all), discontinue use and contact the manufacturer. Motors in quality pumps are designed to last, but they can wear out over time, especially with very heavy use.
Maintenance Deep Dive: Cleaning vs. Sanitizing for Optimal Function
Proper maintenance is preventative medicine for suction problems. There's a critical difference between a daily rinse and a deep clean. Daily, parts that contact milk (flanges, valves, bottles) should be washed in warm, soapy water after each use. This prevents milk fat buildup.
Weekly, or whenever you notice diminished suction, perform a deep clean. Soak all washable parts (especially valves and membranes) in hot, soapy water for 10-15 minutes. Use a small brush to gently scrub crevices where milk film accumulates. This film can make valves sticky and prevent a tight seal.
Sanitizing, whether with steam bags or boiling water, is important for killing bacteria but does not necessarily remove milk fat residue. Always ensure parts are clean before you sanitize. After any wash, dry parts thoroughly on a clean rack before reassembly. Persistent moisture is an enemy of good suction.
MomMed-Specific Troubleshooting and Product Insights
As a trusted brand in maternal care, MomMed designs pumps with user-friendly diagnostics. For wearable models like the S21 Double Wearable Pump, start by ensuring the cups are correctly aligned in your bra. A tilted cup can break the seal. Use the pump's app or controls to cycle through modes—sometimes resetting the rhythm can restore suction.
Check the unique valve assembly. MomMed pumps use BPA-free, food-grade silicone valves designed for performance. Ensure the white duckbill valve is snapped securely into its blue housing. For the S21, also confirm the collection bottles are screwed on tightly to the cups, as this junction is a potential site for air leaks.
If your MomMed pump has an adjustable suction setting, test across the range. If suction works on low but not high, it could indicate a minor seal issue that becomes apparent under stronger vacuum. Remember, regular replacement of MomMed's genuine replacement parts is key to maintaining the pump's designed performance.
Comparison of Common Issues and Solutions
| Symptom | Most Likely Cause | Quick Fix | Long-Term Solution |
|---|---|---|---|
| Suction starts then stops | Moisture in tubing or worn valve | Swing tubing to clear moisture | Replace valve; ensure parts are fully dry before use |
| Consistently weak suction | Incorrect flange size or poor seal | Re-center flange; try a size up/down | Get professionally fitted for flange size |
| Motor runs but zero suction | Complete valve failure or major air leak | Install a brand new valve | Inspect all connectors and seals for cracks |
| Intermittent, sputtering suction | Cracked tubing or loose connection | Check tube ends are fully inserted | Replace damaged tubing |
| Pump sounds strained/weak | Low battery or power issue | Recharge fully or try new outlet | Contact support if issue persists (motor check) |
FAQ: Quick Answers to Urgent Questions
Q: Can a poor seal damage my breast pump motor?
A: No, a poor seal or air leak will not damage the motor. It simply prevents the pump from building vacuum, so the motor runs without creating effective suction. The motor is protected in a closed system.
Q: How often should I replace the valves on my MomMed pump?
A: For optimal performance and suction, replace duckbill valves or membranes every 4 to 8 weeks with regular use. Replace immediately if you see any tears, holes, or stiffness.
Q: I see moisture in the tube. Is my pump broken?
A> Not necessarily. Moisture in the tubing is common and blocks airflow. Detach the tubing, swing it thoroughly to expel water, and let it air-dry completely (24 hours if possible). Ensure backflow protectors are in place to prevent recurrence.
Q: The suction feels weak even after checking everything. What now?
A> First, try a brand new valve—it's the most likely culprit. If that doesn't work, test each component individually (e.g., try different tubing). If the problem persists, contact MomMed customer support; there may be a motor or internal issue covered under warranty.
Q: Can I use generic replacement parts, or do I need MomMed brand parts?
A> For consistent performance and safety, always use genuine MomMed replacement parts. They are engineered to precise specifications for fit and function, ensuring proper suction and maintaining the closed-system integrity that protects the motor and your milk.
Conclusion: Take Control of Your Pumping Session
When you ask, "Why is my breast pump not suctioning?" you now have a powerful diagnostic toolkit. The solution usually lies in the small, wearable parts: the valve, the seal, or the tubing. Regular inspection and maintenance of these components are the most effective ways to prevent suction loss and ensure reliable performance.
Investing in correctly sized flanges and timely replacement of consumable parts like valves is not an extra cost—it's essential for efficient, comfortable pumping and protecting your milk supply. Remember, your pump is a mechanical partner in your breastfeeding journey; caring for its parts is part of caring for yourself.
MomMed is committed to supporting you with high-quality, innovative products designed for real moms' lives. Should you ever need assistance beyond this guide, our customer support team is ready to help. You deserve a pumping experience that is reliable, effective, and as seamless as possible.
Shop the MomMed collection at mommed.com for all your breastfeeding and pregnancy needs, including genuine replacement parts, multiple flange sizes, and our award-winning wearable pumps designed for performance and comfort.