
Home
Pregnancy, Breastfeeding, and Pumping: The Ultimate Guide for Moms
How Often Do I Clean Breast Pump Parts: A Complete Guide for Safe Pumping
How Often Do I Clean Breast Pump Parts: A Complete Guide for Safe Pumping
Juggling feeding schedules, sleep deprivation, and the constant hum of a breast pump is challenging enough without the added stress of wondering if you're cleaning it correctly. The question of "how often do I clean breast pump parts" isn't just about maintenance—it's a critical component of your baby's health and safety. This complete guide cuts through the confusion with clear, actionable, and evidence-based protocols. You'll learn the non-negotiable cleaning frequencies, master a fail-safe cleaning method, and discover practical tips to integrate this essential task seamlessly into your routine, ensuring every drop of milk is safe for your little one.
Why Proper Breast Pump Cleaning is Non-Negotiable
Breast milk is a living, nutritional fluid, but its warmth and richness also create an ideal environment for harmful bacteria to thrive. Improperly cleaned pump parts can harbor pathogens like *Cronobacter sakazakii*, *E. coli*, and *Staphylococcus*, which can contaminate your expressed milk. These bacteria pose a significant risk, especially for newborns, premature infants, or babies with compromised immune systems, potentially leading to serious gastrointestinal infections or worse.
The Centers for Disease Control and Prevention (CDC) and the Food and Drug Administration (FDA) have established clear guidelines for breast pump hygiene because the stakes are high. It's not merely about removing visible milk film; it's about eliminating microscopic contaminants you cannot see. Think of it as a fundamental part of food safety for your baby's sole source of nutrition.
Beyond immediate health risks, consistent and proper cleaning protects your investment. Milk residue can degrade silicone valves and membranes, leading to a loss of suction and reduced pumping efficiency. For innovative, high-performance pumps like the MomMed S21 Wearable Breast Pump, proper care ensures the sensitive motor and proprietary silicone components function optimally for their full lifespan. This practice safeguards both your baby's well-being and the performance of your essential breastfeeding tool.
The Golden Rules: How Often to Clean What
Establishing a clear, simple frequency schedule is the first step to consistent hygiene. The core principle is that any part that comes into contact with breast milk or your breast must be cleaned after every use. However, the definition of "use" and the need for sanitization have specific nuances.
After Every Single Use: The Mandatory List
Without exception, the following parts must be thoroughly washed after each pumping session. This rule applies whether you pump once or eight times a day.
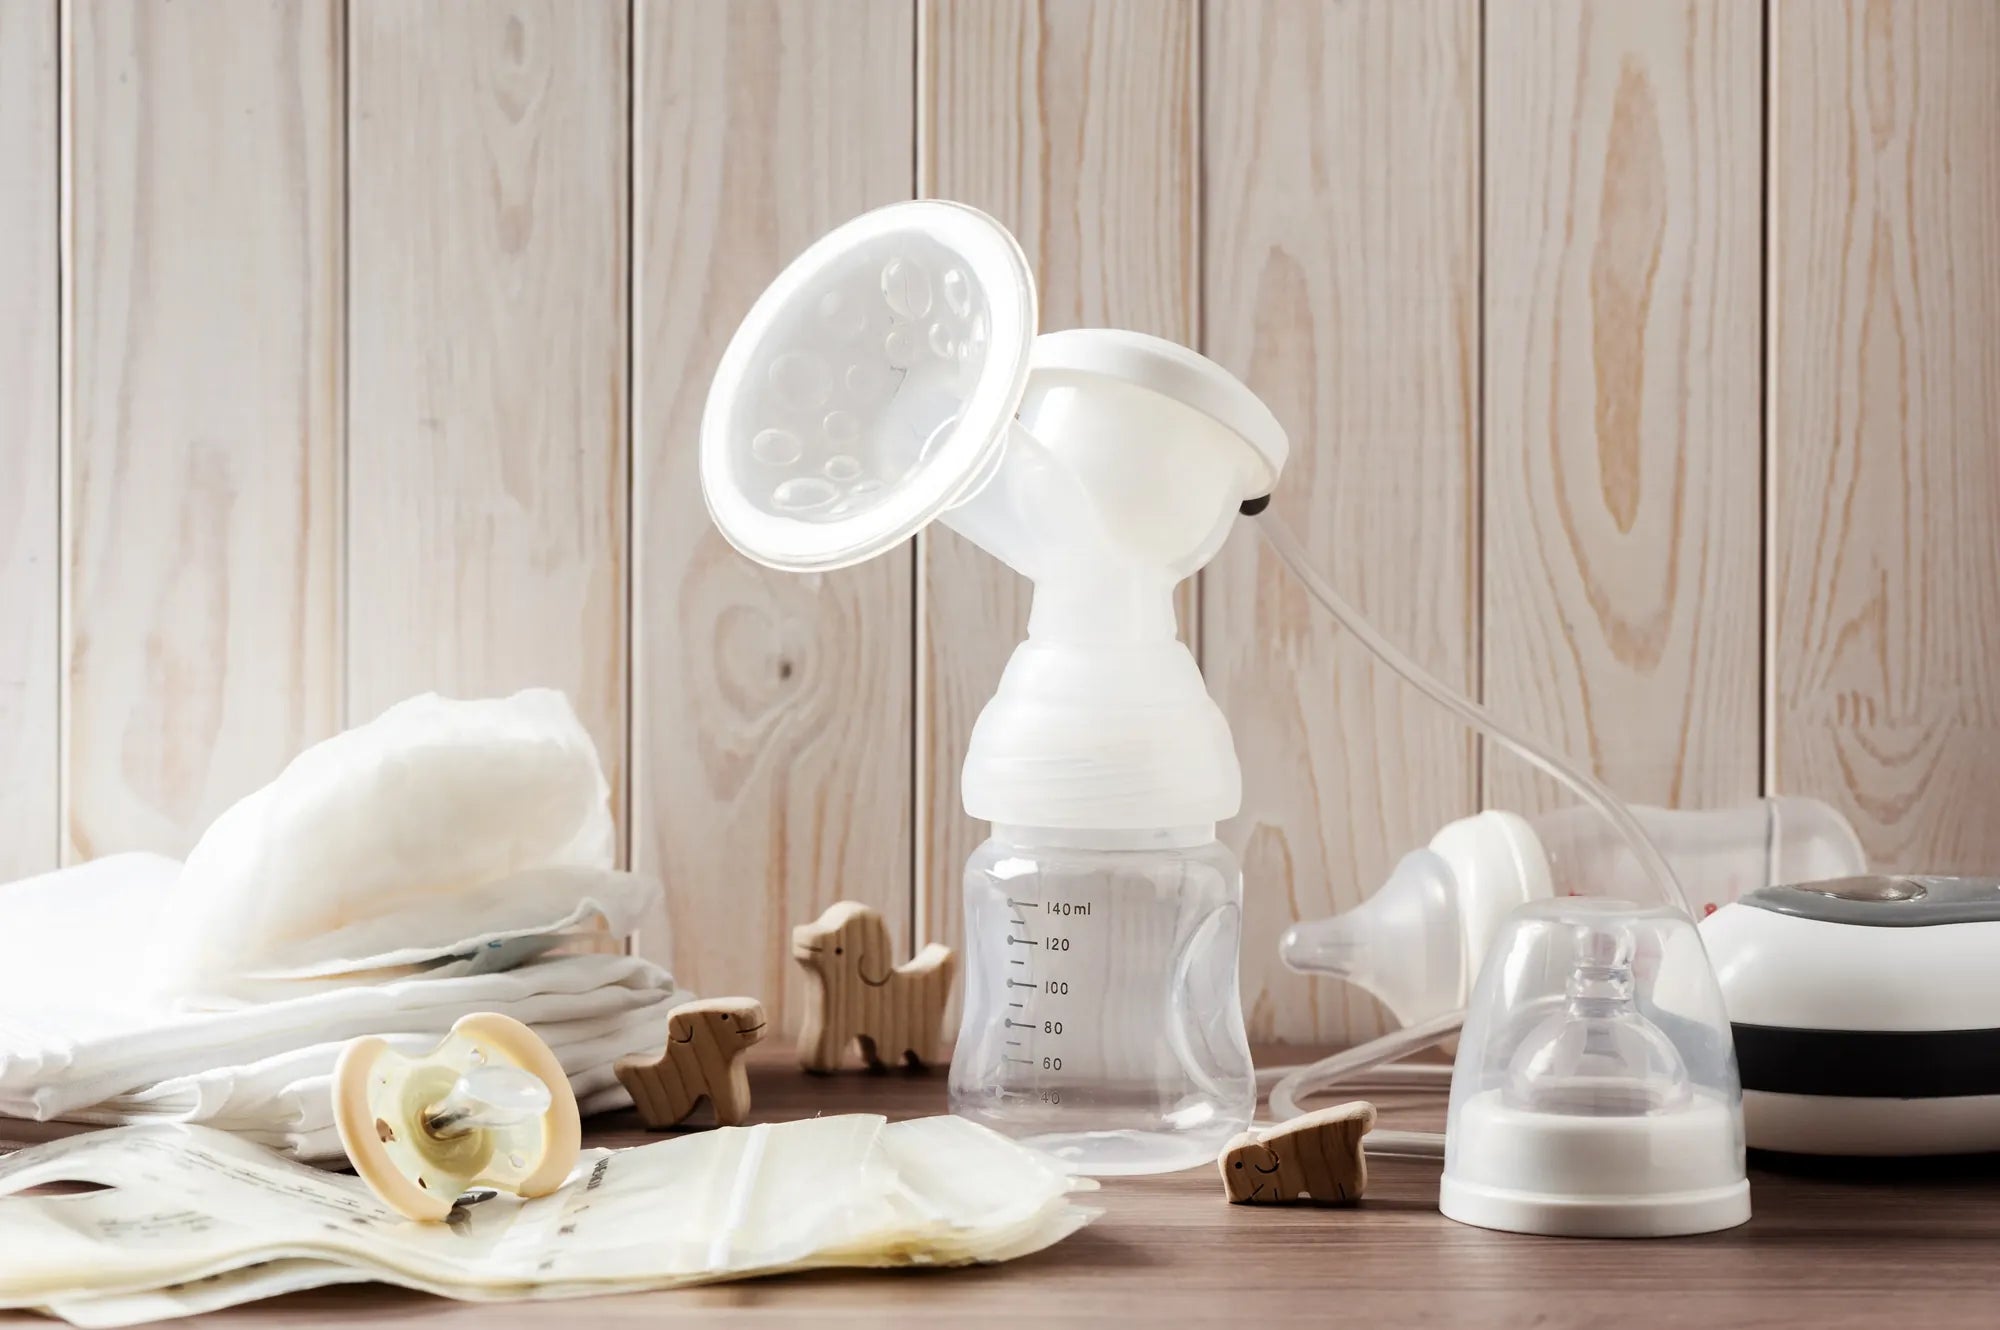
- Flanges (Breast Shields): These have direct contact with your skin and milk.
- Valves, Membranes, and Backflow Protectors: These small parts are critical for suction and are prime spots for milk accumulation.
- Milk Collection Bottles or Containers: This includes the bottles that attach directly to the pump and any storage bottles you pump into.
- Connectors and Adapters: Any piece that links the flange to the bottle or tubing.
"Every use" means each distinct pumping session. You cannot reuse these parts for a second session without cleaning them first.
Daily Cleaning and Maintenance Tasks
In addition to the post-session wash, incorporate these tasks into your daily routine to maintain overall pump hygiene.
- Wipe Down the Pump Motor Unit: Use a damp cloth to clean the exterior of your electric or wearable pump unit. Never submerge the motor. For wearable pumps like the MomMed S12, ensure the charging port area is free of dust or moisture.
- Inspect Tubing: Check tubing for any condensation or milk droplets. If moisture is present, disconnect and air-dry it thoroughly. Milk in the tubing can be drawn back into the pump motor, causing damage.
- Sanitize (if recommended): For many families, sanitizing once per day is a prudent practice.
When to Perform a Deep Clean or Sanitize
Sanitizing goes beyond washing and reduces germs to a safer level. The CDC provides specific guidance based on your baby's age and health status.
| Baby's Status | Recommended Sanitizing Frequency | Method Options |
|---|---|---|
| Under 2 months old, premature, or immunocompromised | At least once daily | Steam, boil, or use an EPA-registered sanitizing solution. |
| Healthy, full-term infant over 2 months old | At minimum, sanitize all parts before first use; thereafter, frequent sanitizing is not necessary if washing correctly, though many parents choose to do it daily or weekly. | Steam (microwave bags are convenient), boil, or dishwasher with a sanitize cycle. |
Always sanitize after any illness (yours or your baby's) and immediately upon taking new or secondhand parts out of the package.
Step-by-Step: The MomMed Method for Cleaning Pump Parts
Following a systematic cleaning process ensures no step is missed. This "MomMed Method" is designed for effectiveness and efficiency, tailored to care for the high-quality materials in our pumps.
What You'll Need
Gather your supplies before you start. Using dedicated tools prevents cross-contamination from kitchen germs.
- A clean basin or wash bin (do not wash parts directly in the sink)
- Mild dish soap (avoid antibacterial or harsh detergents)
- A dedicated, soft-bristled brush for bottle and pump parts
- A clean drying rack or mat with good air circulation
The 4-Step Clean & Rinse Process
Step 1: Immediate Rinse. As soon as possible after pumping, rinse all parts that contacted milk under cool, running water. Hot water can cause milk proteins to stick.
Step 2: Wash Thoroughly. Fill your clean basin with hot, soapy water. Fully disassemble every component. Use your brush to scrub all surfaces, paying special attention to crevices in valves, membrane edges, and the interior of flanges.
Step 3: Rinse Again. Rinse each piece under running water to remove all soap residue. Soap left on parts can contaminate milk and cause stomach upset for your baby.
Step 4: Air-Dry Completely. Place all parts on a clean drying rack or mat in an area free from dust and pests. Allow them to air-dry fully before reassembling or storing. Do not dry with a dish towel, as towels can transfer bacteria.
Special Care for MomMed Wearable Pump Parts
MomMed wearable pumps, like the award-winning S21 Double Wearable Pump, are designed for convenience without compromising on safety. All parts that touch milk are made from BPA-free, food-grade silicone and plastic. For the motor unit itself, never immerse it in water. Simply wipe the exterior with a soft, slightly damp cloth. Ensure the flange and valve connections are completely dry before attaching them to the motor cups to prevent moisture from affecting the internal electronics. The quiet, powerful motor is built to last when cared for properly.
Beyond Frequency: Pro Tips for Hygiene & Convenience
Knowing the rules is one thing; implementing them smoothly in the chaotic reality of new motherhood is another. These strategies make the routine more manageable.
Handling Parts Between Sessions (The Fridge Hack)
The CDC acknowledges a method often called the "fridge hack." After pumping, you can place the fully assembled flanges, valves, and bottles (with the milk removed) into a sealed clean bag or container and store them in the refrigerator. This can be done for up to 24 hours, after which they must be washed. This method is not recommended for babies under 2 months, premature, or immunocompromised infants. It is a convenience tactic, not a substitute for cleaning.
Organizing Your Cleaning Station
Create a dedicated pumping and cleaning station. Keep your basin, brush, soap, and drying rack together. A major time-saver is investing in multiple sets of pump parts. Having 2-3 sets of flanges, valves, and bottles means you can run a full day of pumping with only one or two washing sessions, a strategy perfectly suited for use with MomMed pumps, as extra part sets are readily available.
Travel & On-the-Go Pumping
When away from home, pack a travel kit: a zip-top bag for dirty parts, a small bottle of dish soap or soap sheets, a collapsible drying rack, and a clean wet bag. If you cannot wash immediately, rinse parts with bottled water and store them in a sealed bag in a cooler with ice packs until you can properly clean them. Always clean your hands with sanitizer before handling pump parts in public spaces.
Common Cleaning Mistakes to Avoid
Even with the best intentions, it's easy to fall into these common pitfalls. Awareness is the first step to correction.
Soaking Parts in the Sink: Kitchen sinks are breeding grounds for bacteria like salmonella. Always use a clean, dedicated basin.
Incomplete Disassembly: Failing to take apart every small piece, like separating valves from membranes or removing backflow protectors, leaves hidden milk residue to spoil.
Using Abrasive Cleaners or Brushes: Harsh scrubs can create micro-scratches on plastic and silicone where bacteria can hide. Use only soft brushes and mild soap.
Storing Parts While Damp: Sealing slightly damp parts in a bag or drawer promotes mold and mildew growth. Patience for complete air-drying is essential.
Neglecting the Backflow Protector: This component is crucial for preventing milk from entering your pump's tubing and motor. It must be cleaned after every use, even if no milk is visibly present.
Breast Pump Part Longevity: Cleaning vs. Replacement
Proper cleaning extends the life of your parts, but all components have a finite lifespan due to wear and tear. Understanding the relationship between care and replacement is key to maintaining optimal pump performance.
| Pump Part | Signs It Needs Replacement | Typical Lifespan with Daily Use | Impact of Improper Cleaning |
|---|---|---|---|
| Duckbill Valves / Membranes | Loss of suction, stretching, tears, or stickiness | 4-8 weeks | Milk fat hardens, degrading silicone faster; leads to rapid suction loss. |
| Silicone Flanges / Shields | Cracks, tears, cloudiness, or loss of shape | 3-6 months | Residue buildup can cause irritation; scratches harbor bacteria. |
| Backflow Protectors | Cracks, milk bypassing into tubing | 3-6 months | Failure can lead to milk contaminating the pump motor. |
| Collection Bottles | Deep scratches, cracks, cloudy appearance | 6-12 months | Scratches become impossible to fully clean and sanitize. |
| Tubing | Mold/mildew inside, cracks, persistent moisture | Replace as needed | Moisture from improper drying leads to mold growth. |
Regular inspection is part of proper hygiene. When parts show wear, replace them promptly to ensure efficient, safe pumping. MomMed offers genuine replacement part kits designed for perfect compatibility with your pump model.
Frequently Asked Questions (FAQs)
Q: Can I put my breast pump parts in the dishwasher?
A: Always check your manufacturer's instructions first. Many MomMed pump parts, such as bottles, flanges, and connectors, are top-rack dishwasher safe. However, small silicone parts like valves and membranes should be hand-washed, as the high heat and powerful jets of a dishwasher can degrade them more quickly, shortening their lifespan.
Q: What if I don't have time to clean parts immediately after pumping?
A: At a minimum, rinse all parts thoroughly with cool water to remove most of the milk residue. You can then store them in a sealed container in the refrigerator (the "fridge hack") for a few hours until you have time to wash them properly with soap and water. Do not leave unrinsed parts at room temperature.
Q: How do I clean my breast pump tubing?
A: Tubing should not normally have milk in it if your pump is assembled correctly with a backflow protector. If condensation forms, disconnect it from the pump and flanges, and hang it to air-dry. If milk accidentally enters the tubing, it must be cleaned according to the manufacturer's guide—some tubing is washable, while other types must be replaced. Never run water through tubing connected to a pump motor.
Q: What is the best way to dry pump parts quickly?
A: The safest method is air-drying. To speed up the process, use a dedicated, clean salad spinner to fling water off parts after rinsing, then place them on a drying rack in a well-ventilated area. Avoid using cloth towels to dry, as they can transfer lint and germs.
Q: How do I know when to replace my pump parts?
A: Inspect parts regularly. Replace valves/membranes every 4-8 weeks or as soon as you notice a loss of suction. Replace flanges and backflow protectors every 3-6 months or if you see cracks, tears, or cloudiness. Worn parts not only reduce efficiency but can also be harder to clean effectively, posing a hygiene risk.
Q: Is it necessary to sterilize a new breast pump before first use?
A: Yes, absolutely. Sanitize all parts that will contact breast milk before the very first use. This includes flanges, valves, bottles, and connectors. Follow the sanitizing instructions in your pump's manual to ensure any potential manufacturing residues are removed.
The Bottom Line: Consistency is Your Key to Safety
Mastering how often to clean breast pump parts transforms a daunting task into a simple, integrated part of your day. The rhythm of pump, rinse, wash, and dry becomes second nature, providing immense peace of mind. This routine is your active commitment to your baby's health, protecting them from preventable risks while ensuring your pump—whether a traditional electric model or a discreet, innovative wearable like the MomMed S21—delivers reliable performance every time. By following these evidence-based guidelines, you empower yourself to provide the safest, most nutritious milk for your child, turning a chore into an act of care.
Your journey deserves support with products designed for both excellence and ease. Shop the MomMed collection at mommed.com for all your breastfeeding and pregnancy needs, from our award-winning wearable pumps and genuine replacement parts to comfortable nursing bras and reliable pregnancy tests. We're here to help you pump with confidence and peace of mind.