


Inicio
Pregnancy, Breastfeeding, and Pumping: The Ultimate Guide for Moms
How to Express Breast Milk with Hand Pump: A Comprehensive Guide
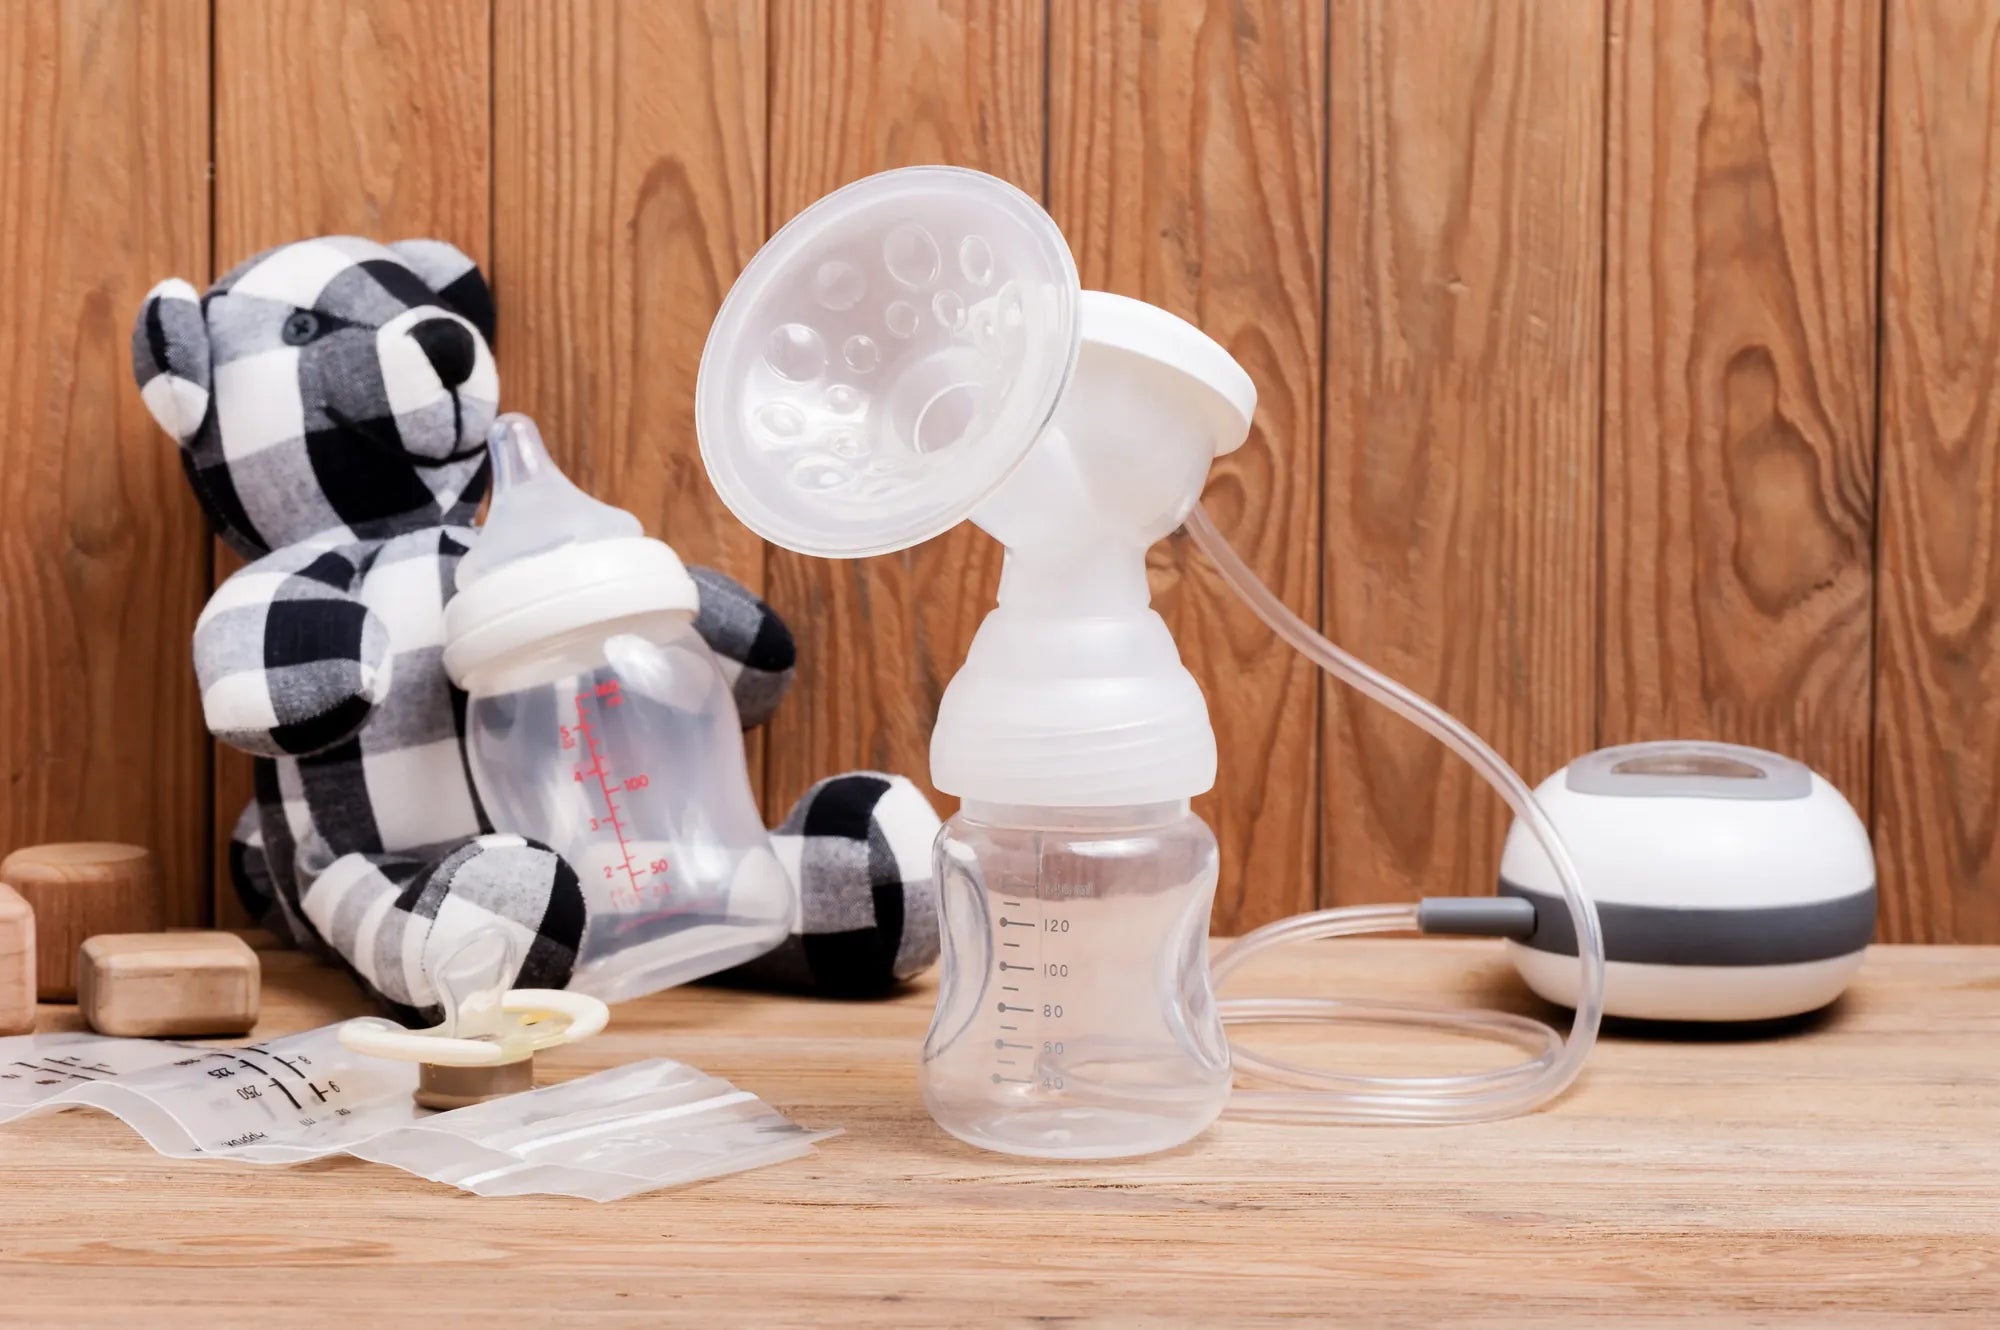
How to Express Breast Milk with Hand Pump: A Comprehensive Guide
Mastering how to express breast milk with a hand pump is a fundamental skill that offers nursing mothers unparalleled flexibility, control, and independence. Whether you're building a stash, relieving engorgement, or needing to be apart from your baby, a manual pump is a quiet, portable, and affordable tool every mom should know how to use effectively. This comprehensive guide will walk you through every step, from creating the right environment to advanced techniques for maximizing output, ensuring you can express milk comfortably and efficiently. We'll also explore how this timeless method compares to modern innovations like wearable pumps from trusted brands such as MomMed, a leader in reliable maternal and baby care products designed to support every stage of your journey.
Why Choose a Hand Pump? Understanding Your Options
In a market filled with electric and wearable pumps, the humble hand pump remains a vital tool. Its primary advantages are portability, silence, and cost-effectiveness. You can toss it in a diaper bag without worrying about batteries or chargers, making it perfect for travel or occasional use.
Hand pumps offer precise, intuitive control over suction strength and rhythm, which many mothers find allows for a more natural, responsive expression experience. This can be particularly helpful for those with sensitive nipples or who struggle with the sometimes aggressive cycle of an electric pump.
It serves as an excellent backup to your primary pump—be it a hospital-grade electric or a hands-free wearable like the MomMed S21. Every breastfeeding parent can benefit from having a reliable manual pump on hand for unexpected situations, from power outages to last-minute outings.
Furthermore, learning how to express breast milk with a hand pump builds a foundational understanding of your body's milk ejection reflex and breast mechanics. This knowledge is transferable and can make you more effective with any pumping method you choose.
The Essential Tools: What You Need to Get Started
Before you begin, gathering the right tools is crucial for a successful session. The centerpiece is, of course, a high-quality, BPA-free hand pump. Look for one with soft, food-grade silicone components, like those used in MomMed pumps, to ensure safety and comfort for both you and your baby.
You will also need clean collection bottles or milk storage bags, a comfortable chair with good back support, a glass of water, a healthy snack, and perhaps a phone or tablet for entertainment. Having everything within arm's reach prevents interruptions once your milk let-down begins.
Hygiene is paramount. Always start with thoroughly washed hands. Ensure all pump parts that contact breast milk—the breast shield (flange), valve, and bottle—are cleaned according to the manufacturer's instructions before first use and after every session.
Consider having nipple cream or purified lanolin nearby for post-pumping care, and a clean towel to manage any drips. Creating this dedicated "pumping station" streamlines the process and signals to your body that it's time to relax and express.
Step-by-Step Guide: How to Express Breast Milk with a Hand Pump
This core section provides a detailed, sequential guide to effective manual expression. Follow these steps to build confidence and efficiency in how to express breast milk with a hand pump.
Step 1: Preparation and Creating a Relaxing Environment
Begin by washing your hands with soap and water. Assemble your clean, dry hand pump, ensuring all parts are connected correctly and the valve is functioning. Find a quiet, private space where you won't be rushed or disturbed.
Psychological relaxation directly impacts physical let-down. Take a few deep breaths, look at a photo or video of your baby, or gently massage your breasts for a minute or two. Some mothers find sipping a warm beverage or applying a warm compress to the breasts beforehand helpful.
Step 2: Proper Positioning and Latch
Sit upright but relaxed. Center the breast shield over your nipple, ensuring it sits comfortably without pulling in excess areola. Tilt the bottle slightly downward to allow gravity to assist the milk flow into the container.
A proper seal is essential. The flange should sit flush against your breast. If you feel air leaking or hear a hissing sound, reposition it. Your body should be comfortable—avoid hunching over, as this can lead to back pain and inhibit milk flow.
Step 3: Mastering the Pumping Rhythm
Initiate the session with light, rapid compressions on the handle. This mimics a baby's initial quick sucks and helps stimulate the milk ejection reflex (let-down). You may feel a tingling sensation or see milk begin to spray or drip.
Once let-down occurs, transition to a slower, deeper, and more rhythmic pattern. Compress the handle fully, hold for a second, and release completely. Listen for the sound of milk flowing into the bottle. The rhythm should be steady and comfortable, never causing pain.
Step 4: Effective Expression and Switching Sides
Continue pumping for about 15-20 minutes per breast, but follow your body's cues. To fully empty ducts, use your free hand to massage your breast. Start from the outer chest wall and use gentle, circular motions moving toward the nipple while pumping.
Switch breasts when the milk flow significantly slows. You can switch back and forth multiple times in a session. This "hands-on pumping" technique, combining massage with expression, is proven to remove more milk and increase fat content.
Step 5: Post-Pumping Protocol
Once flow has stopped, gently break the seal by sliding a finger between the flange and your breast before removing the pump. Carefully pour the expressed milk into a sealed storage container or bag. Immediately label it with the date and volume.
Disassemble the pump and rinse all parts that contacted milk in cool water to prevent protein from sticking. Then wash thoroughly with warm, soapy water or place in a dishwasher if the manufacturer allows. Air dry on a clean rack before storing.
Maximizing Output and Comfort: Pro Tips for Success
Beyond the basics, several evidence-based strategies can significantly enhance your output and make the process more comfortable, turning manual expression into a highly effective practice.
Timing is Everything: When to Pump
Milk supply is typically highest in the morning. Try pumping about 30-60 minutes after your baby's first feed or between feedings. Pumping on one side while baby nurses on the other can yield excellent results due to simultaneous let-down.
For mothers exclusively pumping, maintaining a consistent schedule that mimics a baby's feeding pattern is key to establishing and protecting supply. Even with a hand pump, consistency signals your body to produce milk on demand.
Techniques to Encourage Let-Down and Flow
If let-down is slow to start, try gentle breast compression or a few minutes of hand expression before attaching the pump. Applying warmth, thinking about your baby, or smelling an item of their clothing can provide powerful psychological triggers.
During pumping, vary your technique. After a few minutes of steady rhythm, try a few faster pumps to trigger another let-down. Periodically lean forward slightly and gently shake your breasts to help milk move toward the nipples.
Ensuring a Perfect Fit: Flange Size Matters
Using an incorrectly sized breast shield is a leading cause of low output, pain, and nipple damage. Your nipple should move freely in the tunnel without rubbing the sides, and only a small amount of areola should be drawn in.
Most pumps come with a standard 24mm or 27mm flange, but many women need a different size. Brands like MomMed provide sizing guides and often offer multiple flange sizes, recognizing that comfort and efficiency—principles central to their wearable pump designs—begin with a proper fit.
Troubleshooting Common Hand Pump Challenges
Encountering hurdles is normal. Here are solutions to the most frequent issues mothers face when learning how to express breast milk with a hand pump.
Low Milk Output
If you're getting less milk than expected, first double-check your flange size. Ensure you are truly relaxed; stress inhibits oxytocin. Try pumping at a different time of day, and ensure you're hydrated and well-nourished. Remember, output with a pump is not always indicative of what your baby gets, as babies are more efficient.
Discomfort or Pain
Pain is a sign that something is wrong. Immediately reduce the suction strength. Re-evaluate the flange fit and placement—your nipple should be centered. Use a pure lanolin cream after pumping. Also, check that the pump's valve and membranes are intact and clean, as a faulty valve can create uneven suction.
Difficulty with Let-Down
If you consistently struggle to trigger let-down, create a sensory ritual. Use the same cozy spot, play calming music, or practice 5 minutes of deep breathing before you start. For some, a few minutes of gentle hand expression to start the flow before using the pump can "prime" the system effectively.
Hand Pump vs. Wearable Pump: Finding Your Fit
Understanding how a hand pump compares to modern alternatives helps you choose the right tool for your lifestyle. The following table outlines key differences.
| Feature | Hand Pump | Wearable Pump (e.g., MomMed S21) |
|---|---|---|
| Operation | Manual, hand-operated | Electric, battery-powered, hands-free |
| Portability & Discretion | Highly portable, silent | Portable, fits inside a bra, very discreet |
| Suction Control | Direct, intuitive manual control | Multiple electronic modes and cycles |
| Price Point | Most affordable option | Higher initial investment |
| Best Use Case | Occasional use, travel, backup, precise control | Regular use, multitasking, returning to work, active moms |
A hand pump is your reliable, go-anywhere basic tool. In contrast, a wearable pump like the MomMed S21 Double Wearable Breast Pump represents the innovative solution for active, multitasking moms who need hospital-grade performance and complete freedom of movement without sacrificing output.
Storing Your Liquid Gold: Best Practices After Expression
Proper storage preserves the nutritional and immunological properties of your breast milk. Adhere to these current guidelines based on recommendations from the CDC and Academy of Breastfeeding Medicine.
Freshly expressed milk can be kept at room temperature (up to 77°F or 25°C) for up to 4 hours. In the refrigerator (at 39°F or 4°C or colder), it is safe for up to 4 days. For longer storage, freeze it at 0°F (-18°C) or colder, where it can be kept for up to 12 months, though using it within 6 months is optimal for quality.
Always store milk in clean, food-grade containers or bags designed for breast milk. Leave some space at the top as milk expands when frozen. Label clearly with the date. Thaw frozen milk overnight in the refrigerator or by placing the container in warm water. Never thaw or warm breast milk in a microwave, as it creates hot spots and destroys valuable components.
Frequently Asked Questions (FAQs)
How long does it take to express milk with a hand pump?
A full session typically takes 20-30 minutes per breast, similar to an electric pump session. The time can vary based on your let-down reflex and experience. The key is to pump until the milk flow stops, not strictly by the clock.
Can I use a hand pump to increase my milk supply?
Yes. Consistent removal of milk signals your body to produce more. Using a hand pump after or between nursing sessions can help boost supply. The key is frequency and effective emptying, not the type of pump.
How do I clean and sterilize my hand pump?
After each use, disassemble and wash all parts in warm, soapy water. Rinse thoroughly. For daily sterilization, especially for infants under 3 months, you can boil the parts, use a steam bag, or a dedicated sterilizer. Always air-dry on a clean surface.
Is it normal to get less milk with a hand pump than my baby gets nursing?
Absolutely. A healthy baby is almost always more efficient than any pump. Pump output is not a reliable indicator of your true milk supply. Focus on your baby's growth, wet diapers, and contentment after feeds.
Can I combine milk from different pumping sessions in one container?
Yes, but with a crucial rule: cool freshly expressed milk in the refrigerator for at least an hour before adding it to already chilled or frozen milk from the same day. Never add warm milk to frozen milk, as it can partially thaw the stored milk.
Your Journey, Your Choice
Learning how to express breast milk with a hand pump equips you with a timeless, empowering skill that offers control, simplicity, and reliability. It is a testament to the incredible adaptability of mothers, providing a direct connection between your effort and your baby's nourishment. With practice, patience, and the techniques outlined here, you can master this method and make it a seamless part of your feeding routine. And for those moments when you need your hands back—to work, care for older children, or simply enjoy a moment of freedom—innovative solutions exist. MomMed's range of wearable and electric pumps are designed with the same core principles of safety, comfort, and efficacy, offering you choices that evolve with your needs. Shop the MomMed collection at mommed.com for all your breastfeeding and pregnancy needs, and find the perfect tools to support every step of your unique journey.