
Inicio
Pregnancy, Breastfeeding, and Pumping: The Ultimate Guide for Moms
Can Breast Pump Parts Go in Sterilizer? A Complete Safety & How-To Guide
Can Breast Pump Parts Go in Sterilizer? A Complete Safety & How-To Guide
Introduction: The Critical Role of Sterilization in Infant Feeding
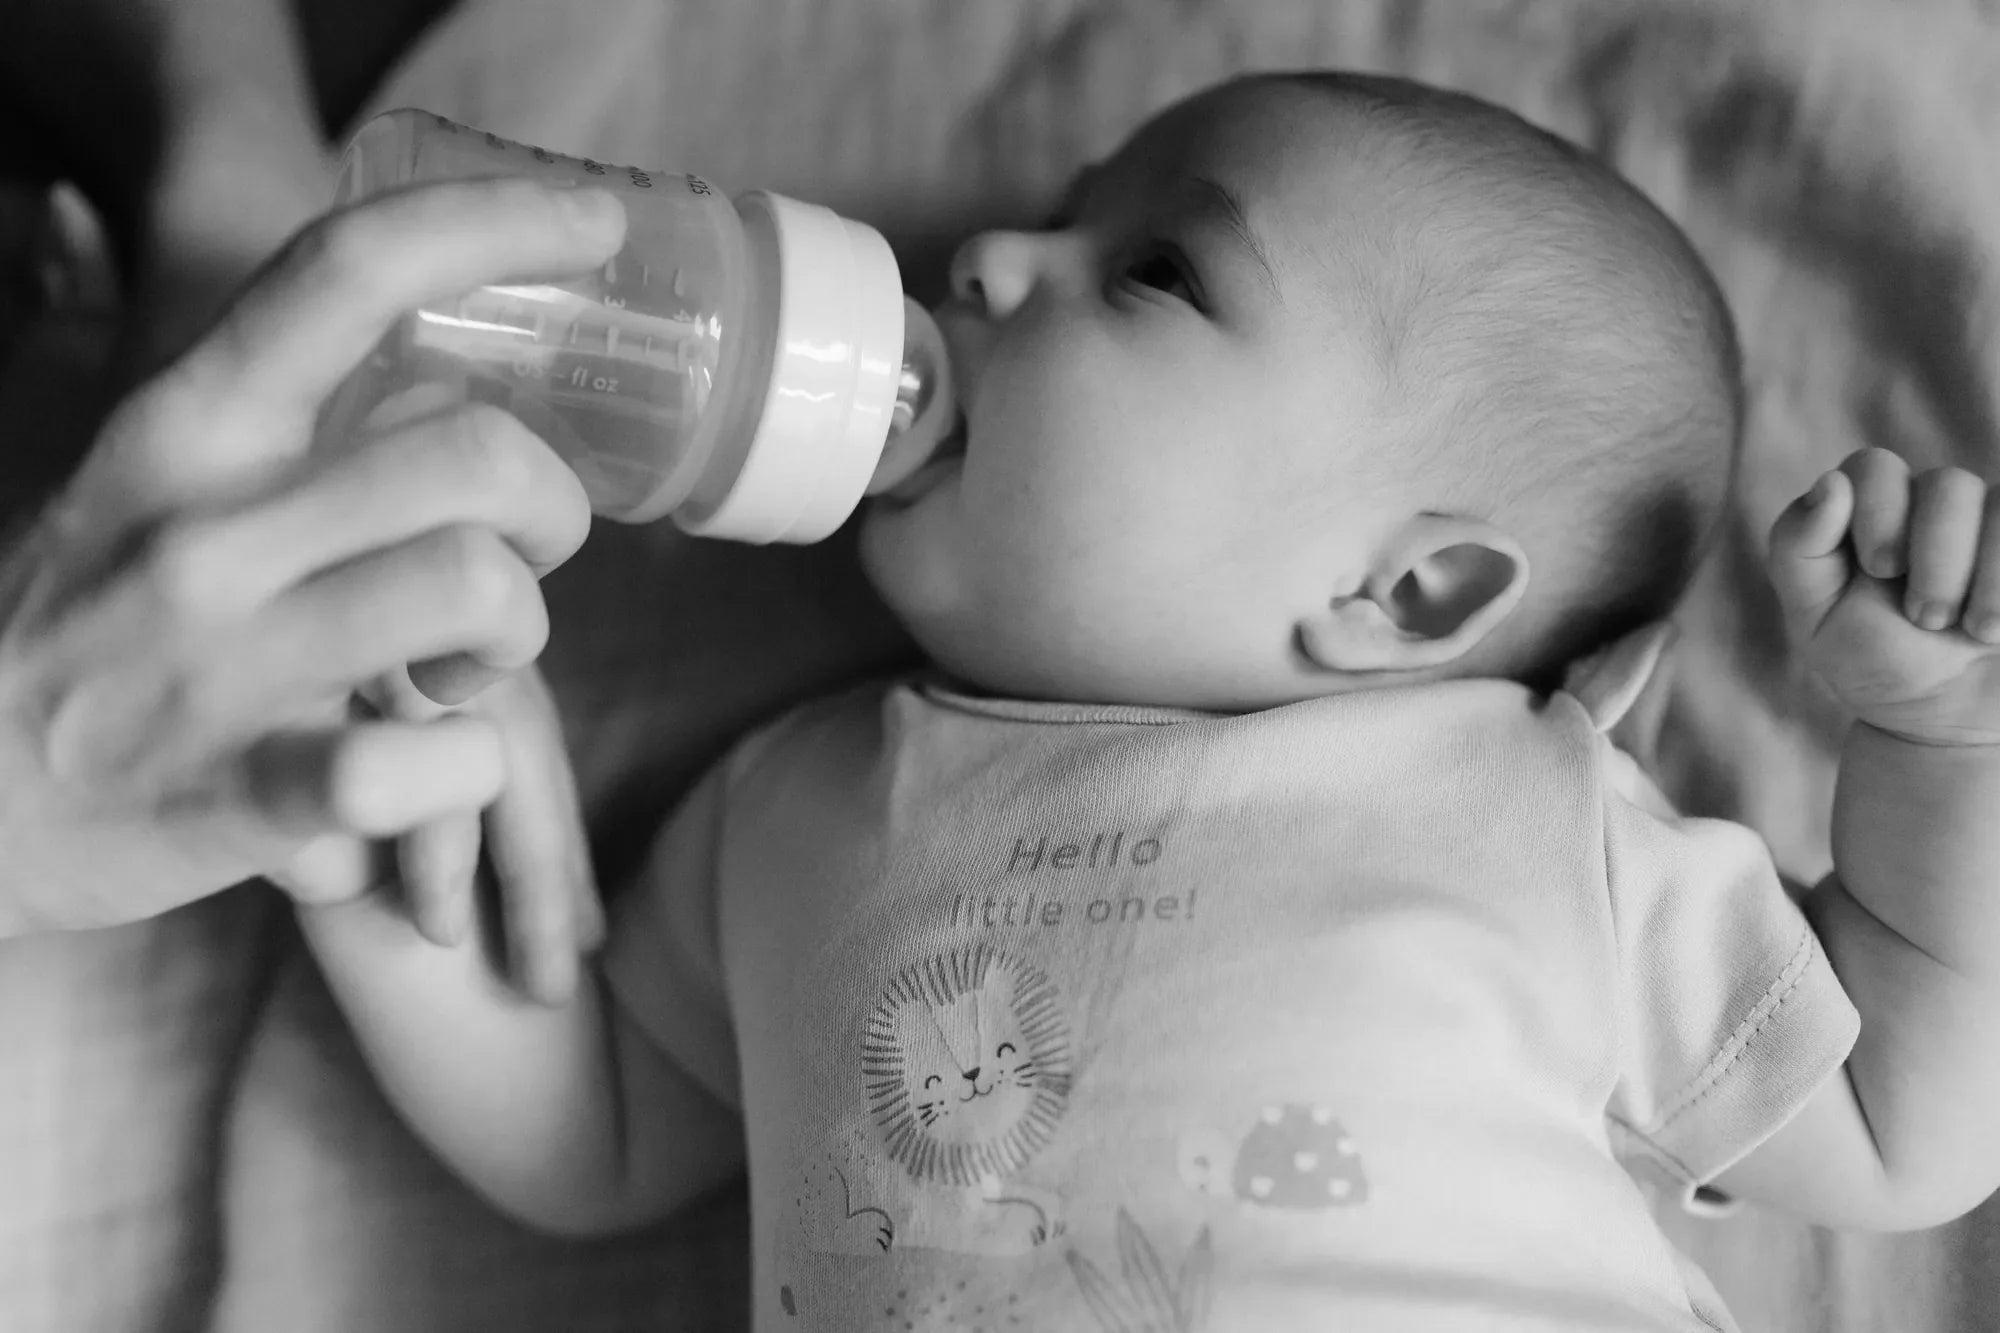
For parents who pump, ensuring every component that touches breast milk is impeccably clean isn't just about maintenance—it's a fundamental pillar of infant health. Bacteria can thrive in the residual milk left in valves, membranes, and bottles, posing a risk to a baby's developing immune system. This brings us to the essential question: Can breast pump parts go in a sterilizer? The short answer is yes, but with crucial caveats that depend on the materials, the sterilizer type, and the manufacturer's guidelines.
This comprehensive guide provides clear, evidence-based answers and detailed best practices. We will demystify the sterilization process, specifically addressing how to care for MomMed breast pump parts, which are engineered with your baby's safety and your convenience in mind. By the end, you'll have the confidence to implement a hygiene routine that protects your little one and extends the life of your pumping equipment.
Understanding Breast Pump Parts: What's Safe for the Sterilizer?
Not all components of your breast pump kit are created equal when it comes to heat and chemical exposure. Knowing what can and cannot be sterilized is the first step to safe practice. Generally, any part that comes into direct contact with breast milk should be sterilizable.
These typically include: breast shields (flanges), valves, backflow protectors, silicone membranes (like duckbills), milk collection bottles, bottle lids, storage bottles, and connectors. These parts from reputable brands like MomMed are specifically designed using materials that can withstand sterilization processes.
It is, however, paramount to always check your pump's instruction manual first. Manufacturers provide specific care guidelines based on the exact plastics and silicones used. MomMed utilizes BPA-free, food-grade silicone and durable, medical-grade plastics in all parts that contact milk, making them safe for standard sterilization methods when instructions are followed.
Parts that should NEVER go in a sterilizer include the pump motor unit, any part with electrical components, and tubing (unless the manufacturer explicitly states it is sterilizer-safe). Submerging the motor can cause irreparable damage and create an electrical hazard. Tubing should generally stay dry; if moisture gets inside, it can be rinsed with a vinegar solution and hung to dry completely, but it is not typically sterilized via steam or boiling.
Your Sterilization Arsenal: Methods Compared
Parents have several effective options for sterilizing breast pump parts. The best method for you depends on your lifestyle, budget, and available time. Below is a comparison of the three most common techniques.
| Method | How It Works | Time Required | Key Pros | Key Cons |
|---|---|---|---|---|
| Electric Steam Sterilizer | Heats water to produce steam that kills germs on all surfaces. | ~10-15 min cycle + cooling | Thorough, consistent, easy to use, often has a drying function. | Requires counter space, upfront cost. |
| Microwave Steam Bags | Uses a small amount of water in a specially designed bag; microwave steam does the work. | ~3-5 min in microwave + cooling | Very fast, compact, inexpensive per bag, portable. | Bags wear out, requires a microwave, can be less consistent. |
| Cold-Water Sterilization | Uses a non-chlorine-based sterilizing tablet or liquid dissolved in cold water. | 30 min soak (minimum) | No heat needed, gentle on parts, good for travel. | Chemical smell/taste can linger if not rinsed, requires 30+ minutes. |
| Boiling (Stovetop) | Submerging parts in a pot of rolling boiling water. | 10 minutes of boiling | Very effective, no special equipment needed. | Risk of warping plastic, requires monitoring, parts can be damaged. |
For daily use, many parents find an electric steam sterilizer with a dryer to be the most convenient and thorough option. Microwave bags are excellent for quick sessions or at the office. Cold-water tablets are a lifesaver for travel or when away from power sources. MomMed parts are compatible with all these methods when the proper duration and guidelines are followed.
Step-by-Step Guide: How to Safely Sterilize MomMed Breast Pump Parts
Proper sterilization is a two-step process: cleaning, then sterilizing. Skipping the first step renders the second less effective, as sterilization works best on surfaces free of milk fat and protein.
Step 1: The Essential Pre-Clean
Immediately after pumping, disassemble all parts that touched milk. Rinse them under cool running water to remove milk residue. Then, wash each piece in warm, soapy water using a bottle brush designed for narrow parts. Pay special attention to valves and membranes where milk can easily get trapped. Rinse thoroughly under running water to remove all soap suds.
Step 2: Choosing and Executing Your Sterilization Method
For an Electric/Microwave Steam Sterilizer: Place the clean, disassembled parts in the sterilizer with openings facing down. Ensure they are not crammed together so steam can circulate. Add the recommended amount of water (use distilled if you have hard water to prevent mineral buildup). Run the cycle. Let the sterilizer cool with the lid on before removing parts with clean hands or tongs.
For Cold-Water Sterilization: In a clean, dedicated container, mix cold water with the correct dose of sterilizing solution or tablet as per the product instructions. Ensure all parts are fully submerged and there are no air bubbles trapped inside bottles or flanges. Soak for the recommended time (usually at least 30 minutes). After soaking, you can rinse the parts with cooled, previously boiled water to remove any chemical taste, though this is not always necessary. Drain and air-dry.
Final Step: Drying & Storage
Always allow parts to air-dry completely on a clean, unused dish towel or drying rack in an area free of dust. Do not towel-dry, as this can reintroduce germs. Once dry, reassemble and store in a clean, closed container or bag. Parts left in a closed electric sterilizer remain sterile for up to 24 hours if the lid is not removed.
Common Sterilization Mistakes That Damage Parts or Compromise Safety
Even with the best intentions, simple errors can reduce the effectiveness of sterilization or shorten the lifespan of your pump parts.
1. Over-Sterilizing or Using Excessive Heat: While daily sterilization is recommended for young infants, running multiple steam cycles back-to-back or boiling parts for excessively long periods can degrade silicone and plastic over time, making them brittle or warped. Follow recommended cycle times.
2. Cramming the Sterilizer: Overloading prevents steam from contacting all surfaces evenly, creating pockets where bacteria can survive. If your parts don't all fit, run two batches.
3. Using Abrasive Cleaners or Tools: Scrubbing with harsh scouring pads or abrasive cleaners can create microscopic scratches on plastic and silicone. These tiny grooves become havens for bacteria and are harder to clean and sterilize effectively.
4. Improper Drying or Storage: Storing parts while damp, especially in a sealed bag or container, creates a moist environment perfect for mold and bacterial growth. Always ensure parts are bone-dry before storage.
5. Sterilizing Non-Submersible Parts: Never submerge the pump motor, and avoid getting water in the tubing unless specified. This is a common error that can ruin your pump.
Sterilization Frequency: How Often is Necessary?
The recommended frequency for sterilizing breast pump parts depends largely on your baby's age and health status, balancing hygiene with practicality.
For newborns (under 3 months), premature babies, or babies with a compromised immune system, experts recommend sterilizing all pump parts at least once per day. For these vulnerable infants, the highest standard of cleanliness is non-negotiable. Some pediatricians may advise sterilizing after every use during the first month.
For older, healthy babies (over 3 months), thorough cleaning with hot, soapy water after each use is often considered sufficient, with sterilization performed once a day or a few times a week. As babies explore the world orally, their environment is less sterile, and their immune systems are more developed.
A good rule of thumb is to sterilize whenever you would sterilize baby bottles. Additionally, always sterilize: before first use, after any illness (yours or the baby's), if a part has been dropped on the floor, and after extended storage. Hand hygiene is equally critical—always wash your hands thoroughly before handling sterilized parts or your breasts for pumping.
MomMed Product Spotlight: Engineered for Effortless Hygiene
MomMed designs every product with the realities of a parent's busy life in mind, and that includes simplifying the cleaning process. A prime example is the award-winning MomMed S21 Double Wearable Breast Pump. Its key innovation—true, cord-free wearability—is matched by its practicality in maintenance.
All parts that come into contact with breast milk in MomMed pumps, from the S21 and S12 wearables to the Swing electric pump, are constructed from BPA-free, food-grade silicone and PP plastic. These materials are not only safe for your baby but are also explicitly tested and approved for repeated sterilization via steam, boiling (for a limited time), and cold-water methods. This durability ensures your pump performs reliably throughout your breastfeeding journey.
The design also minimizes hard-to-clean areas. For instance, valves and membranes are easy to disassemble for a thorough clean. The accompanying instruction manuals provide clear, specific care guidelines to maximize the lifespan and hygiene of your pump. This commitment to safety and ease is why thousands of moms trust MomMed for their feeding and baby care essentials.
Troubleshooting: Caring for Parts Post-Sterilization
Even with perfect care, you may encounter some common issues. Here’s how to address them.
White Film or Discoloration: This is almost always harmless mineral deposit from hard water, especially noticeable after steam sterilization. To remove it, soak parts in a mixture of one part white vinegar to three parts water for 30 minutes, then rinse thoroughly. Using distilled water in your steam sterilizer can prevent this.
Stiff, Stretched, or Cracked Silicone: Valves and membranes are wear items. Heat and repeated use can cause silicone to lose its elasticity, which directly impacts suction and efficiency. If your valve flaps are not fluttering properly during pumping or the membrane looks deformed, it’s time for a replacement. MomMed recommends replacing duckbill valves and backflow protector membranes every 4-8 weeks for optimal performance.
Loss of Suction: If your pump seems weaker, the first step is always to check and replace the valves and membranes. Over 90% of suction issues are solved with fresh, pliable silicone parts. Ensure all connections are tight and that no hair or lint is stuck in the valves.
Persistent Odors: If a plastic or silicone smell lingers after sterilization, try soaking parts in a baking soda solution (1 tablespoon per cup of water) before your next sterilization cycle. Ensure you are using all components as intended—for example, never put the tubing in the sterilizer unless the manual says you can.
Frequently Asked Questions (FAQ)
Can I boil MomMed breast pump parts instead of using a sterilizer?
Yes, you can. Place disassembled, cleaned parts in a pot of boiling water, ensuring they are fully submerged. Boil for 10 minutes. Use a timer, as prolonged boiling can warp plastic. Remove with clean tongs and air-dry. This is a highly effective method if you don't own a sterilizer.
How long do sterilized parts remain sterile?
Parts remain sterile inside a closed electric or microwave sterilizer for up to 24 hours if the lid remains on. Once you remove them, they are no longer considered sterile. For cold-water sterilization, the solution remains effective for 24 hours, and you can keep parts submerged in the solution until needed, then rinse.
Do I need to sterilize brand new pump parts before first use?
Absolutely. Always sterilize all new pump parts, bottles, and accessories before their first use. This removes any potential residues from the manufacturing and packaging process.
Can the tubing or motor of my MomMed pump be sterilized?
No. Never submerge the motor unit or any electrical components in water or sterilizing solution. Wipe the exterior with a damp cloth. Tubing should generally not be sterilized unless specified. If moisture gets inside, rinse with a vinegar solution, but the primary goal is to keep it dry to maintain suction and prevent mold.
Is it safe to put dishwasher parts in the dishwasher?
Many MomMed parts are top-rack dishwasher safe. However, the high heat and harsh detergent of a dishwasher can accelerate wear on silicone parts like valves and membranes. For longevity and to preserve the integrity of these critical components, handwashing is recommended. If using a dishwasher, place parts in a closed-top basket to protect them.
Empowering Your Feeding Journey with Confidence and Cleanliness
Knowing the definitive answer to 'Can breast pump parts go in a sterilizer?' empowers you to establish a safe, efficient routine. Yes, the core components of your breast pump—especially those from trusted brands like MomMed that use food-grade, BPA-free materials—are designed to be sterilizer-safe. The key lies in following the simple steps: a thorough clean, choosing the right sterilization method for your life, avoiding common pitfalls, and replacing wear items regularly.
This process is more than a chore; it's an act of care that safeguards your baby's health and ensures every drop of your liquid gold is delivered safely. By integrating these evidence-based practices, you can pump with peace of mind, knowing you're providing the purest nourishment possible. For reliable, innovative products designed to support you at every stage, from pregnancy to feeding and beyond, explore the collection built with your needs in mind.
Shop the MomMed collection at mommed.com for all your breastfeeding and pregnancy needs. Discover wearable pumps that offer freedom, test kits you can trust, and baby care essentials that make parenting a little easier.