
Startseite
Pregnancy, Breastfeeding, and Pumping: The Ultimate Guide for Moms
How to Breast Pump for the First Time: A Comprehensive Guide for New Moms
How to Breast Pump for the First Time: A Comprehensive Guide for New Moms
Learning how to breast pump for the first time can feel overwhelming, mixing excitement with a touch of anxiety. You're taking a significant step in your feeding journey, whether you're returning to work, seeking shared feeding duties, or building a milk stash. This guide is designed to demystify the entire process, transforming uncertainty into confidence. We'll walk through every essential step—from pre-session preparation and mastering pump settings to post-pump care and troubleshooting. By the end, you'll have a practical, actionable plan for your inaugural pumping session and beyond, supported by reliable information and insights from MomMed, a trusted brand in maternal and baby care.
Getting Started: Essential Preparation Before Your First Session
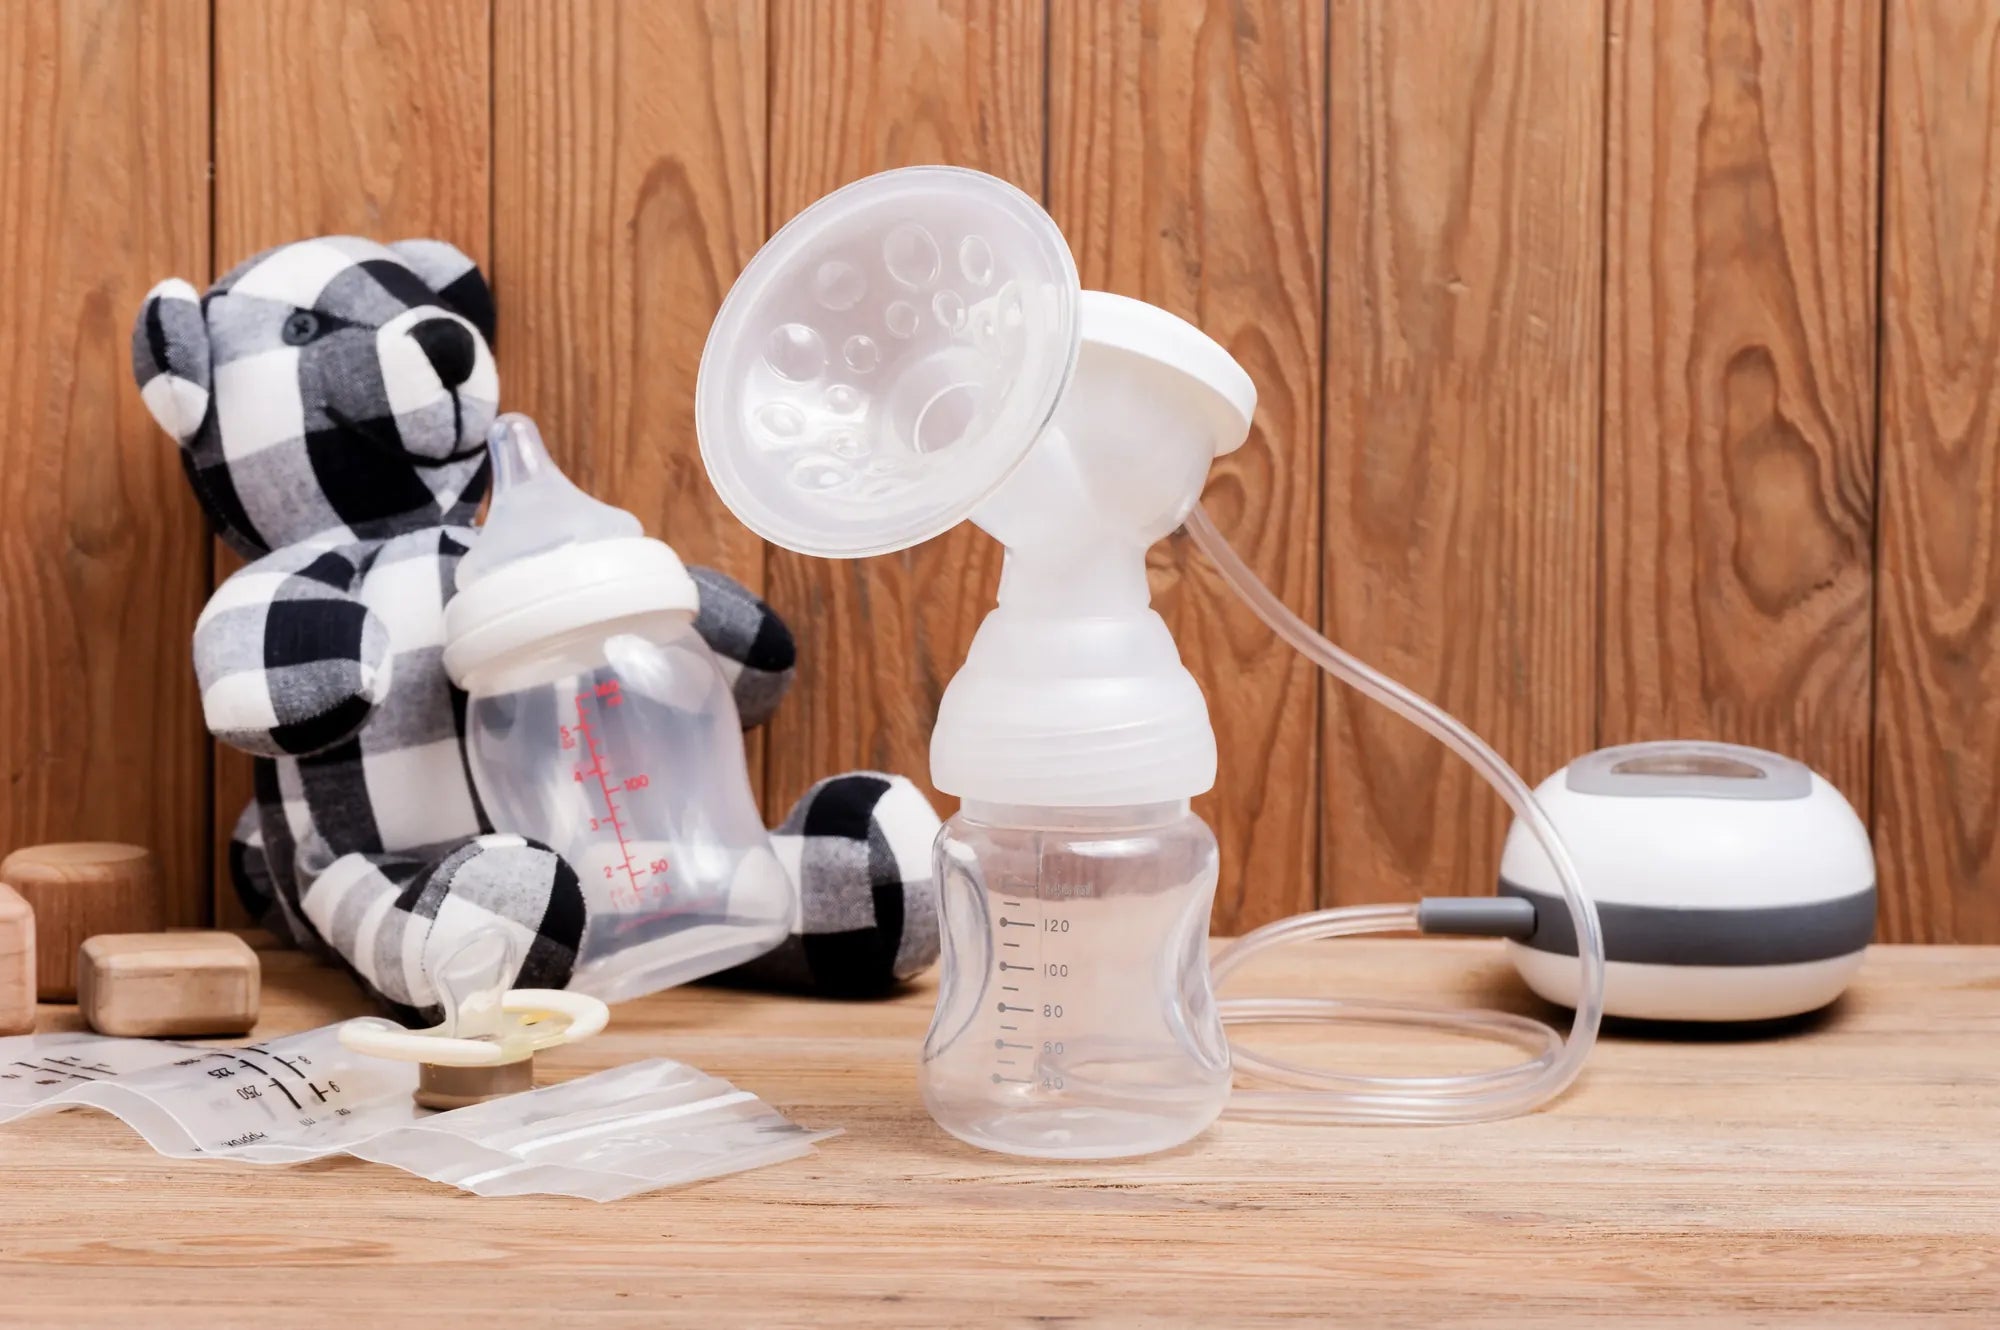
Proper preparation is the cornerstone of a positive first pumping experience. Before you even turn on the pump, taking time to gather your supplies and set the scene will significantly reduce stress. Start by ensuring you have all necessary components: your breast pump, flanges (breast shields), valves, membranes, collection bottles or bags, a cleaning basin, and a dedicated drying rack.
Choose a comfortable, private space where you can relax. Good lighting and a supportive chair with armrests are ideal. Place a glass of water and a healthy snack nearby, as hydration and nutrition are crucial for milk production. Wash your hands thoroughly with soap and water before handling any pump parts or your breasts. This simple hygiene step is vital for keeping your expressed milk safe for your baby.
Finally, set realistic expectations. Your first few sessions are a learning curve for both you and your body. The initial output may be small, measured in milliliters or even drops, and that is completely normal. The goal of these early sessions is stimulation and practice, not volume. Consistency at this stage is far more important than quantity.
Choosing the Right Pump for Your Journey
Selecting a pump that aligns with your lifestyle and goals is critical. The three main types are manual, standard electric, and wearable pumps. Manual pumps are portable and inexpensive but require significant hand effort, making them best for occasional use. Standard electric pumps (single or double) offer powerful, consistent suction and are often recommended for establishing supply or exclusive pumping.
Wearable breast pumps, like the award-winning MomMed S21 Double Wearable Breast Pump, represent a revolution in convenience and discretion. These cordless, cup-style pumps fit inside your bra, allowing you to pump hands-free and move about your day. This design is ideal for busy moms, those returning to work, or anyone who values mobility and privacy. MomMed pumps are engineered with BPA-free, food-grade silicone for baby's safety and feature multiple, adjustable suction modes to match your comfort and efficiency needs.
Your Step-by-Step Guide to the First Pumping Session
Now, let's walk through the first session chronologically. Follow these steps to build confidence and establish an effective routine.
Step 1: Assembling and Preparing Your Pump
Begin by carefully reading the user manual for your specific pump model. Assemble all parts correctly: connect the flange to the diaphragm or valve, attach the valve to the collection bottle, and ensure all tubing is securely connected to the pump motor. For closed-system pumps like MomMed's, verify that the backflow protector is correctly placed to prevent milk from entering the tubing.
Before your first use, it's advisable to sanitize all parts that come into contact with milk according to the manufacturer's instructions. For daily use after this initial sanitization, thorough washing with warm, soapy water is sufficient. Double-check that all components are completely dry before assembly to maintain optimal suction.
Step 2: Finding Your Fit and Getting Comfortable
Flange fit is arguably the most important factor for comfort and effective milk removal. The flange tunnel should surround your nipple without pulling in excess areola tissue. There should be a small gap (1-2 mm) around your nipple, allowing it to move freely without rubbing the sides. Most pumps come with standard 24mm or 28mm flanges, but many women need a different size.
MomMed offers a range of flange sizes to ensure a proper, comfortable fit. A flange that is too small can cause nipple pain, blanching, and reduced output, while one that is too large may not stimulate effectively. Position yourself comfortably, relax your shoulders, and center the flange over your nipple. Applying a small amount of pure lanolin or coconut oil to the flange rim can reduce friction.
Step 3: Mastering the Pump Settings
Modern electric pumps, including MomMed models, use two-phase technology. Phase 1 is the stimulation or let-down mode. It features rapid, lighter suction cycles designed to mimic a baby's initial quick sucks, triggering your milk ejection reflex (MER). Start on the lowest suction level in this mode.
After milk begins to flow (usually within 1-3 minutes), switch to Phase 2, the expression mode. This mode has slower, deeper suction cycles meant to efficiently drain the breast. Gradually increase the suction level to the highest comfortable setting—it should never be painful. Discomfort is a sign to lower the suction or check flange fit. The ability to customize these modes, as with MomMed pumps, allows you to personalize the experience for maximum comfort and yield.
Step 4: The Pumping Session: Duration and Expectations
For your first session, aim for 15-20 minutes total, or about 10-15 minutes per breast if pumping double. Focus on relaxation techniques: look at a photo or video of your baby, listen to calming music, or practice deep breathing. These actions can help stimulate oxytocin, the hormone responsible for milk let-down.
Do not be discouraged by a small volume. Colostrum or early milk is thick and nutrient-dense, and you may only express teaspoons. To establish a robust milk supply, the general recommendation is to pump 8-12 times per 24 hours, mimicking a newborn's feeding frequency. Consistency in these early days and weeks signals your body to produce more milk.
After Pumping: Storage, Cleaning, and Essential Self-Care
Your routine after pumping is just as important as the session itself. Proper milk handling ensures your liquid gold stays safe for your baby, while a consistent cleaning routine protects your pump's functionality and hygiene.
Immediately after pumping, pour milk into a clean storage bottle or bag. Label it with the date and time expressed. Follow the CDC storage guidelines: freshly expressed milk can be kept at room temperature (up to 77°F) for up to 4 hours, in the refrigerator for up to 4 days, and in a freezer for about 6-12 months for optimal quality.
Cleaning should begin right away. Disassemble all parts that touched breast milk. Rinse under cool water first, then wash in warm, soapy water using a dedicated brush. Rinse thoroughly and air-dry on a clean rack. For MomMed wearable cups, pay special attention to the intricate valves and membranes. Sanitize according to guidelines weekly, or more often if your baby is premature or has health concerns.
Finally, practice self-care. Drink a full glass of water, have your prepared snack, and take a moment to acknowledge your effort. Pumping is work, and nourishing yourself is part of nourishing your baby.
Comparison: Hand Expression vs. Manual vs. Electric Pumping
Understanding the different expression methods helps you choose the right tool for various situations. Below is a comparison of the three primary techniques.
| Method | Best For | Pros | Cons |
|---|---|---|---|
| Hand Expression | Early days with colostrum, relieving engorgement, occasional use. | No equipment needed, free, offers precise control, useful for clogged ducts. | Requires learned technique, can be tiring for hands, less efficient for full drainage. |
| Manual Pump | Occasional pumping, travel backup, moms with oversupply who need quick relief. | Portable, inexpensive, quiet, no cords or batteries. | Physically demanding, can cause hand fatigue, slower, typically single-side pumping. |
| Standard Electric Pump | Establishing supply, exclusive pumping, frequent daily use. | Powerful, consistent suction, efficient double-pumping, hands-free with a pumping bra. | Less portable, can be noisy, requires outlet or battery pack, more visible. |
| Wearable Electric Pump (e.g., MomMed S21) | Busy, on-the-go moms, returning to work, maintaining discretion, multitasking. | Ultimate portability and discretion, hands-free operation, quiet, often features multiple modes. | Higher initial cost, parts may be more specific to brand, requires regular charging. |
Troubleshooting Common First-Time Challenges
Encountering hurdles is a normal part of the learning process. Here are solutions to common first-time pumping issues.
Low Output or "Only Drops": This is extremely common initially. Ensure you are using stimulation mode correctly to trigger let-down. Practice relaxation techniques, try breast massage before and during pumping, and ensure your flange size is correct. Remember, frequent removal (8-12 times per day) is the primary driver of supply, not the volume of one session.
Discomfort or Pain: Pain is not normal. Immediately reduce the suction level. Re-evaluate your flange size—pain is often a fit issue. Check that your nipple is centered and moving freely. Using lubrication can help. If pain persists, consult an International Board Certified Lactation Consultant (IBCLC).
Difficulty Triggering Let-Down: Stress is the enemy of let-down. Create a consistent, relaxing pre-pump ritual. Warm compresses on the breasts for a few minutes before pumping can help. Smelling an item of your baby's clothing or looking at their photo utilizes the power of oxytocin.
Feeling Overwhelmed: Break the process down. Focus on one session at a time. Consider a wearable pump like MomMed's S21 to integrate pumping into your routine without being tethered to one spot. Connect with other pumping moms online or in support groups for encouragement and practical tips.
Frequently Asked Questions from New Pumping Moms
Q: How often should I pump for the first time?
A: To build or maintain a full milk supply, plan to pump 8-12 times in a 24-hour period, including at least one session overnight when prolactin levels are high. For your very first session, just focus on the practice; then aim for consistency.
Q: How do I know if the flange fits correctly?
A: Your nipple should move freely in the tunnel without rubbing the sides. Only a small amount of areola (if any) should be pulled in. After pumping, your nipple should not be blanched (white), compressed, or painful. Slight redness is normal, but pain is not.
Q: Why am I only getting drops of milk?
A> This is typical in early sessions, especially if you are also breastfeeding. You are stimulating your body to produce more. Ensure you're hydrated, relaxed, and using the pump correctly. Output typically increases after your mature milk comes in, around days 3-5 postpartum, with consistent pumping.
Q: Can I use a wearable pump right after birth?
A> It is generally recommended to wait until your milk supply is well-established, usually around 3-4 weeks postpartum, before relying primarily on a wearable pump. In the first few weeks, using a hospital-grade or standard electric pump can help effectively establish supply. However, you can use a wearable pump for occasional sessions—always prioritize comfort and effective drainage.
Q: How do I combine pumping with breastfeeding?
A> A common strategy is to pump for 10-15 minutes after your first morning nursing session when milk volume is often highest. Alternatively, pump from one breast while baby nurses on the other (using a collection shell on the nursing side can catch let-down). This approach can help build a stash without significantly adding extra time to your routine.
Building a Sustainable Pumping Routine and Schedule
Transitioning from your first session to a sustainable routine is key to long-term success. A routine reduces decision fatigue and helps your body adapt to a predictable pattern of milk removal.
Start by identifying 2-3 consistent times each day you can dedicate to pumping. Morning sessions are often most productive due to higher prolactin levels. If you are exclusively pumping, your schedule will need to mirror a newborn's feeding pattern, starting with sessions every 2-3 hours. Use a tracking app or a simple notebook to log pump times, duration, and output from each side. This data is invaluable for identifying patterns and troubleshooting dips in supply.
Incorporate power pumping—a technique that mimics cluster feeding—if you need to boost supply. This involves pumping for 20 minutes, resting for 10, pumping for 10, resting for 10, and pumping for a final 10 minutes. Do this once a day for 3-5 days. Remember, your schedule will evolve with your baby's needs and your own, so remain flexible.
Understanding Your Body: The Science of Milk Production
Knowing the physiology behind lactation can empower your pumping journey. Milk production operates on a supply-and-demand, or more accurately, a supply-and-removal, system. The hormone prolactin tells your body to make milk, while the milk ejection reflex (governed by oxytocin) releases it.
Every time milk is effectively removed from your breasts—by a baby or a pump—it signals your body to produce more. Incomplete or infrequent removal sends the signal to slow down. This is why consistency and effective drainage during pumping sessions are non-negotiable for maintaining supply. The frequent, short sessions recommended in the early weeks are designed to maximize prolactin receptor sites in your breast tissue, setting a strong foundation for your ongoing milk production.
Factors like stress, fatigue, certain medications, and hormonal changes can temporarily affect output. This is normal. Trust the process, focus on consistent removal, hydration, and nutrition, and your body will typically respond. If you have persistent concerns about low supply, consulting an IBCLC is the best course of action.
Conclusion: Empowering Your Feeding Journey with Knowledge and the Right Tools
Your first time breast pumping marks the beginning of a journey that offers flexibility and freedom in how you feed your baby. The keys to success are preparation, patience with yourself and the process, and using equipment that supports your comfort and goals. Remember that every drop you express is an achievement, and building a supply takes time and consistency. Trust in your body's ability to nourish your child, and don't hesitate to seek support from lactation professionals and fellow moms. You are not just learning a skill; you are providing for your baby in a powerful and dedicated way.
For mothers seeking a blend of discretion, comfort, and efficiency, the right pump makes all the difference. MomMed is committed to supporting this journey with innovative, reliable products designed with your real-life needs in mind. From the hands-free convenience of the S21 Wearable Pump to the gentle effectiveness of our complete range, we provide tools to help you feel confident and empowered. Shop the MomMed collection at mommed.com for all your breastfeeding and pregnancy needs.