
Startseite
Pregnancy, Breastfeeding, and Pumping: The Ultimate Guide for Moms
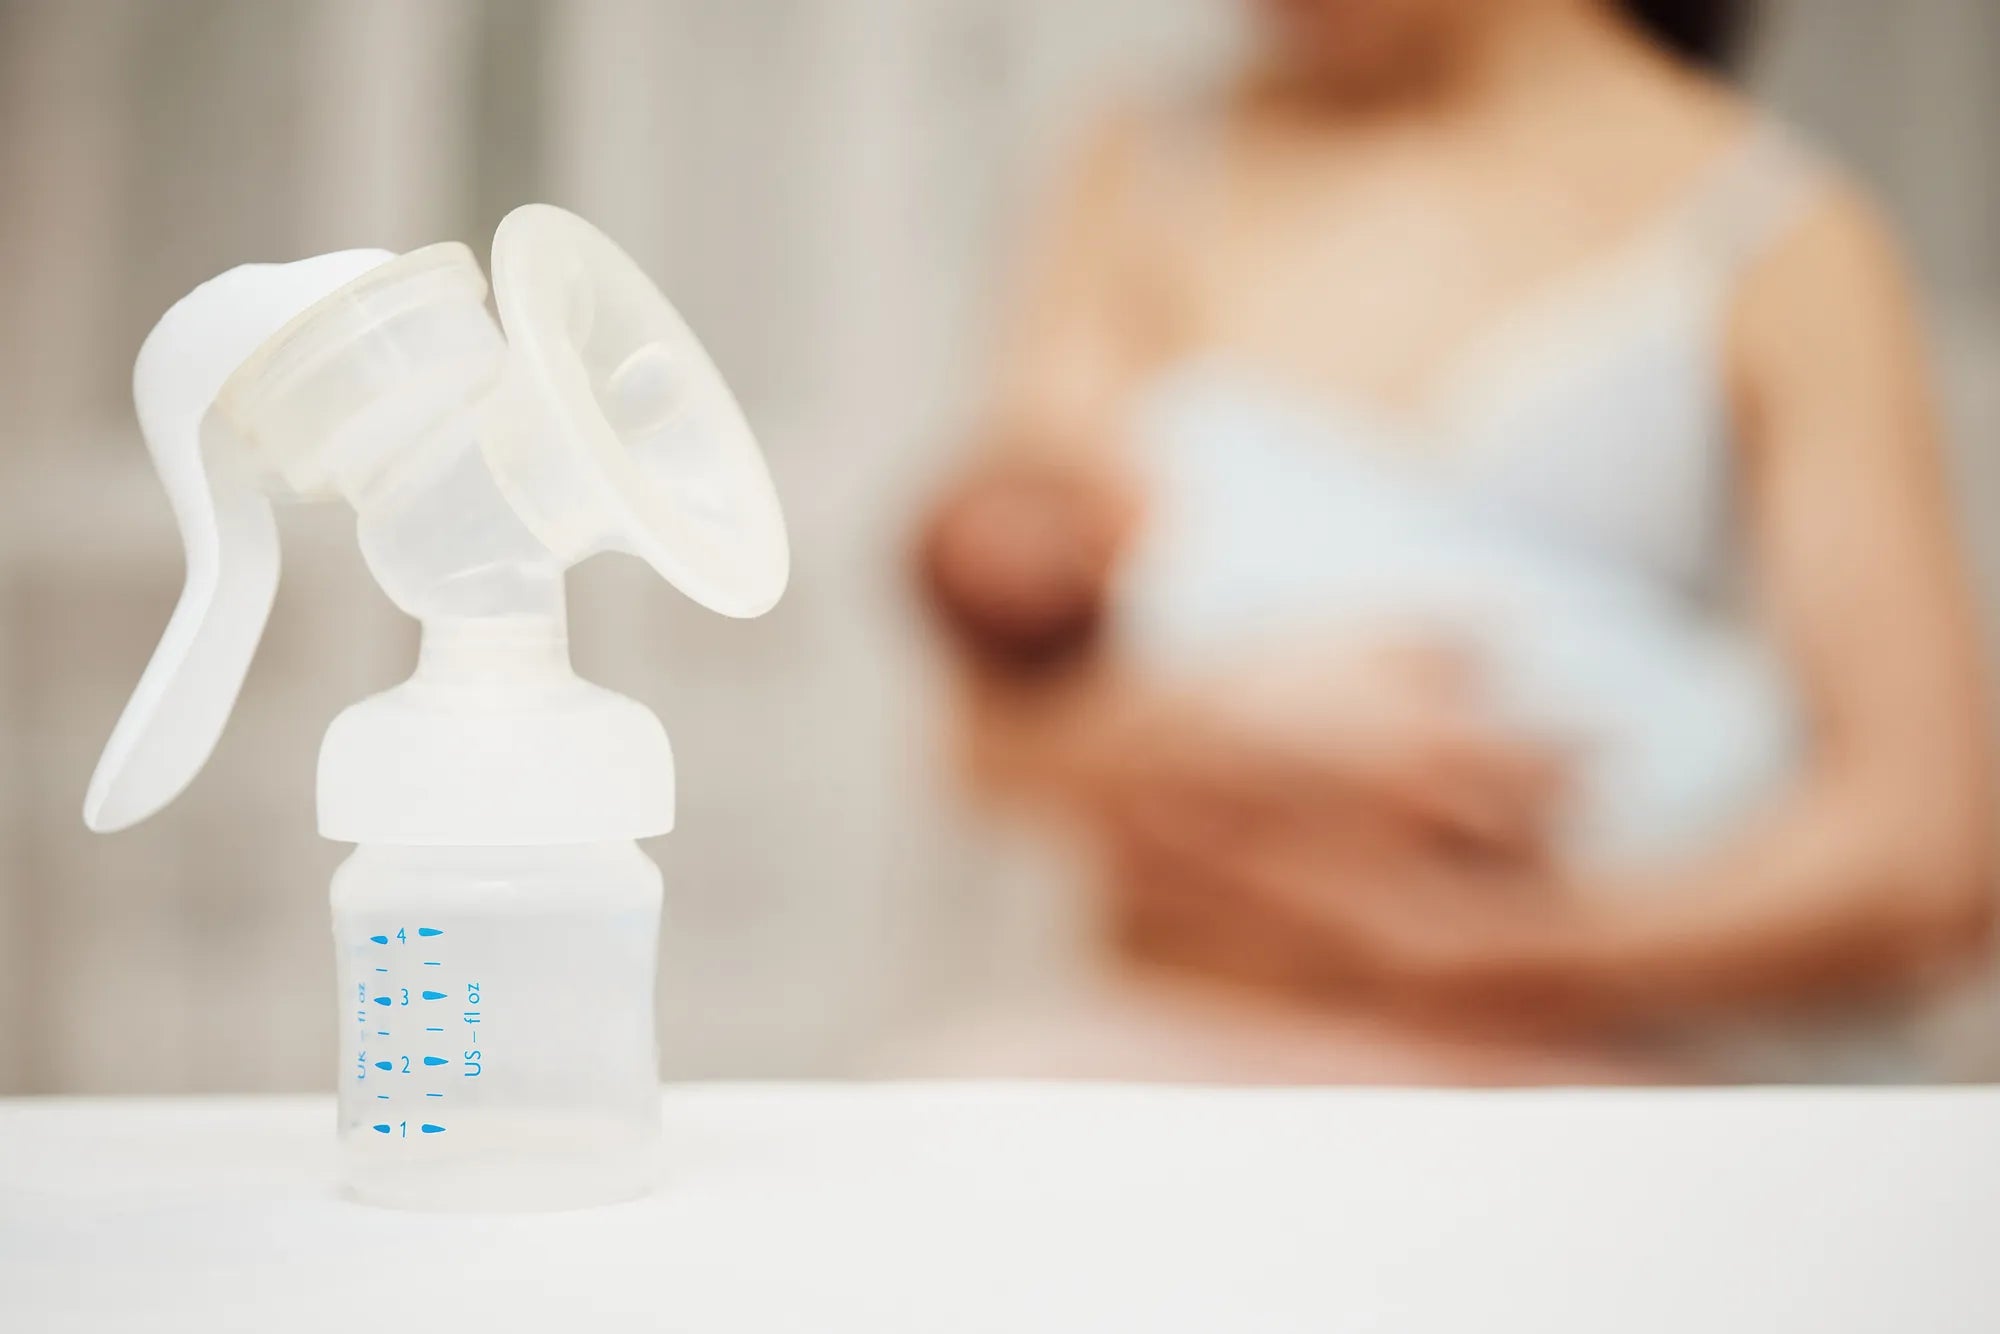
How to Pump Breast Milk for Beginners: A Comprehensive Guide
How to Pump Breast Milk for Beginners: A Comprehensive Guide
Navigating the world of breast pumping for the first time can feel daunting, but mastering this skill is one of the most empowering things you can do for your breastfeeding journey. This comprehensive guide will walk you through every step, from understanding the basics of why and when to start, to choosing the right equipment, and establishing a routine that works for you and your baby. You'll learn practical, lactation-consultant-approved techniques to maximize comfort and output, alongside essential safety guidelines for handling and storing your liquid gold.
Understanding the Basics: Why and When to Start Pumping
Before you even assemble a pump, it's crucial to understand your "why." Pumping serves multiple purposes, each with its own strategic approach. Common reasons include building a freezer stash for returning to work, increasing or maintaining milk supply, allowing a partner to participate in feedings, or providing breast milk for a baby who has difficulty latching. Identifying your primary goal will shape your initial pumping schedule and expectations.
For beginners, timing is everything. The general recommendation from lactation experts is to wait until breastfeeding is well-established, typically around 3-4 weeks postpartum, before introducing regular pumping sessions. This allows your milk supply to regulate based on your baby's direct demand, reducing the risk of oversupply. However, there are exceptions. If you need to be separated from your baby early due to medical reasons, or if you're exclusively pumping from the start, you should begin pumping within the first 6 hours after birth, mimicking a newborn's feeding frequency of 8-12 times per 24 hours.
Starting too aggressively can lead to engorgement or an oversupply, which comes with its own set of challenges like mastitis. Conversely, pumping can be a powerful tool if you're concerned about low milk supply. In this case, adding a short pumping session (10-15 minutes) right after or between breastfeeding sessions can signal your body to produce more milk. The key is to start slowly, listen to your body, and view early pumping as practice rather than a volume-driven task.
Understanding the physiology helps. Milk production operates on a supply-and-demand basis. The more milk is removed—either by your baby or a pump—the more your body makes. A pump is a tool to create that demand. For beginners, the first few sessions may yield only drops or milliliters. This is completely normal and does not indicate your eventual pumping potential. Consistency and proper technique are far more important than initial output.
Choosing Your First Breast Pump: A Starter Guide
Selecting your first breast pump is a significant decision that impacts your comfort and success. The market offers three main types: manual, electric single/double, and wearable. A manual pump is operated by hand, offering portability and quiet operation but requiring significant effort for regular use. Traditional electric pumps plug into an outlet or use batteries, featuring adjustable suction and cycle speeds for efficient milk removal.
For modern beginners, wearable breast pumps have revolutionized the experience. These cord-free, discreet pumps fit inside your bra, allowing you to pump while moving freely. This is a game-changer for multitasking moms. Brands like MomMed specialize in this category, with models like the S21 Double Wearable Breast Pump designed for comfort and efficiency. Wearable pumps help many beginners feel more relaxed, which can positively impact milk let-down and output.
When evaluating pumps, prioritize these key features: comfort through adjustable suction levels and cycles, portability, ease of cleaning (fewer parts is better), and quiet operation. Flange fit is non-negotiable; most pumps come with standard 24mm or 27mm flanges, but many women need different sizes. An ill-fitting flange is a top cause of pain and low output. Look for brands, including MomMed, that offer multiple flange size options or sizing guides.
The following table compares the core pump types to help you decide:
| Pump Type | Best For | Pros | Cons | Ideal User Profile |
|---|---|---|---|---|
| Manual Pump | Occasional use, travel backup | Inexpensive, silent, portable, no power needed | Physically tiring, less efficient, one breast at a time | The mom who pumps infrequently and values simplicity. |
| Standard Electric Pump | Daily use, building supply, exclusive pumping | Powerful, efficient, hands-free kits available, often insurance-covered | Less discreet, can be bulky, tubing can be cumbersome | The mom pumping multiple times daily at home or work. |
| Wearable Pump (e.g., MomMed S21) | Active lifestyles, discretion, multitasking | Ultra-portable, silent, discreet, true hands-free operation | Higher initial cost, may have less suction power than top plug-in models | The on-the-go mom needing flexibility and freedom. |
Consider your lifestyle, pumping goals, and budget. Many health insurance plans in the U.S. cover the cost of a standard electric pump. A wearable pump like the MomMed S21 can be an excellent primary pump for an active beginner or a supplemental pump for added convenience.
Step-by-Step: Your First Pumping Session
Your first pumping session is about learning, not volume. Start by washing your hands thoroughly with soap and water. Assemble all clean pump parts according to the manufacturer's instructions. Ensure you have a bottle or milk collection bag attached. Find a comfortable, relaxed seat where you can sit upright. Have water and your phone or a book nearby. Some moms find looking at photos or videos of their baby helps stimulate oxytocin, the hormone responsible for milk let-down.
Flange fit is critical. Your nipple should move freely in the tunnel without rubbing the sides, and only a small amount of areola should be pulled in. Pain is a sign of incorrect size. Center the flange over your nipple and turn on the pump. Begin with the let-down or stimulation mode—a rapid, gentle cycle that mimics a baby's initial quick sucks. Most pumps, including MomMed's, have this dedicated mode. Use it for 2-3 minutes or until you see milk flowing steadily in streams.
Once milk flow begins, switch to the expression mode—a slower, stronger, pulling suction. Start at the lowest comfortable suction level and gradually increase only to a point that feels effective but never painful. The highest setting is not the most effective; comfortable suction is. Pump for about 15-20 minutes per session, or for 2-3 minutes after the last drops of milk. You can switch back to stimulation mode if milk flow slows to trigger another let-down.
After pumping, carefully disconnect the bottles. Store your milk immediately (guidelines below). Disassemble the pump parts that come into contact with milk. Rinse them with cool water, then wash with warm, soapy water, or place them in a dedicated basin in the dishwasher if they are dishwasher-safe. Allow them to air-dry completely on a clean towel or rack. Congratulations—you've completed your first session!
Creating a Pumping Schedule That Works for You
A sustainable schedule aligns with your body's natural rhythms and your baby's feeding patterns. If you are breastfeeding and pumping to build a stash, the most effective time to pump is often in the morning when prolactin levels (the milk-making hormone) are highest and milk volume is typically greatest. Many moms find success with a session about 30-60 minutes after the first morning feed or between feeds.
For beginners, adding one pumping session per day is a manageable start. Consistency is key—try to pump at roughly the same time each day to regulate your supply. If you are returning to work, start building your freezer stash 3-4 weeks in advance. Pump once daily, gradually increasing to match the number of feedings you'll miss while apart from your baby.
For exclusive pumpers, frequency trumps duration. Newborns feed 8-12 times per day, so aim for 8-12 pumping sessions in 24 hours, including at least one session at night when prolactin peaks. Each session should be 15-20 minutes. This schedule is demanding but crucial for establishing a full milk supply in the early weeks. As your supply regulates (after 10-12 weeks), you may be able to drop a session while maintaining output.
Sample Beginner Schedules:
For the breastfeeding mom building a stash: 7:00 AM Nurse baby, 8:00 AM Pump for 15 minutes.
For the exclusive pumper (early weeks): Pump every 2-3 hours around the clock for 15-20 minutes (e.g., 6 AM, 9 AM, 12 PM, 3 PM, 6 PM, 9 PM, 12 AM, 3 AM).
Always remember, these are templates. Your baby's growth spurts, your sleep needs, and your body's signals are the ultimate guides. Flexibility within a framework is the goal.
Maximizing Comfort and Efficiency
Comfort directly impacts milk ejection. Create a relaxing ritual. Take a few deep breaths before you start. Use a warm compress on your breasts for a few minutes or take a warm shower before pumping. Gently massage your breasts before and during pumping, using your hands in a circular motion from the chest wall toward the nipple. This "hands-on pumping" technique can increase output by up to 48% according to Stanford University research.
Ensure you are hydrated and well-nourished. Drink a large glass of water before and during each pumping session. Dehydration can temporarily decrease milk supply. Wear a comfortable, supportive nursing or pumping bra that holds the flanges in place, allowing you to be truly hands-free. This lets you massage your breasts and relax your shoulders.
Pay attention to your environment and mindset. Stress inhibits the let-down reflex. Find a private, comfortable space. Listen to calming music, a podcast, or practice visualization. If you're using a wearable pump like the MomMed S21, use the freedom it provides to move gently, make a snack, or do light tasks—this can distract from any pumping-related anxiety and promote relaxation.
Finally, protect your nipple health. After pumping, apply a few drops of breast milk or purified lanolin to your nipples and let them air-dry. Avoid soaps or harsh cleansers on your nipples. If you experience persistent pain, re-evaluate your flange size, pump suction settings, and the duration of your sessions. Discomfort is a signal that something needs adjustment.
Handling, Storing, and Feeding Pumped Milk Safely
Proper milk handling ensures your baby receives all the nutritional and immunological benefits. Follow the CDC and Academy of Breastfeeding Medicine guidelines strictly. Freshly expressed milk can be kept at room temperature (up to 77°F or 25°C) for up to 4 hours. It's safer to refrigerate it promptly. In the refrigerator (at 39°F or 4°C or below), it's safe for up to 4 days, though using it within 3 days is ideal.
For freezing, use clean breast milk storage bags or food-grade containers intended for freezing. Leave about an inch of space at the top as milk expands. Label each container with the date and volume. In a standard freezer compartment inside a refrigerator, milk can be stored for up to 6 months. In a deep freezer (0°F or -18°C), it's safe for up to 12 months. Store milk toward the back of the freezer, not in the door.
To thaw frozen milk, place the container in the refrigerator overnight, under warm running water, or in a bowl of warm water. Never thaw or warm breast milk in a microwave, as it creates hot spots that can burn your baby and destroy valuable proteins. Once thawed in the refrigerator, use it within 24 hours. Never refreeze thawed milk.
For feeding, swirl the bottle gently to mix the fat, which separates when stored. You can feed milk cold, at room temperature, or warmed. Test the temperature on your wrist before feeding. Any milk left over from a feeding should be used within 2 hours or discarded. Clean all pump parts, bottles, and nipples that contact milk after each use with hot, soapy water or in the dishwasher.
Troubleshooting Common Beginner Challenges
Low Output: This is the most common concern. First, check flange size—this is often the culprit. Ensure you're using stimulation mode correctly and are relaxed. Try hands-on pumping and massage. Look at pictures of your baby, smell an item of their clothing, or think about them. Output can vary session to session and time of day; track output over a week, not a single session.
Discomfort or Pain: Pain is not normal. Immediately lower the suction. Reassess your flange size—your nipple should not rub the sides. Use lubrication (like olive oil or a dedicated product) on the flange rim. Shorten pumping duration but maintain frequency. If you experience sharp pain, burning, or see blanched nipples, you may have vasospasm or incorrect sizing; consult a lactation consultant.
Difficulty with Let-Down: If milk doesn't flow, stress is a likely barrier. Create a consistent pre-pump routine. Practice deep breathing. Apply warmth. Be patient; for some, let-down takes 2-3 minutes of stimulation. If using a pump like MomMed's S21, ensure you are in the correct mode and that the pump is charged for optimal performance.
Maintaining Motivation: Pumping can feel isolating. Set small, achievable goals (e.g., "pump once today"). Join online support groups for pumping moms. Remind yourself of your "why." Celebrate small victories, like mastering assembly or noticing an increase in output. Remember, every ounce you provide is a gift to your baby.
Frequently Asked Questions (FAQs) for New Pumping Moms
1. How much milk should I expect to pump as a beginner?
Output varies dramatically. In early sessions, you may see only drops or a few milliliters. After supply is established (around week 4-6), a typical pumping session might yield 2-4 ounces (60-120 mL) total, but this is highly individual. The average breastfed baby takes 19-30 oz per day, spread across many feeds. Don't compare your output to others; focus on your baby's growth and diaper output.
2. How do I know if my flange fits correctly?
Your nipple should move freely in the tunnel without friction. After pumping, your nipple should not be blanched (white), misshapen, or have swelling at the base. No more than a small amount of areola (the darker skin) should be pulled into the tunnel. Pain during or after pumping is a primary indicator of incorrect fit. Many brands, including MomMed, offer printable sizing guides to help you measure.
3. Can I mix milk from different pumping sessions?
Yes, you can combine milk expressed at different times, but with a crucial rule: cool the newly expressed milk in the refrigerator first. Never add warm, freshly pumped milk to a container of already cooled or frozen milk, as it can raise the temperature of the stored milk and promote bacterial growth. Chill the new milk separately, then combine it with other milk of the same temperature. Label with the date of the oldest milk.
4. Is it normal for output to fluctuate?
Absolutely. Output can change based on time of day (usually highest in the morning), your hydration, stress levels, fatigue, menstrual cycle, and whether you're pumping after a feed. It's normal to have some sessions with less milk. Track trends over a week rather than focusing on individual sessions.
5. How often should I replace pump parts?
Wear and tear affects suction and efficiency. Replace soft parts like duckbill valves, backflow protectors, and tubing regularly. Valves and membranes typically need replacement every 4-8 weeks with frequent use. Inspect parts: if valves are stretched, floppy, or torn, or if you notice a decrease in suction, replace them immediately. Hard parts like flanges and bottles last longer but should be replaced if cracked or damaged.
Embracing Your Pumping Journey with Confidence
Your pumping journey is a unique and powerful extension of your care for your baby. It's a skill that improves with patience, practice, and the right support. Remember the core principles: start with a clear goal, choose equipment that prioritizes your comfort and lifestyle, master the basics of flange fit and let-down stimulation, and adhere to safe milk handling practices. Be kind to yourself on the days when output is low or motivation wanes; this is part of the process.
Innovation in products like wearable breast pumps has transformed pumping from a stationary chore into an integrated part of daily life. Trusted maternal care brands like MomMed are committed to this evolution, designing products like the award-winning S21 Double Wearable Breast Pump with mom-tested features for discreet, comfortable, and efficient pumping. Whether you're building a stash for your return to work or navigating exclusive pumping, you have the tools and knowledge to succeed. You are providing incredible nourishment and forging a resilient connection with your baby, one pumping session at a time.
Ready to begin with confidence? Shop the MomMed collection at mommed.com for innovative, award-winning wearable breast pumps like the S21, essential accessories, and all your breastfeeding and pregnancy needs, backed by a community dedicated to supporting you every step of the way.