
Startseite
Pregnancy, Breastfeeding, and Pumping: The Ultimate Guide for Moms
How to Hold Breast Pump in Place with Nursing Bra: A Complete Guide
How to Hold Breast Pump in Place with Nursing Bra: A Complete Guide
Introduction: Finding Your Perfect Fit for Hands-Free Pumping
For many pumping mothers, the constant juggle of holding flanges in place is a frustrating reality. It limits mobility, increases stress, and can even impact milk output. The solution lies in mastering the synergy between your breast pump and nursing bra. This guide provides a comprehensive, step-by-step method on how to hold breast pump in place with nursing bra, transforming your pumping experience from a chore into a manageable, hands-free task.
We will cover everything from understanding your gear and executing the perfect setup to troubleshooting common issues. By the end, you'll have the knowledge to create a secure, comfortable, and efficient pumping session, freeing you to work, care for older children, or simply relax. As a trusted maternal and baby care brand, MomMed designs products like our wearable breast pumps with this exact challenge in mind, prioritizing stability and comfort for moms on the go.
Understanding Your Gear: The Breast Pump & Nursing Bra Duo
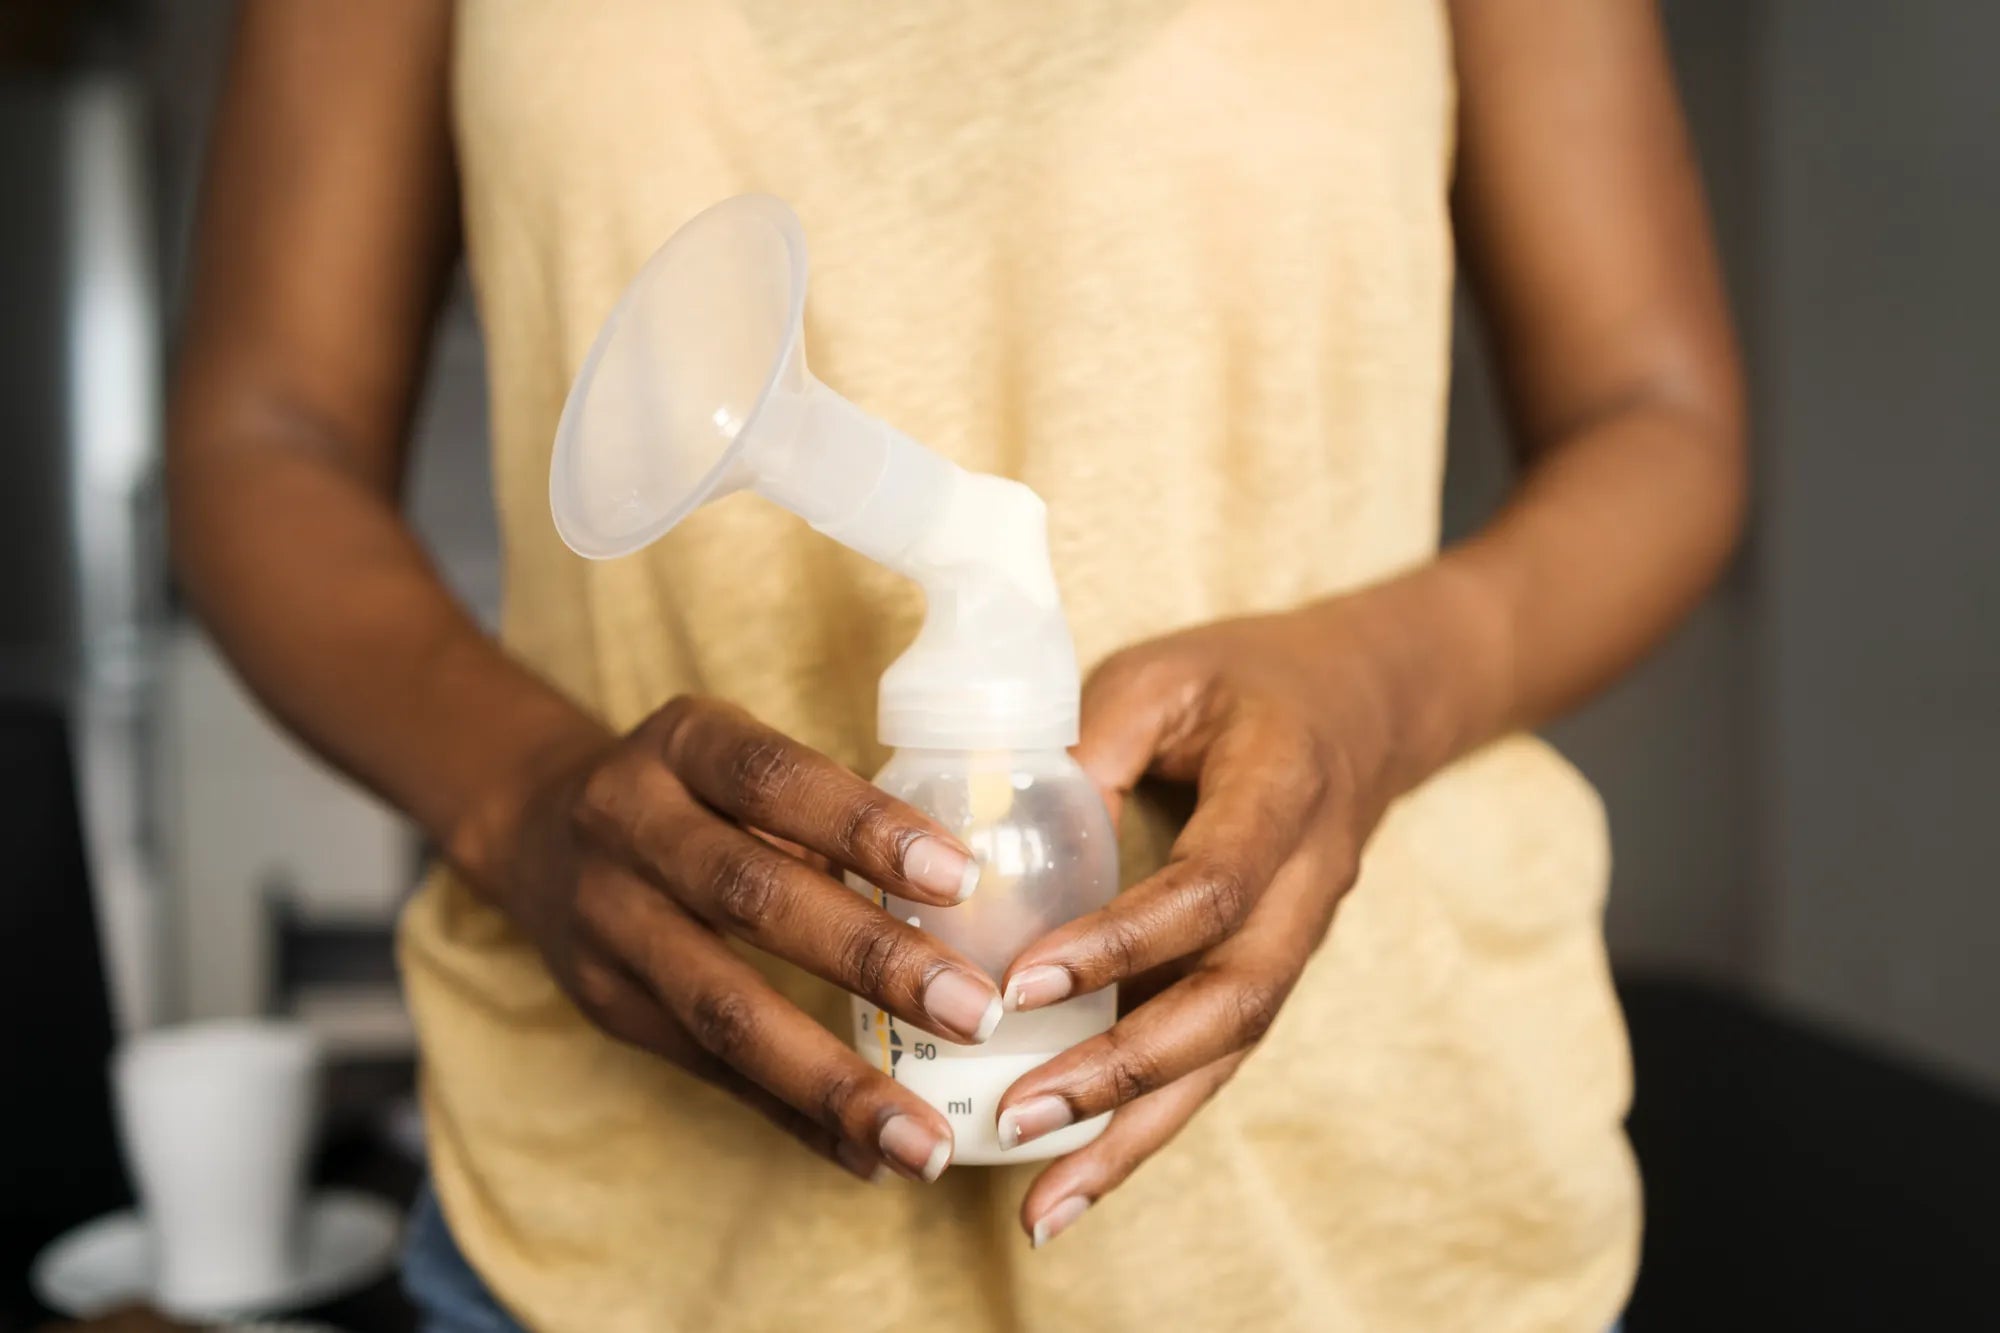
Successfully holding your pump in place starts with understanding the two key pieces of equipment. A typical wearable or portable pump consists of a flange (or breast shield), a funnel, a collection cup, and a motor. The flange must create a seal around your areola to generate suction. Your nursing bra's role is to act as a supportive harness, cradling this assembly securely against your body without compromising the seal or comfort.
Compatibility is crucial. Not every bra works perfectly with every pump. The pump's profile, weight, and shape must be accommodated by the bra's structure, access points, and fabric elasticity. Investing time in selecting the right combination is foundational to achieving true hands-free functionality.
Types of Nursing Bras for Pumping
Understanding bra styles helps you choose the best support system for holding a breast pump in place.
- Dedicated Hands-Free Pumping Bras: These are engineered specifically for this task. They feature reinforced inner layers or structured openings that securely grip the pump flange or bottle. They offer the most reliable hold but are single-purpose.
- Nursing Bras with Pumping Access Clips: A versatile hybrid. These look like standard nursing bras but have a second set of clips or a special flap that opens to directly accommodate a pump flange, providing excellent stability without needing to remove the bra cup.
- Convertible Sleep Bras & Lounge Bras: Made from soft, stretchy material, these can sometimes be manipulated to hold a pump. The hold is less secure and best for low-mobility situations, but they are supremely comfortable for overnight or recovery pumping.
Anatomy of a Secure Fit: Flange Alignment is Key
Before the bra even comes into play, proper flange fit is the non-negotiable foundation. An incorrectly sized or poorly positioned flange will never stay sealed, no matter how supportive your bra is. The flange should center your nipple without pulling excessive areolar tissue into the tunnel. A good seal feels snug but not painful, and is the primary factor preventing air leaks and loss of suction.
When learning how to hold breast pump in place with nursing bra, remember the bra supports the assembly; it does not correct a poor flange fit. Always ensure your flanges are the correct size and centered before relying on the bra for security.
Step-by-Step Guide: How to Secure Your Breast Pump
Follow this detailed, visual process to achieve a stable, leak-proof setup every time. This method is particularly effective with wearable pump cups but applies to traditional setups with bottles.
Step 1: Prep Your Pump and Bra
Begin with a fully assembled pump. Check that all valves, membranes, and seals are clean, dry, and correctly attached—moisture is the enemy of suction. For your bra, fully unclip the nursing flap on the side you're pumping from. If using a pumping-specific bra, open the inner pumping access layer. Loosen the shoulder strap slightly on that side to give yourself more working room.
Step 2: Position and Align the Pump
Hold the assembled pump cup in your hand. Gently lean forward slightly. Center the flange over your nipple and press the cup flat against your breast, ensuring the entire rim makes even contact with your skin. Use your other hand to help guide your breast tissue into the flange for a proper seal. This initial manual placement is critical.
Step 3: Secure with the Nursing Bra
This is the core of the technique. Carefully bring the loosened bra fabric up and over the bottom and sides of the pump cup. For bras with a separate pumping flap, secure that inner layer first, snugging the fabric around the pump's neck. Then, bring the outer nursing layer up and clip it closed. The goal is to have the bra fabric cradling the pump from below, holding its weight and preventing downward slippage.
Step 4: Final Adjustments for Comfort & Efficiency
Once secured, stand or sit upright. Gently tug the bra fabric under the pump to ensure it's providing a supportive "shelf." Adjust the shoulder strap to take up slack but avoid over-tightening, which can tilt the pump and break the seal. Perform a gentle tug test on the pump; it should feel firmly nestled with minimal movement. You are now ready to start your pump hands-free.
Troubleshooting Common Problems
Even with a good technique, issues can arise. Here are solutions to the most frequent challenges when trying to hold a breast pump in place.
Problem: The Pump Feels Loose or Slips Down
This indicates insufficient support from below. First, check the band tightness. The bra band should be snug on the loosest hook when new. If it's riding up, it's too loose. Consider a non-stretch bra extender for a custom fit. Alternatively, your bra may lack a wide, supportive underband. Switching to a bra designed for support, like a sports-style nursing bra, can solve this.
Problem: Leaking or Loss of Suction
Leaks are often a pump issue misattributed to the bra. First, re-check your flange placement and size. Ensure all pump part connections are airtight—a worn valve is a common culprit. Finally, ensure the bra fabric isn't pinching or folding the edge of the flange, breaking the seal. The bra should hold, not constrict.
Problem: Discomfort or Pinching
Discomfort usually stems from pressure points. Adjust how the bra strap distributes weight; a racerback clip can help. Place a soft nursing pad between the pump's hard plastic and your skin or the bra to cushion the area. Most importantly, ensure the pump isn't being forced into a tilted angle by the bra, which can cause nipple pain and poor drainage.
Why a Wearable Pump Design Makes All the Difference
The traditional pump setup—with long flanges and dangling bottles—is inherently unstable. The center of gravity is far from the body, creating leverage that pulls the flange away from the breast. This design makes it exceptionally difficult for any bra to hold the pump securely without constant adjustment.
Wearable all-in-one pumps, like the MomMed S21, revolutionize this dynamic. The motor and collection vessel are integrated into a single, low-profile cup that sits directly against the breast. This compact form factor drastically reduces weight shift and leverage, making it fundamentally easier for a nursing bra to secure. The design is literally built for the purpose of staying in place.
The MomMed Advantage: Designed for Stability
MomMed's wearable pumps are engineered with the challenge of secure placement as a primary focus. The compact, ergonomic shape fits discreetly inside a standard nursing bra without excessive bulging. Multiple stimulation and expression modes (9 on the S21 model) allow you to find a comfortable, effective suction pattern that maintains seal integrity. The ultra-quiet motor is not only discreet but also minimizes vibrations that could cause shifting. Finally, all parts contacting skin or milk are made from soft, BPA-free, food-grade silicone, which provides a more forgiving and secure seal than hard plastic against the skin.
Nursing Bra vs. Pumping Bra: A Detailed Comparison
Choosing the right support is half the battle. This table breaks down the key differences to help you decide based on your primary needs.
| Feature | Standard Nursing Bra | Dedicated Hands-Free Pumping Bra | Hybrid (Nursing with Pumping Access) |
|---|---|---|---|
| Primary Function | Easy breast access for feeding. | Securely hold pump flanges/bottles. | Dual functionality for both feeding and pumping. |
| Hold Security | Low to Moderate. Requires manipulation of fabric. | High. Built with structured support for pumps. | Moderate to High. Specific clips enhance stability. |
| Ease of Use | Easy for nursing, awkward for pumping. | Difficult for direct nursing, optimal for pumping. | Easy for both, with a slight learning curve for pump setup. |
| Material & Structure | Often softer, more stretchy. | More structured, with firmer support panels. | Balanced—soft for comfort with reinforced key areas. |
| Best For | Moms who primarily nurse directly. | Exclusive pumpers or those with frequent pumping sessions. | The versatile choice for moms who both nurse and pump regularly. |
Frequently Asked Questions (FAQ)
Q: Can I use any nursing bra as a hands-free pumping bra?
A: You can attempt it with many stretchy bras, but the hold will be less secure and may require constant readjustment. A bra specifically designed for pumping or with dedicated pumping access clips will provide superior stability, comfort, and peace of mind during your session.
Q: How tight should the bra be when pumping?
A: It should be snug and supportive, similar to a well-fitting sports bra. You want it tight enough to provide a supportive "shelf" under the pump, but not so tight that it causes pain, restricts your breathing, compresses the milk ducts, or deforms the pump cup, which can break suction.
Q: What if my wearable pump still feels heavy or unstable?
A: First, reassess your bra's underband support. If it's insufficient, try a style with a wider band. Using a crossover front or a racerback adapter can better distribute weight. MomMed's pumps are designed to be balanced and lightweight, but proper bra support is still essential for complete stability.
Q: How often should I replace my nursing/pumping bras?
A: Replace them when they lose elasticity and support, typically after 6-12 months of constant use. A sagging band or stretched-out straps will fail to hold your pump in place effectively, undermining your setup.
Q: How do I clean my bra after a pumping session if there's a leak?
A: Always check the care label. For minor moisture, air drying is sufficient. For milk leaks, a quick hand wash with mild detergent is best to prevent staining and odor. Many are machine washable in a cold, gentle cycle inside a mesh garment bag. Air dry flat to preserve elasticity. Having 3-4 bras in rotation is recommended for convenience.
Conclusion: Embrace the Freedom of Confident, Hands-Free Pumping
Mastering the technique to hold your breast pump in place with a nursing bra is a transformative skill for any pumping mother. It reclaims time, reduces stress, and can make maintaining your milk supply more sustainable. The key lies in the trifecta of proper flange fit, the right supportive bra, and a pump designed for stability. By following this guide's step-by-step process and troubleshooting tips, you can achieve a secure, comfortable setup that works for your body and lifestyle.
Remember, the right gear makes mastery easier. MomMed's wearable breast pumps are crafted from the ground up to integrate seamlessly with your body and your wardrobe, turning the challenge of secure pumping into a solved problem. Stop struggling with unstable setups and experience the freedom of confident, hands-free pumping.
Shop the MomMed collection at mommed.com for all your breastfeeding and pregnancy needs, and discover the award-winning S21 Wearable Pump designed for ultimate stability and comfort.