


Inicio
Pregnancy, Breastfeeding, and Pumping: The Ultimate Guide for Moms
How to Clean Breast Pump Before First Use: The Essential New Mom Guide
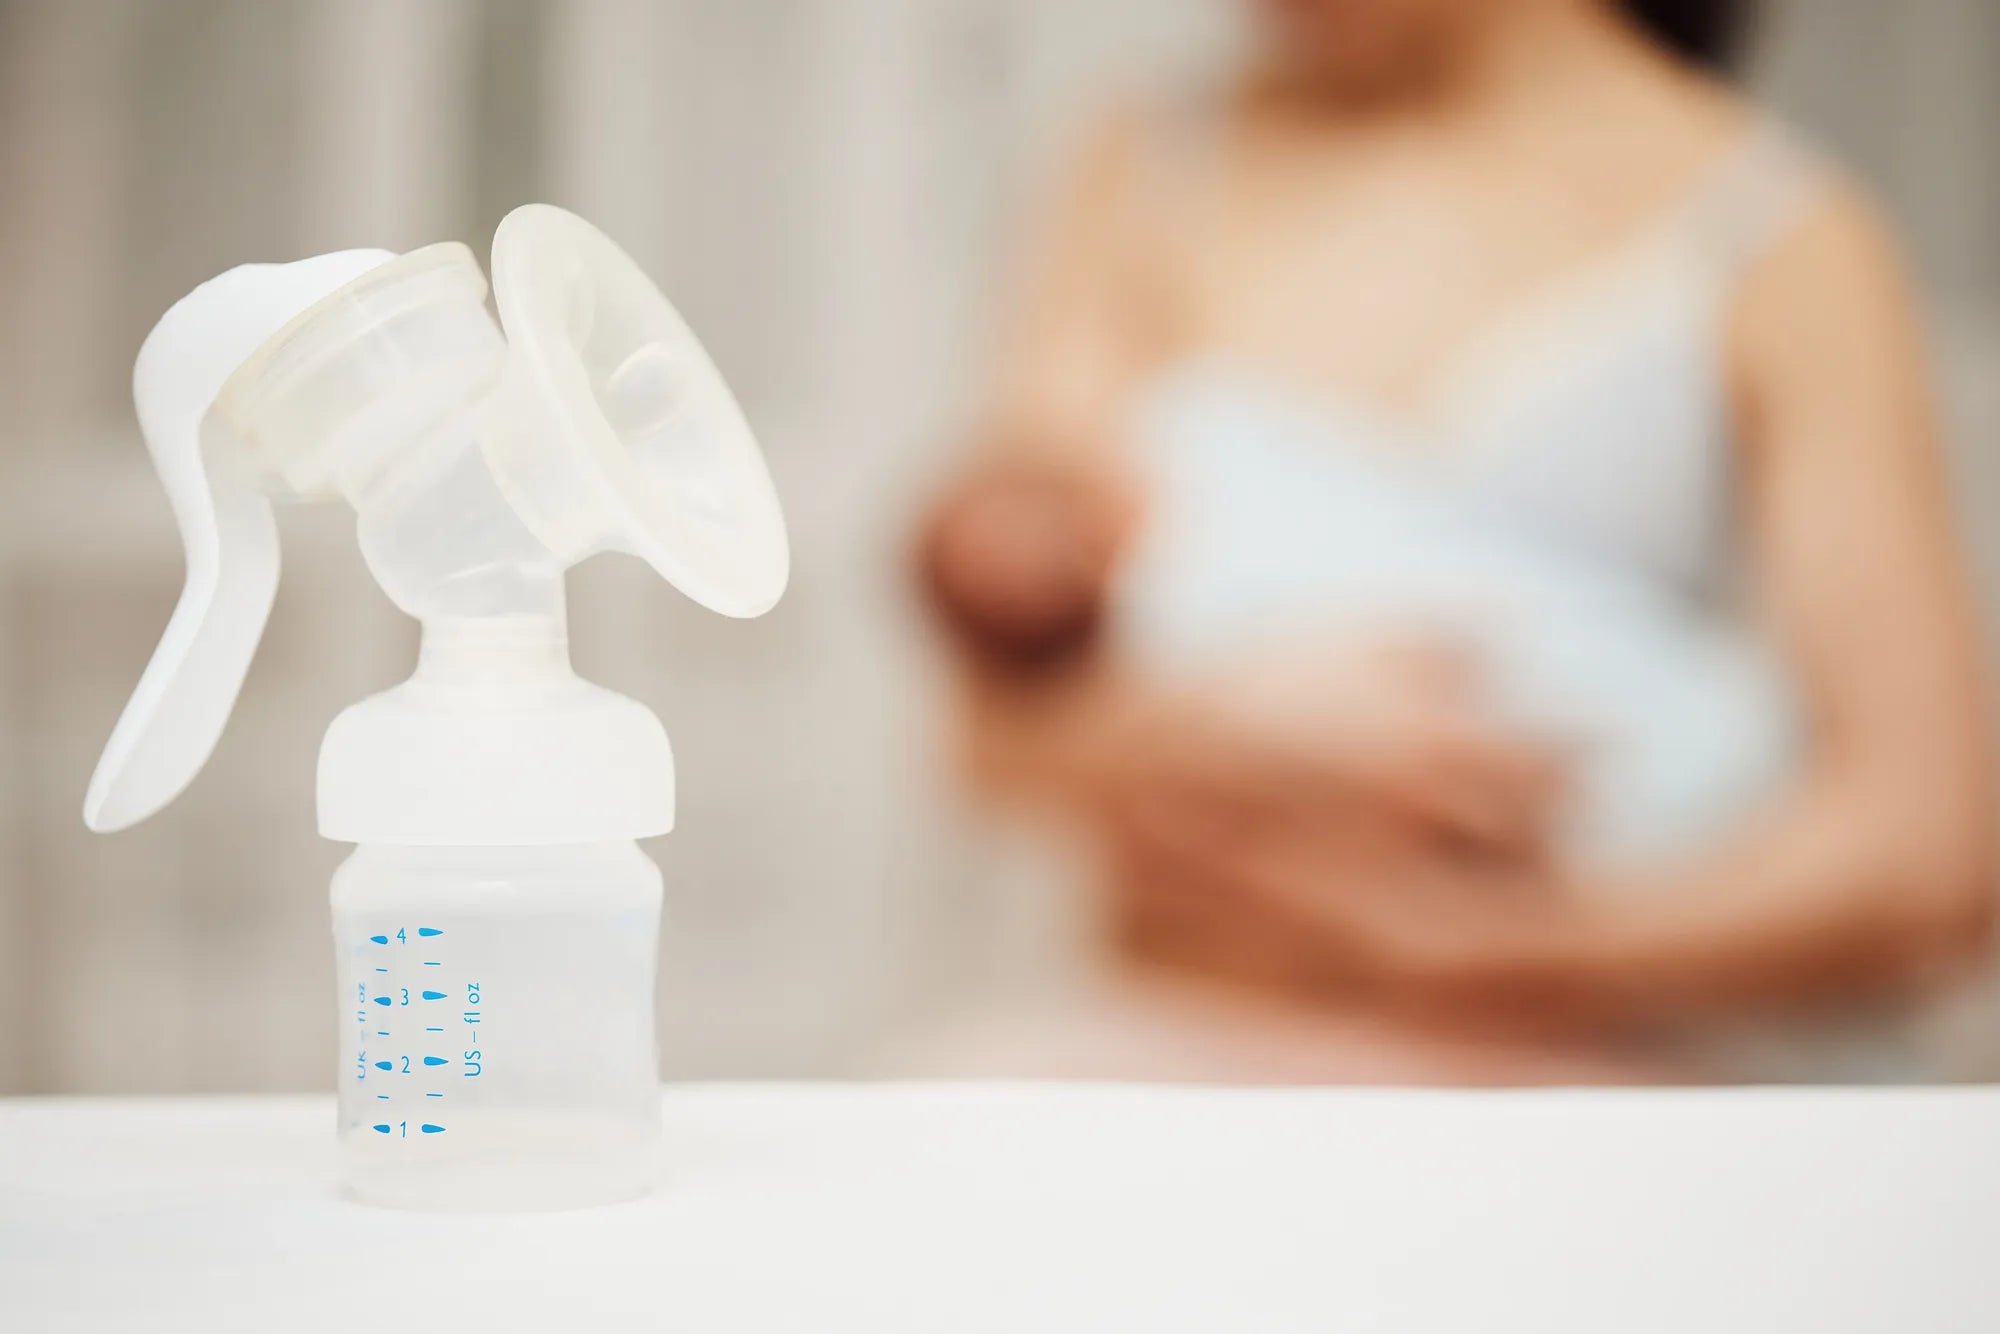
How to Clean Breast Pump Before First Use: The Essential New Mom Guide
Introduction: Why a Proper First Clean is Essential for You and Your Baby
Your breast pump is about to become a vital tool in your feeding journey, and its first cleaning is a non-negotiable step for your baby's health. Factory-new pumps, while packaged in sterile conditions, can have manufacturing residues, dust, or microscopic particles. A thorough initial clean removes these contaminants, protecting your newborn's developing immune system and ensuring your expressed milk is perfectly safe.
This process also prepares the pump for optimal performance. Oils or residues on valves and membranes can hinder suction, affecting your milk output and comfort. By starting with a meticulously clean pump, you establish a foundation for efficient, effective pumping sessions from day one.
This guide, How to Clean Breast Pump Before First Use: A Comprehensive Guide, is designed to eliminate guesswork and anxiety. We provide a clear, evidence-based roadmap to follow, empowering you with confidence. Think of it as the essential first step in building a successful and hygienic pumping routine that supports both your baby's health and your breastfeeding goals.
Before You Begin: Unpacking and Identifying Your MomMed Pump Parts
Before cleaning, familiarize yourself with all components. Lay everything out on a clean surface. For a MomMed wearable pump like the award-winning S21, key parts typically include: flanges (shields), backflow protectors (duckbill or membrane valves), connectors, milk collection bottles or cups, silicone tubing (for some models), and charging cables.
All MomMed breast pump parts that contact breast milk are crafted from BPA-free, food-grade silicone and plastics, meeting the highest safety standards. The motor unit itself, however, is electronic and must never be submerged. Refer to your specific model's manual for a complete parts diagram—this is crucial for proper reassembly after cleaning.
Check for any protective films on components like flanges and remove them. Inspect each part for any obvious manufacturing debris. This identification stage ensures no small but critical piece, like a tiny valve, is missed during the cleaning process. Taking a moment here prevents issues later.
Step-by-Step: The Initial Cleaning and Sanitizing Process
The first clean involves two distinct phases: a thorough cleaning to remove physical residues, followed by sanitization to kill germs. Do not skip either step. This process applies whether you have a MomMed S21 Double Wearable Breast Pump, an S12 Single, or a traditional electric model.
Step 1 – The Initial Hand Wash: Removing Residue
Begin by washing your hands thoroughly. Disassemble every part that touches breast milk or your skin. Using a mild, fragrance-free dish soap and warm (not scalding) water in a clean basin or sink reserved only for baby items, wash each piece.
Use a dedicated, soft-bristled brush (like a bottle brush) to scrub the interior of flanges, bottles, and connectors. Pay special attention to crevices in valves and membranes where milk can lodge. Rinse each part completely under running water until all soap suds are gone. Any soap residue can upset your baby's stomach.
Step 2 – The Sanitization Stage: Eliminating Microbes
After washing, you must sanitize. For the first use, sanitization is mandatory. You have several safe options, detailed in the table below. Ensure all parts are suitable for your chosen method (check your manual).
| Sanitization Method | Process | Duration | Best For | Precautions |
|---|---|---|---|---|
| Steam Sterilizer Bag (Microwave) | Place parts in bag with water, microwave. | 3-5 mins (follow bag instructions) | Quick, convenient sanitization; no pots needed. | Ensure parts are microwave-safe. Let bag cool before opening. |
| Boiling Water | Submerge parts in rolling boil in a large pot. | 5-10 minutes of full boil | A thorough, equipment-free method. | Use a dedicated pot. Avoid boiling tubing or motor units. Use tongs to remove. |
| Electric Steam Sterilizer | Load parts, add water, run cycle. | ~10-15 minutes per cycle | Frequent use; consistent results. | Follow manufacturer's capacity guidelines. |
Note: MomMed parts are designed for easy sanitization via all these methods. Always ensure parts are fully submerged in boiling water or adequately positioned in steam.
Step 3 – Air Drying and Storage Before First Use
After sanitizing, handle parts with clean hands or tongs. Place them on a clean, unused paper towel or a dedicated drying rack in a dust-free area. Allow all components to air dry completely before reassembling or using the pump.
Never use a kitchen cloth or dish towel to dry parts, as these can transfer lint and bacteria. Ensure no moisture remains inside bottles, valves, or connectors, as dampness promotes mold growth. Once bone-dry, you can reassemble the pump for its inaugural use or store the clean parts in a sealed container or bag in a clean cupboard.
Beyond the First Use: Establishing Your Daily Cleaning Routine
After the initial deep clean, a consistent daily routine maintains hygiene. The core rule: clean all parts that contact milk after every single pumping session. Rinse parts immediately in cool water to prevent milk from drying, then wash with hot, soapy water as described in Step 1.
Sanitizing frequency after the first use depends on your baby's age and health. For healthy, full-term infants, sanitizing pump parts once per day is often sufficient if they are cleaned properly after each use. For premature infants or babies with compromised immunity, consult your pediatrician; more frequent sanitization may be required.
MomMed's innovative designs, like the S21 wearable pump, often feature fewer, simpler parts and closed-system technology. This not only makes pumping more discreet but also streamlines the cleaning process, removing barriers to maintaining perfect hygiene throughout your busy day.
Common Cleaning Mistakes and How MomMed Products Help Avoid Them
Even with the best intentions, errors can happen. A frequent mistake is improper drying—stacking or storing parts while damp. MomMed's silicone parts are designed to dry quickly and completely, reducing this risk when placed on a rack.
Using harsh cleaners, bleach, or abrasive scouring pads can damage sensitive valves and membranes, degrading pump suction. MomMed's clear care guides recommend only mild soap, protecting your investment. Another error is neglecting small valves. MomMed's duckbill valves are designed for easy removal and inspection, ensuring you never miss this critical component.
Submerging the motor unit or getting moisture in tubing are serious errors. MomMed's closed-system design prevents milk from backing into tubing, and the clear separation between motor and collection parts makes it intuitive to know what to wash. The hospital-grade components are built for durability through repeated, proper cleaning cycles.
Understanding Cleaning vs. Sanitizing vs. Sterilizing
These terms are often used interchangeably, but they represent different levels of germ removal. Cleaning is the physical removal of milk, dirt, and debris using soap and water. It is required after every use.
Sanitizing reduces germs on surfaces to a safe level, as judged by public health standards. The boiling, steaming, and microwave methods described above are sanitization processes. This is required before first use and recommended regularly thereafter.
Sterilizing is the complete elimination of all microorganisms. This is typically only necessary in clinical settings. For home use, thorough sanitization is perfectly adequate. MomMed's materials can withstand sanitization temperatures, giving you peace of mind that you are meeting the highest hygiene benchmarks for home infant feeding.
Troubleshooting & FAQ: Your Cleaning Questions Answered
Q: Can I put my MomMed pump parts in the dishwasher?
A: Check your specific model's manual. Many MomMed bottles and flanges are top-rack dishwasher safe. However, valves, membranes, and backflow protectors should always be hand-washed to preserve their integrity and suction power. The high heat and harsh detergents can degrade these sensitive parts prematurely.
Q: How do I clean the tubing if moisture or milk gets inside?
A: For closed-system pumps like MomMed's, milk should not enter the tubing. If condensation appears, disconnect the tubing from all parts and allow it to air dry completely by hanging it. Do not wash or run water through the tubing unless your manual specifically instructs you to do so. If milk enters the tubing, it may need to be replaced.
Q: What if I notice mold on a pump part?
A: Immediately stop using that part. Mold can be harmful if ingested. For silicone parts, you can attempt a deep clean with a vinegar solution (1 part white vinegar to 3 parts water), soak, scrub, rinse, and then sanitize. However, if mold persists in crevices or porous materials, the part must be discarded and replaced for your baby's safety.
Q: Is the motor unit wipeable?
A>Yes. Always unplug the pump first. Use a soft, damp cloth with a mild soap solution to wipe down the exterior of the motor unit. Never spray liquids directly onto it, and ensure no moisture enters the ports or vents. Let it dry completely before use.
Q: How often should I replace pump parts like valves and membranes?
A>Even with perfect cleaning, wear and tear affects performance. Duckbill valves and membranes on MomMed pumps should typically be replaced every 4-8 weeks with frequent use, or immediately if you notice a decrease in suction, cracks, or stretching. Regular replacement is key to maintaining optimal milk output.
Conclusion: A Clean Start for a Confident Feeding Journey
Mastering How to Clean Breast Pump Before First Use is your first act of care in a pumping routine that prioritizes your baby's well-being. This meticulous start ensures safety, protects your pump's performance, and builds your confidence as you navigate expressing milk. By integrating these simple yet thorough hygiene practices, you create a healthy foundation for your entire feeding experience.
MomMed is committed to supporting this journey by designing products that make these essential tasks easier. From our BPA-free, easy-to-disassemble parts to our award-winning, comfortable pumps, every innovation aims to reduce stress and empower you. A clean pump is a reliable partner, allowing you to focus on the bonding and nourishment that matter most.
Shop the MomMed collection at mommed.com for all your breastfeeding and pregnancy needs. Discover wearable pumps designed for your life, alongside nursing accessories, pregnancy tests, and baby care essentials—all created to support moms and moms-to-be with reliability, comfort, and thoughtful innovation.