


Home
Pregnancy, Breastfeeding, and Pumping: The Ultimate Guide for Moms
How to Store Breast Pump Parts in Fridge: A Comprehensive Guide for Busy Parents
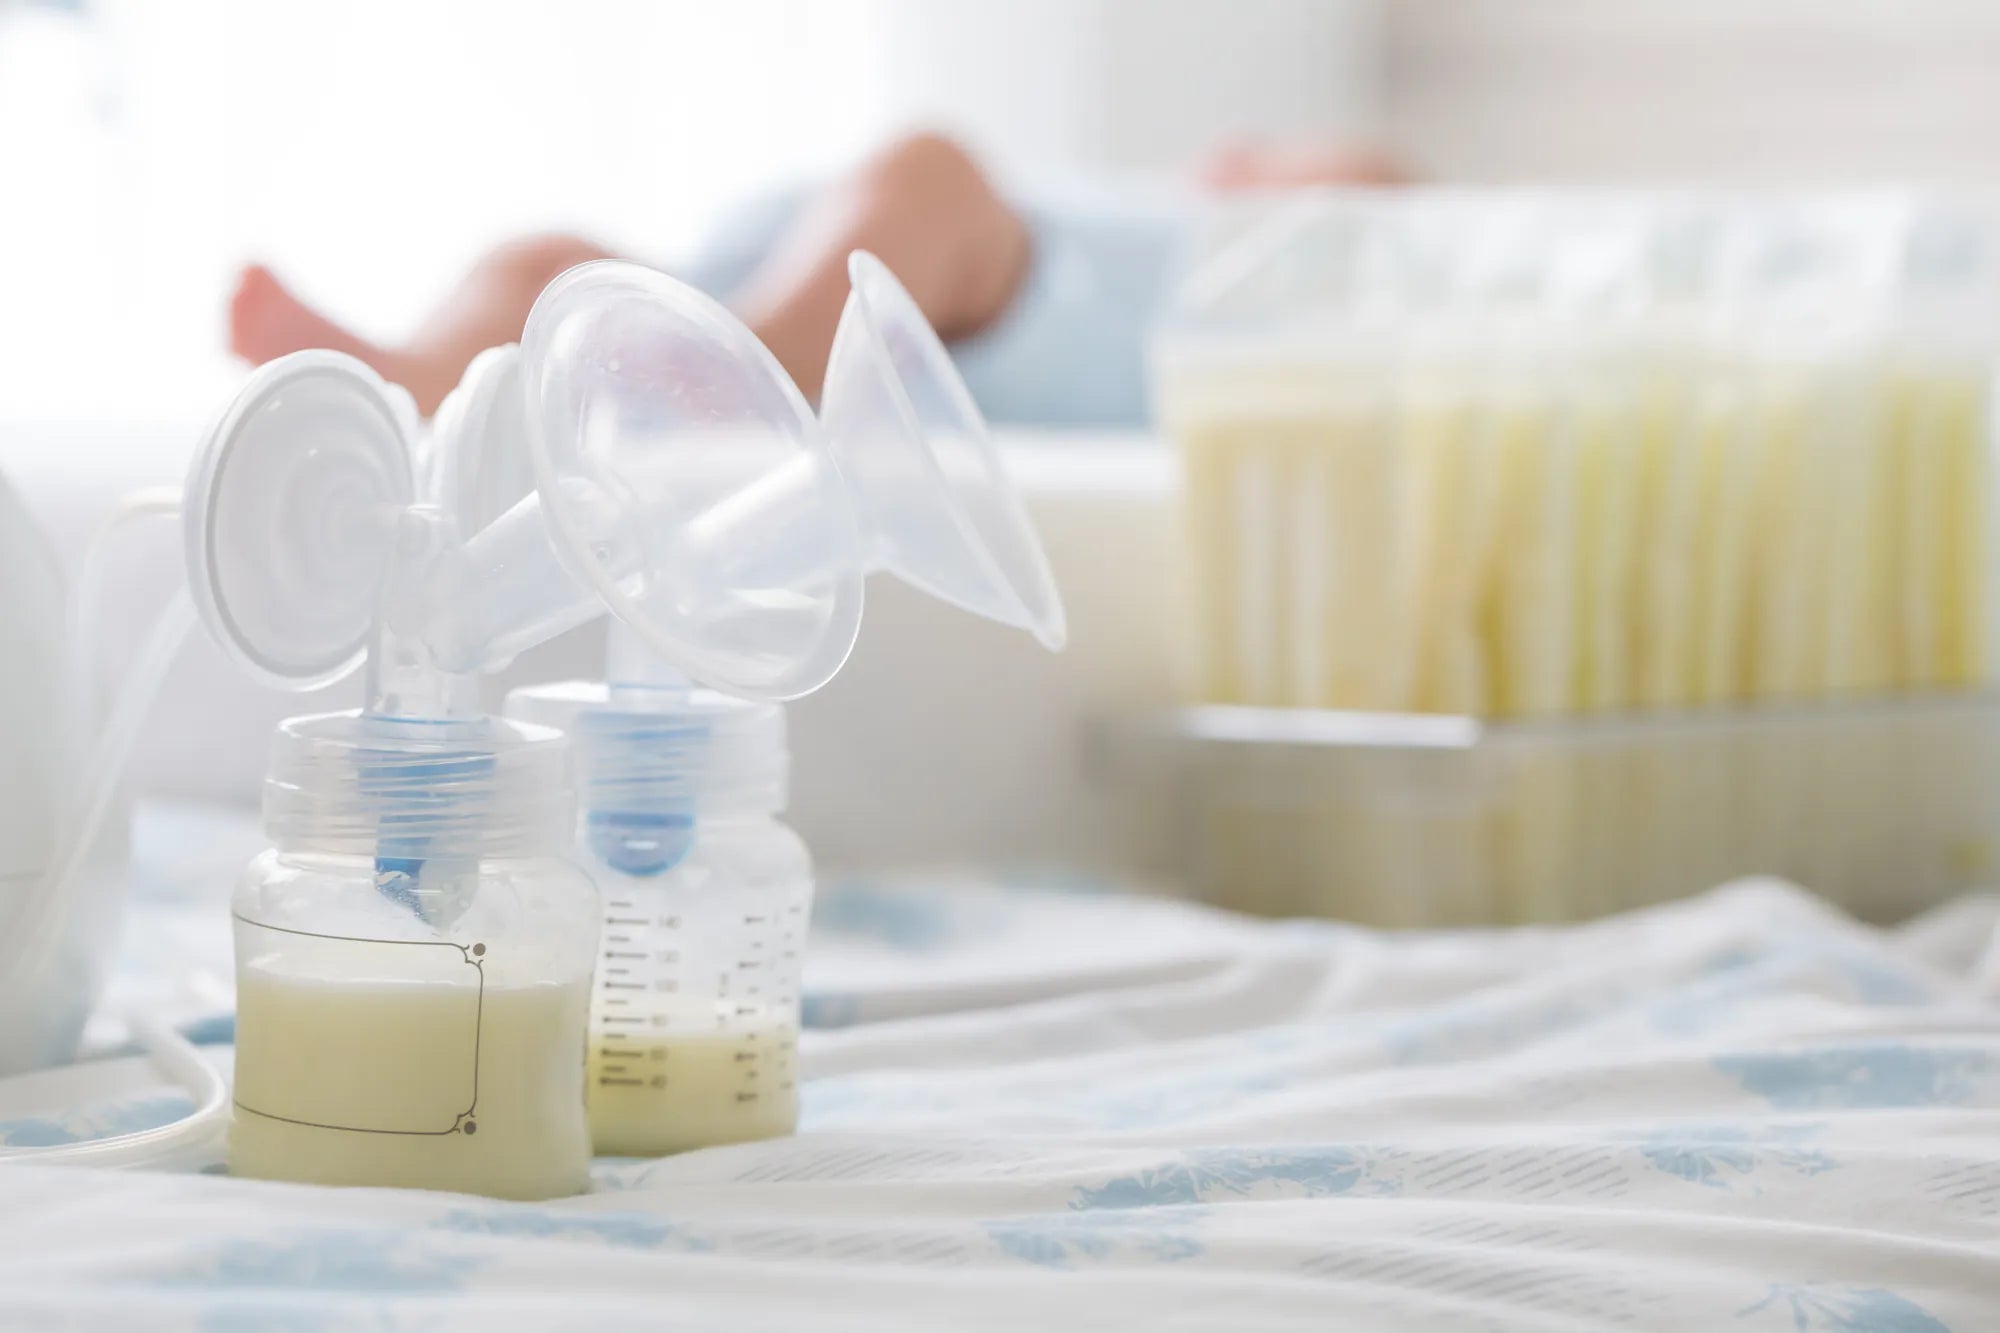
How to Store Breast Pump Parts in Fridge: A Comprehensive Guide for Busy Parents
If you're pumping breast milk, you know the relentless cycle: pump, feed, wash, repeat. The constant cleaning of pump parts can consume hours each week. This guide provides a detailed, evidence-based approach to a common time-saving strategy: learning how to store breast pump parts in fridge safely between sessions. Often called the 'fridge hack' or 'refrigerator method,' this practice can significantly reduce your washing burden. We'll cover official guidelines, step-by-step instructions, crucial safety caveats, and how trusted brands like MomMed design products with your real-world routine in mind.
Introduction to the Fridge Method for Staging Breast Pump Parts
The 'fridge hack' refers to storing used breast pump parts in a refrigerator between pumping sessions within a 24-hour period, rather than washing them after each use. The core principle is that refrigeration at 40°F (4°C) or below significantly slows bacterial growth in the residual milk film on the parts. This method is not about avoiding cleaning altogether, but about staging parts safely to wash them less frequently throughout a single day.
For exclusive pumpers or parents who pump multiple times daily, this can save substantial time and mental energy. It's a practical strategy born from the lived experience of countless pumping parents seeking efficiency. However, it must be implemented with strict adherence to safety protocols to ensure your expressed milk remains safe for your baby. This guide will provide a MomMed-approved, comprehensive framework for doing just that.
It's vital to understand this is a parental choice made with informed caution. We will ground our recommendations in the best available evidence and clear parameters. The goal is to empower you with knowledge, not to override personalized medical advice. Always consult your pediatrician or a lactation consultant if you have specific concerns about your baby's health or immune status.
Understanding Official Safety Guidelines and Best Practices
Before detailing the 'how-to,' it's essential to establish the 'why' behind the safety rules. The Centers for Disease Control and Prevention (CDC) provides the gold standard for handling breast milk and pump equipment. Officially, the CDC recommends washing pump parts thoroughly after every use to ensure safety. They note that some parents may choose to refrigerate parts between sessions for convenience, but this is not their formal recommendation.
The widely accepted safety framework for those who choose this method is built on two non-negotiable pillars: immediate refrigeration and a strict 24-hour time limit. Bacteria from your skin and the environment can multiply rapidly in milk residue at room temperature. Refrigeration at a consistent 40°F (4°C) or colder puts this growth on pause, but does not eliminate existing bacteria.
This method is generally considered acceptable for healthy, full-term infants. It is not recommended for premature infants, newborns under three months old (who have more vulnerable immune systems), or any baby with a compromised immune system due to illness or medical conditions without explicit approval from their pediatrician. When in doubt, err on the side of caution and wash after every session.
Your home appliance's reliability is key. A refrigerator thermometer is a small investment that provides critical peace of mind, ensuring your fridge maintains a safe temperature. The practice also assumes you have healthy hygiene practices and are not ill with an infection that could be transmitted through the equipment.
The Science Behind Refrigeration and Bacterial Growth
Freshly expressed breast milk contains live components, including antibodies and beneficial bacteria. However, it can also be contaminated with environmental bacteria from your skin or the pump parts themselves. At room temperature (around 68-72°F), certain bacteria can double in number every 20 minutes.
Refrigeration dramatically slows this metabolic and reproductive activity. At 40°F, bacterial growth is minimal, effectively preserving the status quo of the microbial load on the parts for a limited time. This is the same principle that allows you to safely store cooked food in the fridge for several days. The 24-hour window is a conservative, practical limit to prevent any potential overgrowth to unsafe levels.
Step-by-Step Guide: How to Properly Store Parts in the Fridge
Following a consistent, clean procedure is paramount for safety. Here is a detailed, step-by-step protocol for implementing the fridge method correctly.
Step 1: Immediate Action Post-Pumping. As soon as you finish pumping, pour the expressed milk into a storage container or bottle for feeding. Do not let the pump parts sit out at room temperature. Proceed to handle the parts within minutes.
Step 2: The Rinse (Optional but Recommended). Rinse the parts that contacted milk (flanges, valves, membranes, bottles, or connectors) under cool running water. The goal is to remove the majority of visible milk film. Avoid using hot water initially, as it can cause milk proteins to stick. You are not performing a full wash; this is a quick rinse to reduce the nutrient medium for bacteria.
Step 3: Shake and Air Dry Briefly. Gently shake off the excess water from the parts. You can pat them dry with a clean, unused paper towel if desired, but air-drying for a minute over a clean surface is sufficient. The parts do not need to be completely dry before refrigeration.
Step 4: Secure Storage in a Clean Container. Place all the rinsed parts into a clean, dedicated container. This can be a large food-grade zip-top bag, a sealed plastic or glass container with a lid, or a washable pump-part bag designed for this purpose. The key is creating a sealed environment to prevent cross-contamination with other foods in your fridge.
Step 5: Label and Refrigerate Promptly. Label the container or bag with the date and time of the first use. Place it immediately on a shelf in the main body of your refrigerator, not in the door. The door is subject to temperature fluctuations every time it's opened, which can compromise the consistent cold needed for safety.
Step 6: Retrieval for Next Use. When it's time for your next pumping session, remove the container, take out the parts, and assemble your pump. There is no need to rewarm the parts; cool flanges are generally not uncomfortable. After the session, if you are still within the 24-hour window, repeat Steps 1-5. If 24 hours have passed since the initial storage, the parts must be taken for a full wash and sanitization.
What NOT to Do: Critical Mistakes to Avoid
Understanding the pitfalls is as important as knowing the correct steps. Avoid these common errors to ensure your baby's safety.
Mistake 1: Leaving Parts at Room Temperature. The single biggest risk is letting parts sit out. Even an hour at room temperature can allow significant bacterial growth. The 'hack' only works if refrigeration is immediate.
Mistake 2: Storing Parts in the Fridge Door. As mentioned, the door is the warmest, most temperature-variable part of the fridge. Storing parts here increases the risk of them spending time above 40°F.
Mistake 3: Mixing Sessions in an Unwashed Container. Do not simply add parts from a second session to the same unwashed container or bag from the first session. This can cross-contaminate newer parts with older milk residue. Use a fresh container or ensure the storage bag is thoroughly cleaned if reused.
Mistake 4: Extending Beyond 24 Hours. The 24-hour clock starts when the used parts are first placed in the fridge. Do not push this limit. After 24 hours, the parts require a complete wash with hot, soapy water and sanitization.
Mistake 5: Using the Method Inappropriately. Never use this method for a medically fragile infant without direct approval from your healthcare team. Do not apply it to pump parts that are visibly soiled or if you have a breast infection like mastitis, as you may risk reinoculation.
Mistake 6: Storing Non-Washable Components. Only store parts that can and will be washed. Never place the pump motor, tubing (unless it's a closed-system pump and milk has backed into it), or other non-submersible electronics in the fridge. Moisture can damage the motor and create mold in tubing.
MomMed Product Spotlight: Simplifying Your Pumping Routine
Your pumping equipment can significantly influence how easily and safely you can implement practices like the fridge method. MomMed designs its products with the realities of a busy parent's life in mind, focusing on simplicity, safety, and efficiency.
MomMed breast pumps, like the award-winning S21 Double Wearable Breast Pump, feature fewer, more intuitive parts compared to many traditional pumps. A typical wearable set includes the flanges (with built-in silicone cushions), milk collection bottles, valves, and a connector. This streamlined design means there are fewer nooks and crannies for milk to hide, making the initial rinse step faster and more effective.
All parts that come into contact with milk are made from BPA-free, food-grade materials, including medical-grade silicone. These materials are not only safe for your baby but are also durable and easy to clean when the full wash is due. The smooth surfaces support the quick-rinse process central to the fridge method.
The portability of wearable pumps complements this strategy perfectly. You can pump discreetly, rinse the parts in any sink, store them in a small insulated bag with an ice pack if you're on the go, and then transfer them to your fridge at home—all while maintaining the cold chain. MomMed's commitment to innovation helps integrate pumping seamlessly into your day, reducing the friction that leads to burnout.
Fridge Storage vs. Full Sanitization: When to Choose Which
It's crucial to view the fridge method as a short-term staging tactic within a broader hygiene routine. The table below clarifies the distinct roles of fridge staging and full sanitization.
| Factor | Fridge Storage (Staging) | Full Sanitization |
|---|---|---|
| Primary Purpose | To safely delay washing between multiple pumping sessions within a single day. | To thoroughly clean and disinfect pump parts, removing all milk residue and pathogens. |
| Frequency | Can be used for multiple sessions within a strict 24-hour window from first use. | Mandatory at least once per 24 hours, and after every use for infants under 3 months or ill infants. |
| Process | Quick cool-water rinse, shake, store in sealed container in fridge (<40°F/4°C). | Hot, soapy water wash with a brush, followed by air-drying. Sanitize via steam bag, boiling, or according to manufacturer's instructions. |
| Ideal For | Healthy, full-term infants over 3 months; parents pumping multiple times daily at home or work. | All infants, especially newborns <3 months, preemies, or infants with health concerns. Required daily for all. |
| End of Life | After 24 hours, parts exit 'staging' and MUST undergo full sanitization. | Parts are ready for immediate reuse or long-term storage in a clean, dry place. |
Think of it this way: fridge storage is for the middle of the day, and full sanitization is for the end of the day. Even if you use the fridge method all day, you must still perform a complete wash and sanitize cycle before the 24-hour mark hits. For newborns, or if you have the capacity, washing after every session remains the safest, most recommended practice.
How to Perform a Full Sanitization
After your final pump of the day (or immediately if forgoing the fridge method), disassemble all parts. Wash them in a basin or sink used only for baby items, using hot water and mild dish soap. Scrub all surfaces with a clean brush dedicated to pump parts. Rinse thoroughly under running water. Sanitize using one of these methods: a microwave steam sanitizer bag, a countertop electric steam sterilizer, or by boiling in water for 5 minutes (check manufacturer guidelines, especially for valves/membranes). Air-dry completely on a clean drying rack or paper towel.
Frequently Asked Questions (FAQs)
1. Can I store the pump motor or tubing in the fridge?
Absolutely not. Only store parts that directly contact breast milk: flanges, valves, diaphragms, bottles, and connectors. The pump motor is an electronic device that can be damaged by moisture and condensation. Tubing should remain dry; if milk backs up into the tubing, it should be washed and air-dried thoroughly—refrigeration of long, narrow tubing inhibits proper drying and can promote mold growth.
2. How many times can I reuse parts from the fridge in 24 hours?
You can use them for multiple pumping sessions as long as all uses occur within the same continuous 24-hour window from the time the used parts were first refrigerated. For example, if you store parts at 8 a.m., you can use them for sessions at 12 p.m., 4 p.m., and 8 p.m., but they must be fully washed and sanitized before 8 a.m. the next day.
3. Is the fridge method safe for my freezer?
No. Freezing used, unwashed parts is not recommended. The extreme cold does not 'reset' the clock and can cause plastic components to become brittle and crack. More importantly, freezing does not kill bacteria; it merely puts them in stasis. When the parts thaw, bacterial growth can resume rapidly. The method is strictly for refrigeration.
4. What if my fridge is shared (like at work) or I'm unsure of its temperature?
In a shared fridge, the use of a clearly labeled, sealed container is even more critical to prevent tampering or cross-contamination. If you doubt your fridge's temperature, use a fridge thermometer. Many parents who pump at work use a dedicated personal mini-fridge for their milk and parts, which offers greater temperature control and privacy.
5. Do I need to rinse the parts with soapy water before refrigerating?
No, and it's actually counterproductive. A soapy rinse without a full scrub and rinse can leave soap residue that mixes with milk film. The recommended practice is a quick cool-water rinse only. The full wash with soap is reserved for the end of the 24-hour period.
6. Can I use this method with any brand of breast pump?
Yes, the principles apply to all pump brands. However, pumps with more complex part assemblies (many small pieces, duckbill valves, backflow protectors) may be slightly more tedious to rinse thoroughly. Simpler designs, like those from MomMed, can make the rinse-and-store process quicker and more effective.
Conclusion: Empowering Your Feeding Journey with Confidence
Mastering how to store breast pump parts in fridge safely is about reclaiming time and reducing stress in your feeding journey. When executed with diligence—immediate refrigeration, a clean sealed container, and an unwavering 24-hour rule—it can be a practical tool for many parents of healthy, older infants. Remember, this method is a supplement to, not a replacement for, a rigorous daily cleaning and sanitization routine.
Choosing equipment designed for easy maintenance, like MomMed's wearable pumps with their BPA-free, food-grade silicone and fewer parts, naturally supports safe and efficient practices. Your peace of mind is paramount. Always prioritize your baby's health profile and consult a lactation consultant or pediatrician with any uncertainties. Whether you wash after every session or use the fridge method, you are making informed choices to nourish your baby, and that deserves recognition and support.
Ready to streamline your pumping routine with equipment designed for real life? Shop the MomMed collection at mommed.com for all your breastfeeding and pregnancy needs, from our innovative S21 Wearable Pump to essential feeding gear and baby care essentials, all crafted to support you with reliability and comfort.