


Home
Pregnancy, Breastfeeding, and Pumping: The Ultimate Guide for Moms
How Do You Measure Your Nipple for a Breast Pump: The Complete Guide
How Do You Measure Your Nipple for a Breast Pump: The Complete Guide
Introduction: Why Nipple Measurement is the Foundation of Pumping Success
Getting the right flange fit is not a minor detail; it's the single most important factor for a comfortable, efficient, and sustainable pumping experience. An incorrectly sized breast pump flange can lead to pain, tissue damage, and significantly reduced milk output. This guide will walk you through exactly how do you measure your nipple for a breast pump, turning a potentially confusing task into a simple, precise process.
You will learn the professional technique for measurement, how to interpret your results, and how to recognize the signs of a perfect fit versus one that needs adjustment. We'll also address common pitfalls and questions, ensuring you have the confidence to pump effectively. As a trusted maternal care brand, MomMed is dedicated to providing not just innovative products like our S21 Wearable Pump, but also the essential knowledge moms need to use them successfully.
Understanding Flange Anatomy and the Critical Role of Fit
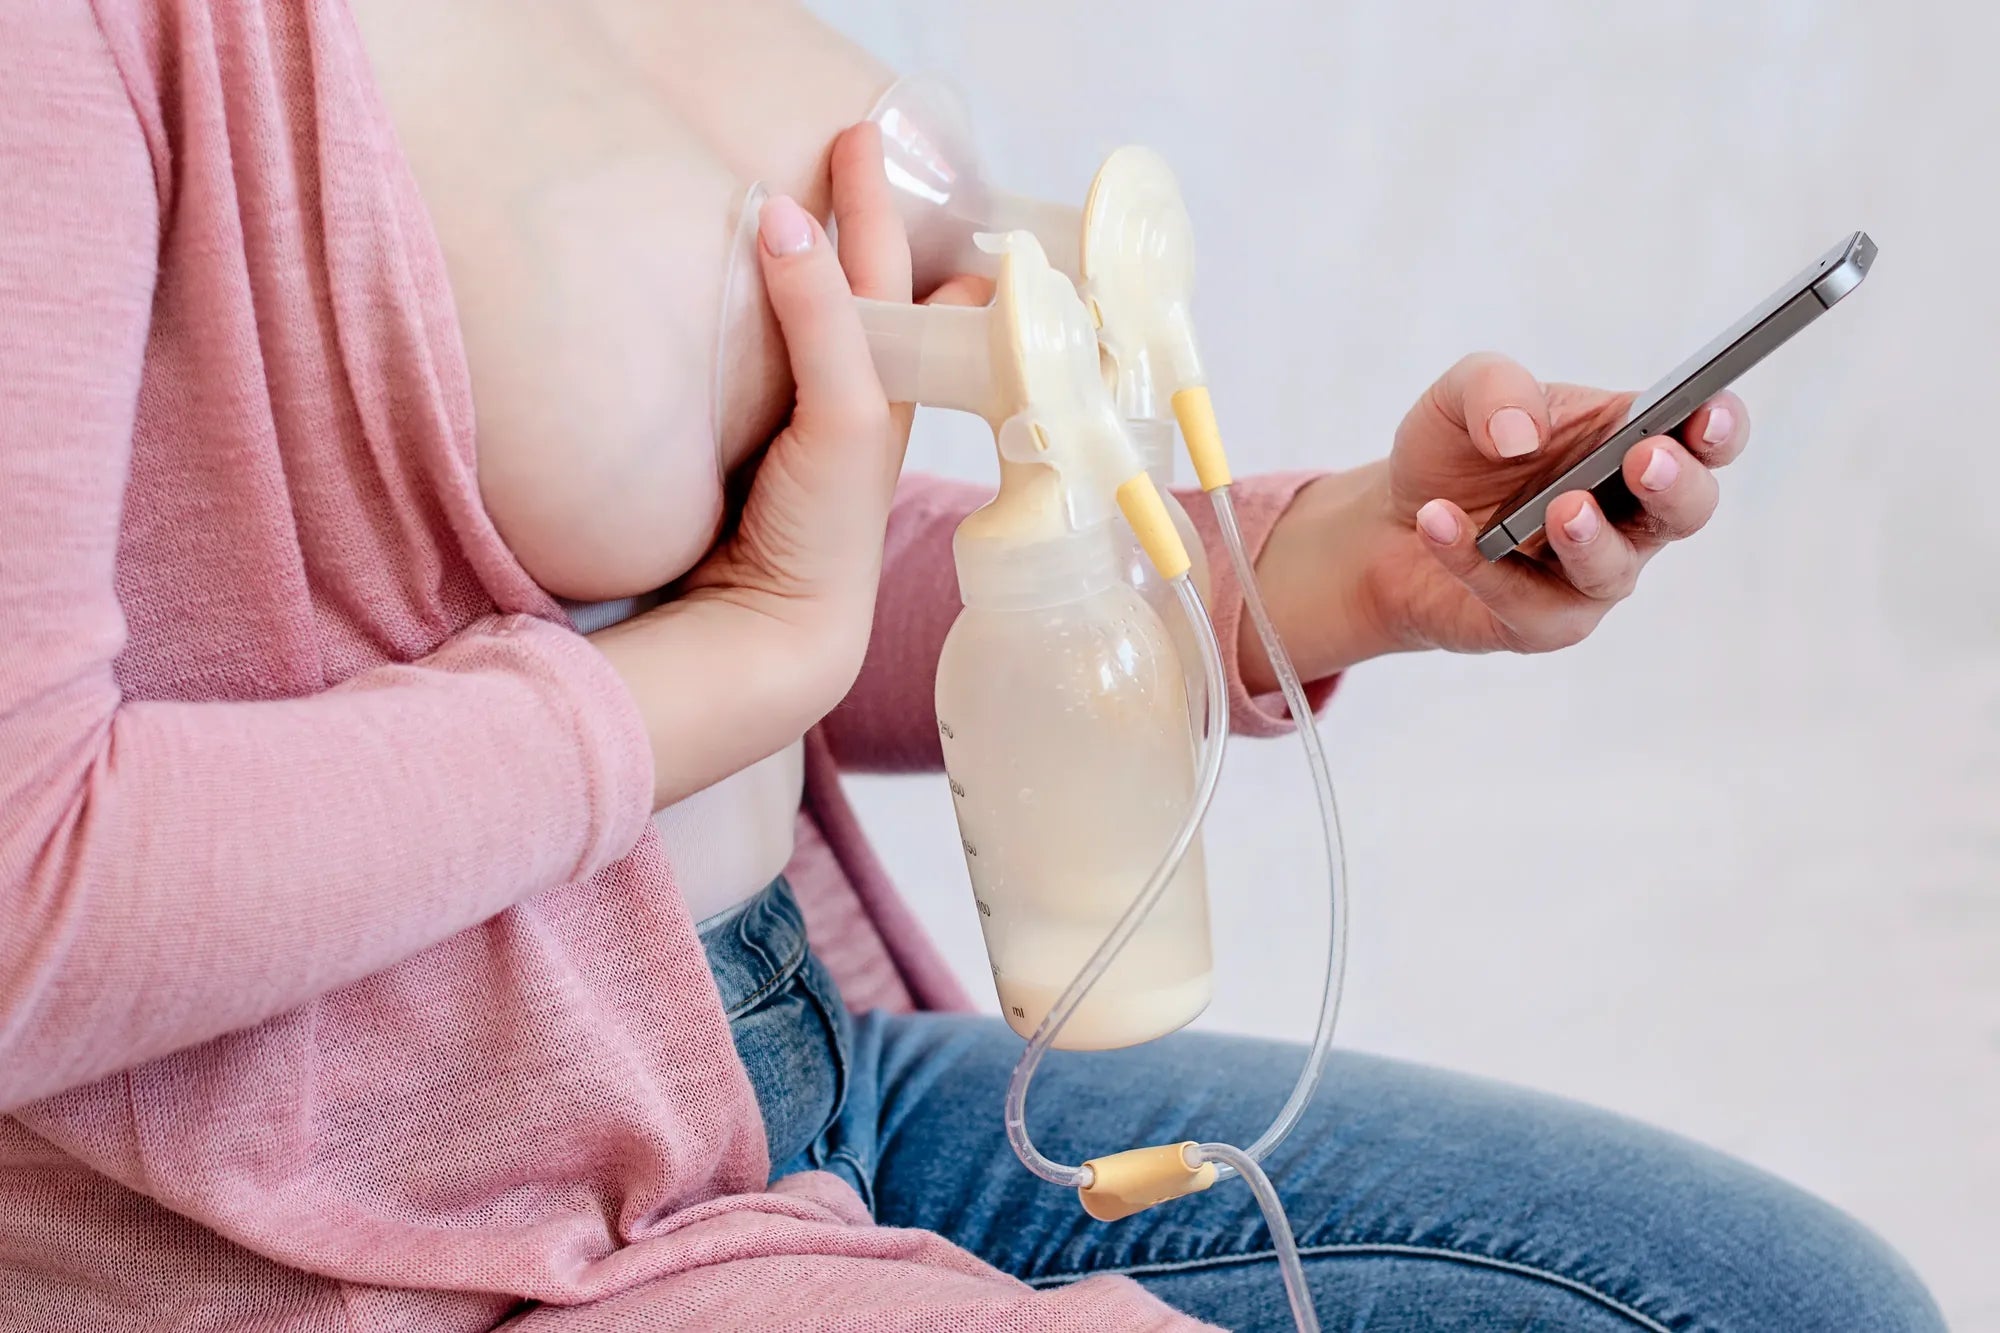
A breast pump flange, or breast shield, is the funnel-shaped piece that fits over your nipple and areola. It creates the seal necessary for the pump to express milk. The internal tunnel diameter is the measurement that must correspond correctly to your nipple diameter. When we ask "how do you measure your nipple for a breast pump," we are specifically determining this nipple diameter to select the appropriate tunnel size.
The consequences of an improper fit are substantial. A flange that is too small will compress the nipple, causing friction, pain, swelling (edema), and can even restrict milk flow by compressing milk ducts. Conversely, a flange that is too large will draw too much of the areola into the tunnel, leading to ineffective suction, nipple trauma, and often, surprisingly low milk yield despite long pumping sessions.
Research and lactation consultant consensus indicate that a majority of pumping parents use a default flange size (often 24mm or 27mm) that is too large for them. This widespread misfit underscores why taking the time for a personal measurement is a non-negotiable first step. The goal is for your nipple to move freely within the tunnel without rubbing the sides, and for only a minimal amount of areola to be drawn in with each suction cycle.
Pre-Measurement Prep: Setting the Stage for Accuracy
Timing and state are everything when preparing to measure. Your nipple size is not static; it can change throughout your breastfeeding journey and even during a single pumping session due to stimulation and swelling. For the most accurate baseline measurement, it is best to measure your nipples after a feeding or pumping session, when they are in a more natural, non-engorged state.
Gather a flexible, non-stretch ruler or a printable nipple ruler (available from many lactation resources and breast pump manufacturers). Ensure you have good lighting. Wash your hands thoroughly. It can be helpful to have a notepad or your phone nearby to record measurements immediately.
If you are experiencing significant engorgement, it may be difficult to get a true measurement. In such cases, hand-express or pump very briefly on a low, gentle setting just enough to soften the breast and areola, then measure. Remember, the objective is to find the diameter of the nipple tissue itself, not the swollen areola.
The Step-by-Step Guide: How Do You Measure Your Nipple for a Breast Pump
Follow these steps carefully for each breast, as it is common to have two different nipple sizes.
Step 1: Position and Stimulate. Ensure your breast is soft. If needed, use a cool compress for a minute to reduce any transient swelling. Gently stimulate the nipple so it is at a typical "resting" state—not fully erect, but not completely flat.
Step 2: Measure the Diameter. Take your ruler or measuring tape. Place the "0" mark at one side of the base of your nipple (where it meets the areola). Stretch the ruler straight across the widest part of the nipple to the other side. Do not measure the areola. Look at the measurement in millimeters (mm). This is your nipple diameter.
Step 3: Calculate Your Flange Size. Your flange size is not your naked nipple diameter. You must add a buffer to allow for nipple expansion during pumping and movement. The general rule is to add 0-4 mm to your measured nipple diameter. For example, if your nipple measures 17 mm, a 19 mm or 21 mm flange is likely appropriate. If you measure 20 mm, a 24 mm flange is a common starting point.
Step 4: Record and Test. Write down the measurement for each breast. Start with the calculated flange size. The true test is in the pumping session: comfort and efficiency are the final judges.
Interpreting Your Measurement: Flange Size Selection Chart
Use the following table as a guideline to translate your nipple measurement into a starting flange size. Remember, body symmetry is rare; always measure both sides independently.
| Measured Nipple Diameter (mm) | Recommended Starting Flange Size (mm) | Notes & Considerations |
|---|---|---|
| 13-15 mm | 17 mm | Smaller sizes like 17mm are often needed but not always included in standard kits. MomMed offers a 17mm flange. |
| 16-18 mm | 19 mm or 21 mm | A 19mm may be ideal for the lower end of this range if 21mm causes areola pull. |
| 19-22 mm | 24 mm | This is a common range. If 24mm feels too large, try 21mm. |
| 23-25 mm | 27 mm | The default size in many kits. Ensure it's not too large if you measure on the lower end. |
| 26+ mm | 30 mm+ | Larger sizes are available. Consult with a lactation consultant for specialized fitting. |
This chart is a starting point. Factors like nipple elasticity, breast fullness, and pump suction patterns mean you may need to adjust up or down one size after a trial session. The key is observing your body's response during and after pumping.
Signs of Correct and Incorrect Flange Fit
Knowing how do you measure your nipple for a breast pump is half the battle; recognizing the fit in action is the other. Here are the clear indicators.
Signs of a Good Fit:
- Nipple Movement: Your nipple moves freely in and out of the tunnel without rubbing the sides.
- Areola Involvement: Only a small amount of areola (1-3mm) is drawn into the tunnel with each suction cycle.
- Comfort: The session is comfortable, with a feeling of tugging, not pinching, scraping, or burning.
- Output: You see a steady, efficient milk flow, and breasts feel well-drained after a typical session.
- Post-Pump Appearance: Nipples are centrally located in the areola, not misshapen, blanched (white), or swollen.
Red Flags of a Poor Fit:
- Pain: Immediate or building pain during pumping is the primary signal of a wrong size.
- Excessive Areola Pull: Large portions of your areola are pulled into the tunnel.
- Nipple Rubbing: You can see or hear your nipple rubbing against the sides of the tunnel.
- Blanching or Discoloration: The tip or base of the nipple turns white or purple during or after pumping.
- Swelling: Nipples are significantly swollen at the end of a session, sometimes filling the entire tunnel.
- Poor Output: Despite good supply, milk flow is slow or stops quickly, indicating ineffective suction.
MomMed’s Approach to Personalized Flange Fit
At MomMed, we understand that a one-size-fits-all approach fails most pumping mothers. That's why our breast pumps, including the popular S21 Double Wearable Breast Pump, come with multiple flange sizes in the box. Our kits typically include 21mm and 24mm flanges, recognizing the need for options from the start.
We also offer a wider range of separate flange sizes, such as 17mm and 19mm, for those who need a smaller, more precise fit. All MomMed flanges are crafted from soft, BPA-free, food-grade silicone that is gentle on sensitive skin and designed to minimize friction. This commitment to material safety and comfort is part of our mission to support every step of your motherhood journey with reliable, innovative products.
Our design philosophy ensures that our flanges work in harmony with our pumps' suction patterns. The correct flange size maximizes the efficiency of our pumps, helping you achieve let-downs faster and express milk more completely, whether you're using a wearable model for mobility or a traditional electric pump.
Common Flange Fitting Questions Answered (FAQ)
Q1: Do I need to measure both nipples? What if they are different sizes?
A: Yes, always measure both. It is extremely common to have different sized nipples. You should use a different flange size for each breast if needed. Using the correct size for each side prevents unilateral pain and inefficient pumping.
Q2: My measurement is 19mm. Should I choose a 21mm or 24mm flange?
A: Start with 21mm. The "add 2-4mm" rule suggests 21-23mm. A 24mm flange (a 5mm addition) is likely too large and will pull in excess areola. The 21mm is the safer starting point for comfort and efficiency.
Q3: How often should I re-measure my nipples?
A> Re-measure if you experience persistent pain, a sudden drop in output, or after significant changes like the early postpartum period (as initial engorgement subsides), weaning, or resuming pumping after a break. Nipple size can change over time.
Q4: Can I use a flange that's slightly too big if it's more comfortable than one that's slightly too small?
A: While comfort is paramount, a flange that is too big is inefficient and can still cause trauma from areola stretching. It is better to find the correct size. If between sizes, leaning toward the smaller of the two options is often more effective than leaning larger.
Q5: What if no standard flange size seems to fit me correctly?
A: If you have tried multiple sizes and still experience pain or poor output, consult an International Board Certified Lactation Consultant (IBCLC). They can assess your anatomy and may recommend specialty flanges, such as oval-shaped or silicone cushion inserts, to achieve a custom fit.
Advanced Considerations and Troubleshooting
For some, standard measurement may need refinement. If your nipples swell dramatically during pumping, your pre-pump measurement might be misleading. In this case, you may need to measure after a pumping session (once swelling has subsided) to find your true base size and select a flange with a wider tunnel to accommodate expansion.
Elastic nipple tissue is another factor. If your nipple stretches significantly in length during suction, ensuring the flange tunnel is long enough is also important to prevent the tip from hitting the back of the funnel, which can be painful. Some brands, including MomMed, design flanges with this in mind.
Remember that flange fit can also be influenced by pump settings. Even with a perfect fit, excessive vacuum strength or an unsuitable cycle speed can cause discomfort. Always start on low vacuum and a gentle, rapid cycle to stimulate let-down, increasing only to a comfortable level.
Your Journey to Pain-Free, Effective Pumping Starts Here
Investing ten minutes to accurately answer "how do you measure your nipple for a breast pump" is an investment in your entire pumping experience. It is the fundamental step that transforms pumping from a chore into an efficient, comfortable part of your routine. Correct flange fit protects your nipple health, preserves your milk supply, and gives you the confidence to meet your feeding goals.
Trust the signals from your body. Discomfort is a message that something needs to change. Use this guide as your reference, start with your measurements, and don't hesitate to size down if the standard options feel too large. Your comfort and your baby's nourishment are worth the precision.
Ready to experience the difference a perfect fit makes? Shop the MomMed collection at mommed.com for all your breastfeeding and pregnancy needs. Explore our range of breast pumps, including wearable and electric models, and our full selection of flange sizes designed to support your unique journey with comfort, innovation, and care.