


Startseite
Pregnancy, Breastfeeding, and Pumping: The Ultimate Guide for Moms
How to Clean Out Breast Pump Tubing: A Comprehensive Guide for Safe Pumping
How to Clean Out Breast Pump Tubing: A Comprehensive Guide for Safe Pumping
Why Proper Tubing Care is Essential for Your Pumping Journey
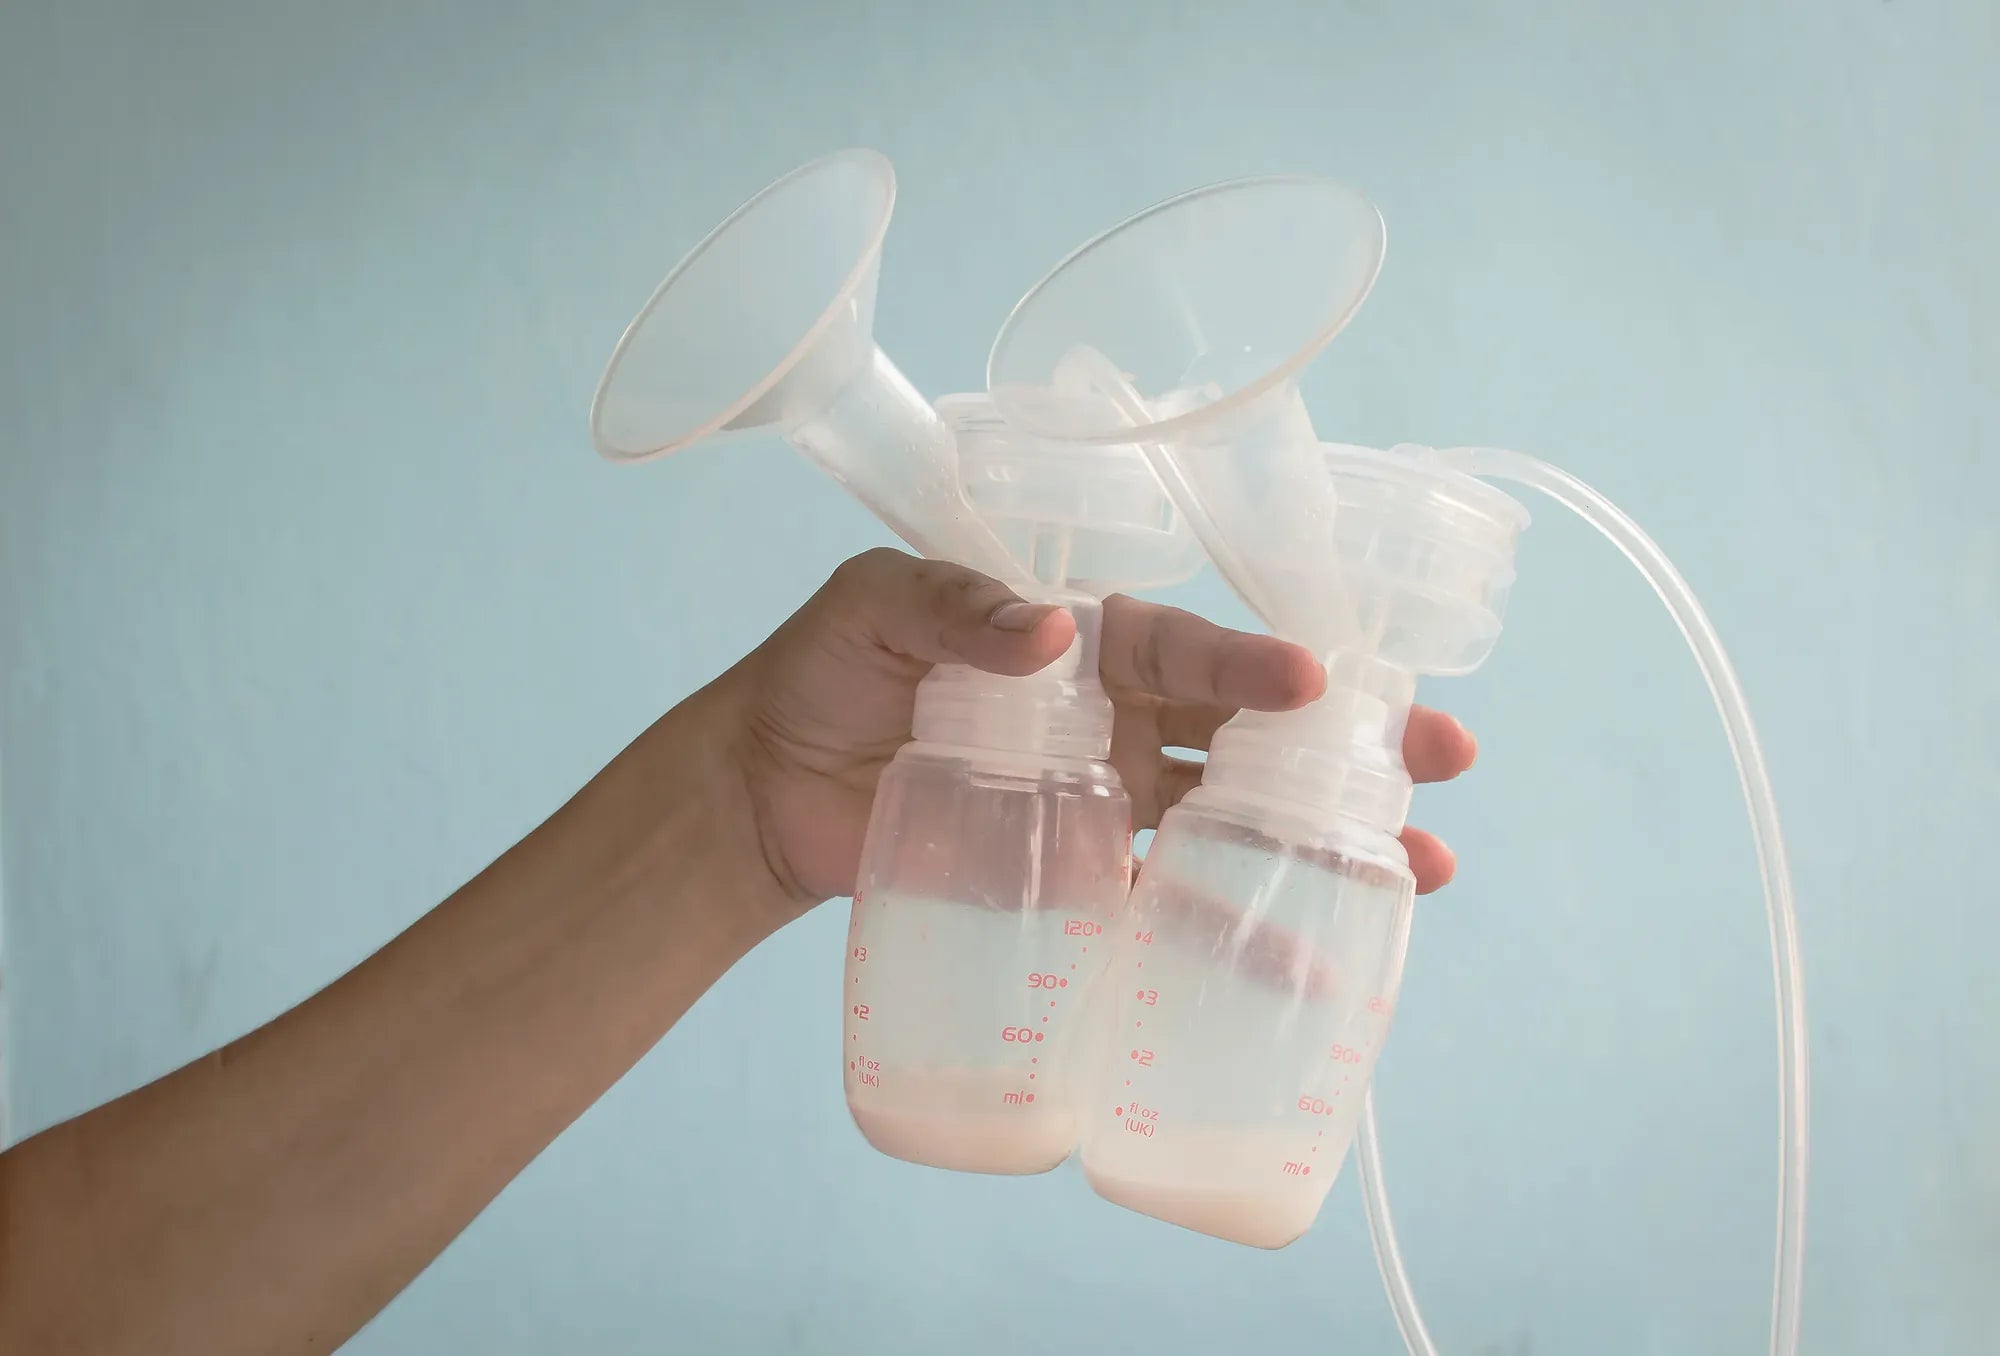
Understanding how to clean out breast pump tubing is not just about appliance maintenance; it's a fundamental pillar of infant safety and a successful breastfeeding or exclusive pumping experience. Milk residue, even microscopic amounts from condensation, creates a perfect breeding ground for mold, mildew, and harmful bacteria like Pseudomonas. These contaminants can be introduced into your expressed milk or, in some pump designs, directly into the pump's motor, posing a health risk to your baby and compromising your equipment.
Beyond hygiene, moisture trapped inside tubing directly impacts pump performance. Water droplets can obstruct airflow, leading to inconsistent or reduced suction. This can make pumping sessions less efficient, potentially affect your milk supply over time, and cause unnecessary frustration. For users of advanced wearable pumps like the MomMed S21, ensuring dry, clear tubing is key to maintaining the quiet, powerful suction the pump is designed for.
Establishing a simple, consistent cleaning routine for your tubing empowers you with confidence. It transforms a potential worry into a manageable, quick task that integrates seamlessly into your pumping rhythm. This guide will provide the detailed, evidence-based methods you need to protect your baby, your investment, and your peace of mind.
Understanding Your Breast Pump Tubing: Types and Materials
Not all breast pump tubing is created equal, and understanding your specific type is the first step to proper care. The most critical distinction is between closed-system and open-system pumps. Most modern electric and wearable pumps, including all MomMed models, are closed-system. This means a protective membrane or barrier prevents milk from backing up into the tubing and motor, a crucial safety feature.
In a closed system, the tubing primarily carries air to create suction. However, condensation from warm, moist air passing through the cool tubing is inevitable. This condensation is the primary reason you must learn how to clean out breast pump tubing regularly, even if milk never visibly enters it. Open-system pumps, an older design, lack this barrier, making them much more susceptible to milk entering the tubing and motor, which presents a higher contamination risk and is harder to clean.
Most tubing is made from medical-grade or food-grade PVC or silicone, designed to be flexible and durable. MomMed uses high-quality, BPA-free, food-grade materials in all pump parts that come into contact with air on the path to milk, ensuring safety and longevity. Tubing also features connectors specific to the pump brand or model. It's vital to use only manufacturer-recommended tubing, as incorrect tubing can damage the pump's motor or fail to create adequate suction.
The Role of Tubing in Pump Function
The tubing is the conduit for the vacuum that creates suction. Any blockage, moisture, or leak (like a small crack) breaks this vacuum seal. This is why a common symptom of tubing issues is a pump that runs but produces little to no suction at the breast shield. Proper maintenance of this component is as important as cleaning the bottles and flanges.
Your Step-by-Step Guide: How to Clean Out Breast Pump Tubing Safely
This core section provides a foolproof, sequential guide. Always refer to your specific pump manual first, as manufacturer instructions take precedence. The following protocol is a safe standard for most closed-system pumps.
Daily Cleaning & Drying Routine (After Each Use)
For daily maintenance, the keyword is drying, not washing. Washing tubing after every single use is usually unnecessary and can introduce more moisture. Immediately after pumping, disconnect the tubing from both the breast shield connector and the pump motor. Hold one end of the tubing and gently but firmly swing it in an arc (like a lasso) to force any condensation droplets out the other end. Repeat from the other side.
Hang the tubing in a clean, well-ventilated, dust-free area to air-dry completely. Ideal spots include over a dedicated bottle-drying rack, a clean shower rod, or a towel bar. Ensure both ends are open and unobstructed to allow maximum airflow through the entire length. Do not coil or store the tubing until it is bone-dry internally. This simple shake-and-hang ritual is the most effective daily practice for how to clean out breast pump tubing of moisture.
Weekly (or As-Needed) Deep Cleaning Protocol
Perform a deep clean weekly, or immediately if you see milk backflow into the tubing, notice a milky smell, or see visible residue. Fill a clean basin or sink with warm water and a small amount of mild dish soap. Submerge the tubing and let it soak for 2-3 minutes. Do not use brushes, as they can damage the interior.
After soaking, rinse the tubing thoroughly. Attach one end to a faucet and run warm, clean water through it for 30-60 seconds to flush out any soap residue. Shake out the excess water. The drying step is even more critical after a wash. Follow the swinging method described above, then hang to dry. Drying can take 24 hours or more in humid climates. Plan ahead so you have a dry set ready for your next pump session.
The Golden Rule of Drying: Why It's Non-Negotiable
Incomplete drying is the root cause of mold growth. Mold spores are ubiquitous in the air and only need a damp, dark environment (like the inside of a coiled, wet tube) to colonize. Once mold establishes in the tubing's small interior, it is impossible to fully eradicate, necessitating replacement. Ensuring 100% dryness is the single most important part of learning how to clean out breast pump tubing.
For faster drying in humid environments, you can place the hanging tubing in a room with a dehumidifier or a gentle fan (do not blow directly into the tube with high pressure). Some parents carefully use the cool air setting on a hair dryer held at a distance from the opening. Never use heat, as it can warp the plastic. The best practice is to have two sets of tubing, rotating them to guarantee one is always completely dry and ready for use.
What to Avoid: Common Tubing Cleaning Mistakes
Certain well-intentioned practices can damage your tubing or create safety hazards. Avoiding these mistakes is crucial for mastering how to clean out breast pump tubing correctly.
- Dishwashers, Microwaves, and Boiling Water: The high heat can melt, warp, or degrade the plastic, compromising the seal and potentially leaching chemicals. Always hand-wash.
- Harsh Chemicals and Bleach: These can leave toxic residues inside the tubing that are difficult to rinse out and may be aerosolized during pumping. Stick to mild soap.
- Bottle Brushes or Pipe Cleaners: These can scratch or puncture the delicate interior, creating micro-tears where bacteria can hide.
- Storing While Damp: Always, always air-dry completely before storage. Storing damp tubing in a bag or drawer is an invitation for mold.
- Using Vinegar or Other "Natural" Cleaners as a Routine: While some manuals may suggest a vinegar solution for occasional sanitizing, it can leave a persistent smell and is not necessary for weekly cleaning. It is not a reliable method for removing existing mold.
When to Replace Your Breast Pump Tubing: Signs and Schedule
Even with perfect care, tubing is a wear item and needs periodic replacement. Knowing when is a key part of understanding how to clean out breast pump tubing, as cleaning has its limits.
| Sign/Symptom | What It Means | Action Required |
|---|---|---|
| Visible mold or black/green spots | Mold colonization has occurred. | Replace tubing immediately. Do not attempt to clean. |
| Persistent milky or musty smell | Likely bacterial or mold biofilm present, even if not visible. | Replace tubing. |
| Cracks, holes, or permanent kinks | Vacuum seal is broken, reducing suction efficiency. | Replace tubing. |
| Loss of suction not fixed by other means | Tubing may have a micro-leak or internal collapse. | Replace tubing after checking other connections. |
| General wear and cloudiness | Plastic is degrading with age and use. | Consider proactive replacement. |
As a general guideline, replace tubing every 3-6 months with frequent daily use. If you pump occasionally, inspect it closely every few months. For MomMed pump users, always use genuine replacement parts designed for your specific model (like the S21 or S12) to ensure optimal performance and safety. Keeping a spare set on hand prevents unexpected interruptions to your pumping schedule.
Troubleshooting & FAQ: Your Tubing Questions Answered
Q1: I see black specks in my tubing! Is that mold? What do I do?
A: Yes, any discoloration (black, green, pink) is likely mold or mildew. Do not try to clean it. Mold roots (hyphae) can embed in the plastic where soap and water cannot reach. Replace the tubing immediately and thoroughly clean all other pump parts that connect to it. Inspect your drying routine to ensure tubing is drying completely between uses.
Q2: Can I sterilize my breast pump tubing?
A: Most pump tubing is not designed for sterilization via steam (electric sterilizers or boiling) due to the heat sensitivity of the plastic. The CDC recommends against sterilizing tubing for closed-system pumps; proper washing and complete air-drying are sufficient. For open-system pumps where milk contacts the tubing, consult your manual, but replacement is often safer than attempted sterilization.
Q3: How can I dry my tubing faster if I need to pump again soon?
A: After shaking out water, try draping the tubing in a spiral over a dry towel in front of a gentle fan (not a heater). You can also very carefully run cool, dry air from a can of compressed air (used for electronics) through the tube for a few seconds from a distance, but avoid prolonged force. The best solution is to invest in a second set of tubing as a backup.
Q4: Is the tubing for my MomMed S21 wearable pump dishwasher safe?
A: No. According to the MomMed S21 user manual, the tubing is for hand-washing only. The high heat and powerful jets of a dishwasher can damage the tubing and its connectors. The recommended method is the warm, soapy water soak and thorough rinse outlined in this guide, followed by complete air-drying.
Q5: Why is there moisture in my tubing if I have a closed-system pump?
A: This is completely normal condensation. The air pulled through the tubing by the pump is warm and moist from your body and the environment inside the breast shield. When this air hits the cooler tubing, the moisture condenses into water droplets. This is why the daily shake-out and dry routine is essential, even without any milk backflow.
Comparing Tubing Care Across Different Pump Types
| Pump Type / Feature | Risk of Milk in Tubing | Primary Cleaning Focus | Replacement Frequency | Key Consideration |
|---|---|---|---|---|
| Closed-System (e.g., MomMed S21, Most Modern Electrics) | Very Low (Condensation only) | Moisture removal & drying | Every 3-6 months (proactive) | Prevent mold from condensation; ensure perfect dryness. |
| Open-System (Older Pump Models) | High | Milk residue removal & sanitizing | More frequent, at first sign of wear | Milk in tubing mandates immediate washing; higher contamination risk. |
| Hospital-Grade Rental | Very Low (Closed System) | Moisture removal & drying | Provided new for each user | Use your own personal kit (tubing, flanges); only the motor is rented. |
| Manual Pumps | Typically None (No tubing) | N/A | N/A | Focus cleaning on valves, bottles, and flanges. |
Integrating Tubing Care into a Holistic Pump Maintenance Routine
Proper care for how to clean out breast pump tubing doesn't exist in a vacuum. It's one part of a comprehensive approach to pump hygiene and performance. Always clean all other parts that contact milk (flanges, valves, membranes, bottles) after every use according to CDC guidelines—wash with soap and water, rinse, and air-dry or sanitize as desired.
Regularly inspect all silicone parts like valves and duckbills for wear, stiffness, or tears, as these are common culprits for suction loss before tubing issues. Store your completely dry pump parts and tubing in a clean, closed container or bag. For MomMed wearable pump users, also ensure the charging ports and external surfaces of the motor cups are wiped clean and dry.
Establishing this full routine reduces stress and ensures every pumping session is as safe, efficient, and comfortable as possible. It protects your health, your baby's health, and the significant investment you've made in your breastfeeding journey.
Empowering Your Pumping Journey with Confidence and Care
Mastering how to clean out breast pump tubing is an act of care—for your baby, for yourself, and for the equipment that supports your feeding goals. By implementing the simple daily shake-and-dry habit, performing weekly deep cleans when needed, and vigilantly ensuring absolute dryness, you create a safe foundation for pumping. Recognizing the signs for timely replacement prevents small issues from becoming big problems.
This knowledge empowers you to pump with confidence, knowing you are providing the safest milk possible. At MomMed, we are committed to supporting this confidence by designing products like the S21 Wearable Pump with user-friendly, closed-system safety in mind and providing clear guidance for maintenance. Your journey is unique, and having reliable, well-maintained tools makes all the difference.
For genuine replacement tubing, parts, and other innovative breastfeeding and baby care essentials designed with your needs in mind, explore the trusted collection. Shop the MomMed collection at mommed.com for all your breastfeeding and pregnancy needs, and continue your journey empowered with knowledge and the right tools for the job.