
Accueil
Pregnancy, Breastfeeding, and Pumping: The Ultimate Guide for Moms
How to Clean Breast Pump Parts for the First Time: A Complete Guide for New Moms
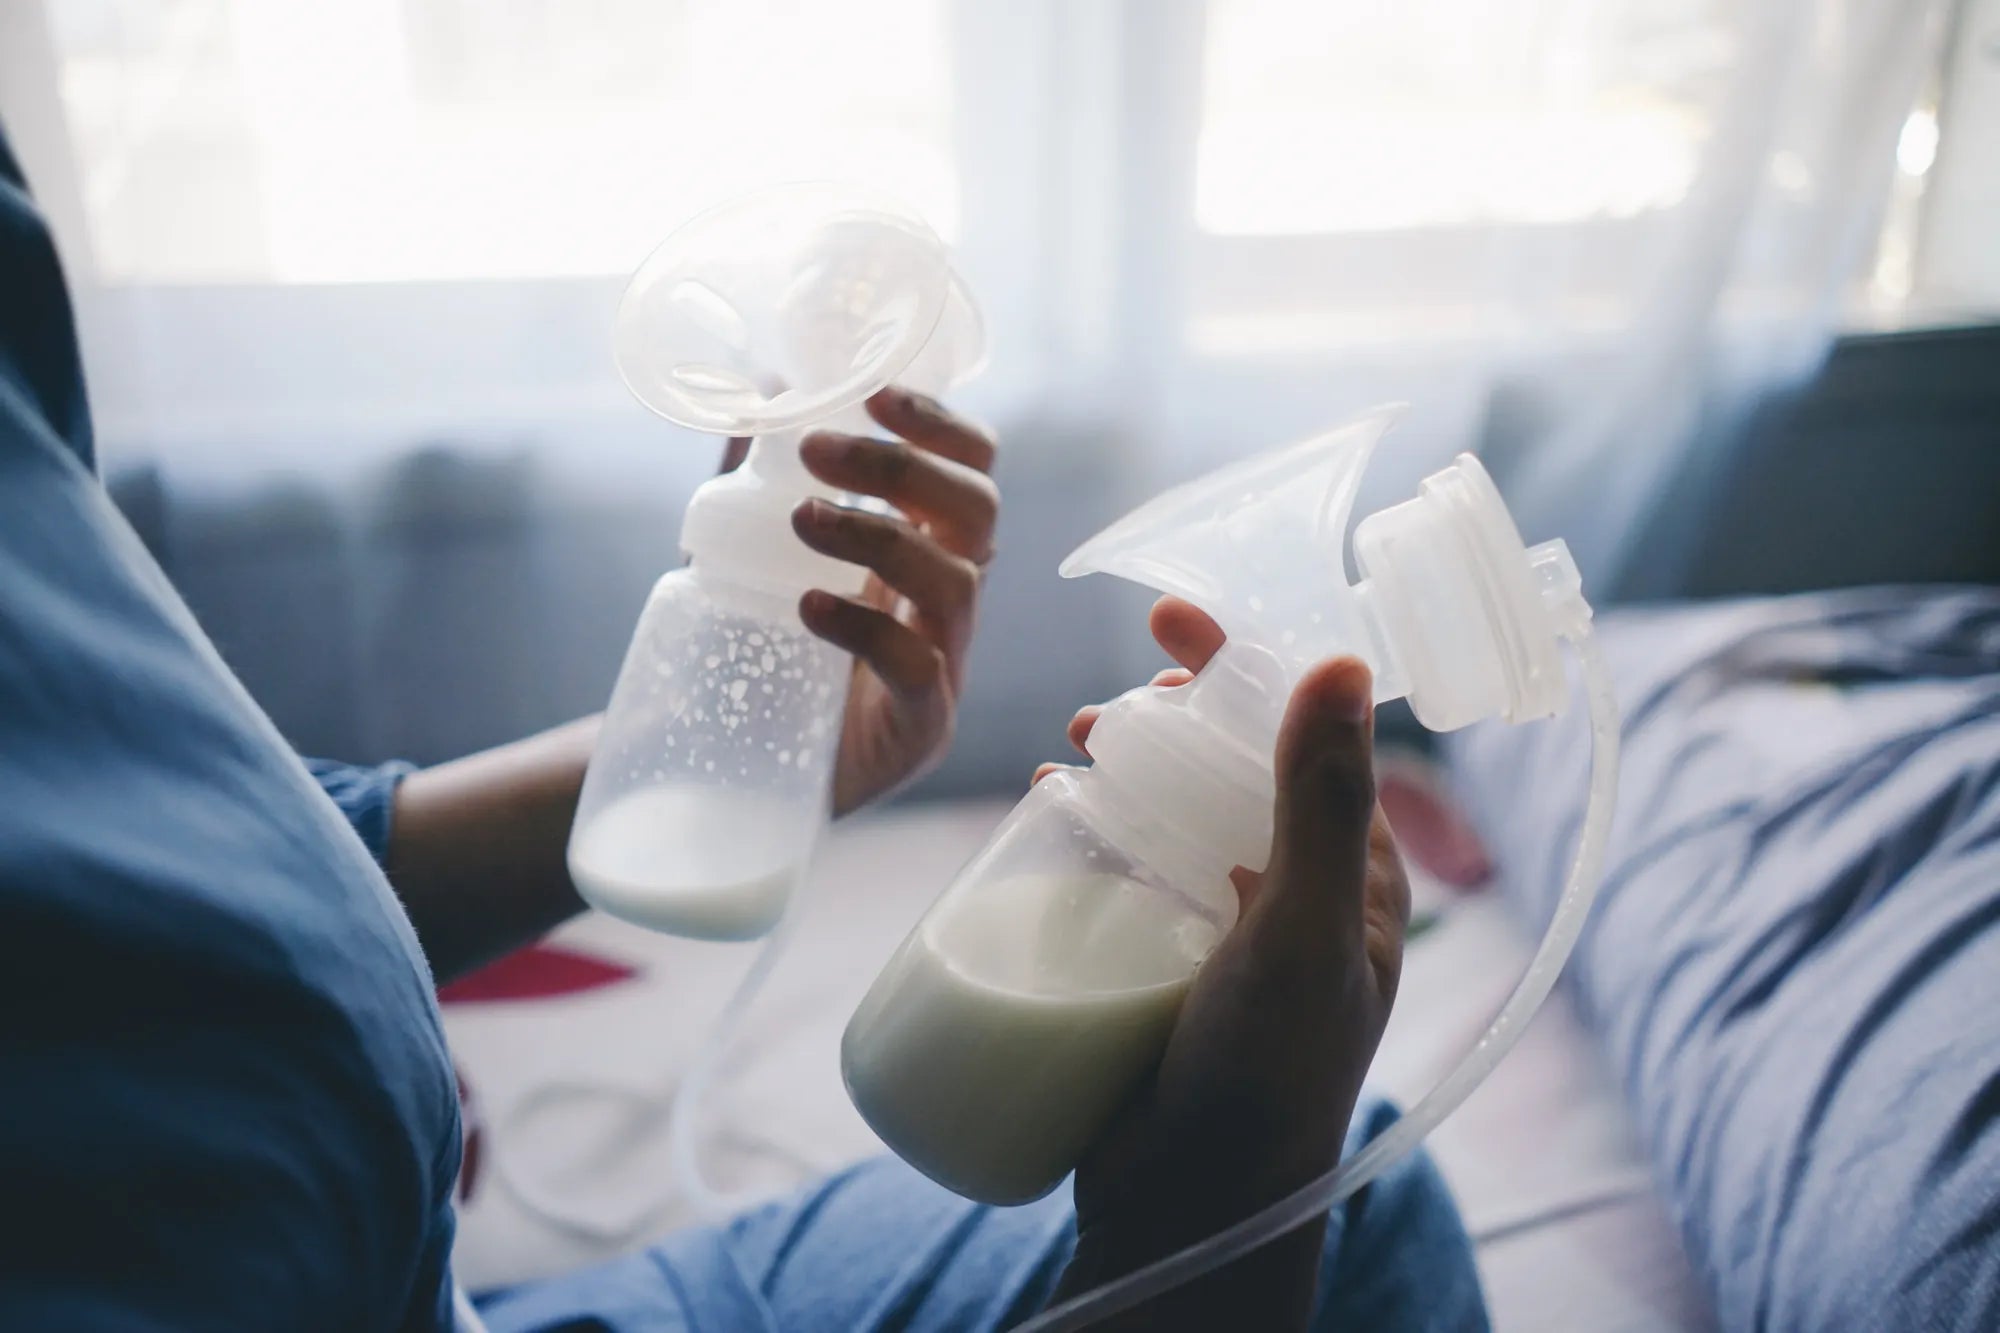
How to Clean Breast Pump Parts for the First Time: A Complete Guide for New Moms
Opening that new breast pump box is a milestone filled with both excitement and a touch of "what now?" Before you even think about that first pumping session, there's one critical, non-negotiable task: the initial deep clean. This isn't just about wiping off dust; it's about safeguarding your baby's health and ensuring your pump works flawlessly from day one.
This complete guide will walk you through exactly how to clean breast pump parts for the first time, transforming a potentially daunting chore into a simple, confidence-building ritual. You'll learn why this first wash is different, a detailed step-by-step checklist, what pitfalls to avoid, and how to establish a safe, sustainable cleaning routine for your entire breastfeeding journey.
Why a Thorough First Cleaning is Non-Negotiable for Safety
Routine cleaning after each use maintains hygiene, but the first cleaning serves a unique and vital purpose. It's the barrier between the manufacturing/packaging environment and your baby's sole source of nutrition. Skipping or rushing this step can introduce avoidable risks.
During production and assembly, pump parts can accumulate microscopic residues like industrial oils, dust, or particulates from the factory and packaging materials. These are not visible to the naked eye but must be removed before contact with breast milk. A proper first clean eliminates these potential contaminants.
Furthermore, plastics and silicone can sometimes retain subtle odors from manufacturing. These scents might be imperceptible to you but could affect the taste of your milk, potentially leading to bottle refusal. A meticulous first wash ensures your milk tastes only like your milk, encouraging your baby to feed comfortably.
Finally, this initial process prepares the materials—especially the soft, food-grade silicone membranes, valves, and flanges—for their long-term use. It ensures they are pristine, pliable, and ready to perform at their best, contributing to both efficient milk removal and your comfort during pumping.
Pre-Cleaning Essentials: Gathering Your Supplies
Before you disassemble a single part, gather everything you need. Being prepared prevents you from handling clean, wet parts with dirty hands while searching for a brush. This setup is the foundation of an effective cleaning process.
You will need a clean, dedicated basin or container used only for washing infant feeding items. Avoid using the kitchen sink directly, as it harbors germs. Use a mild, fragrance-free dish soap—harsh detergents can leave chemical residues and degrade silicone over time.
Invest in a set of small, soft-bristled brushes designed for bottle and pump parts. They are essential for scrubbing inside flanges and the tiny crevices of valves. Have plenty of clean paper towels or a dedicated, clean drying rack ready. Crucially, keep your pump's manufacturer manual on hand for any specific disassembly or care instructions.
As a trusted maternal and baby care brand, MomMed designs all its breast pumps, like the S21 Wearable model, with hygiene in mind. Their parts are made from BPA-free, food-grade silicone and plastics that are durable yet easy to clean, supporting a safe start to your pumping journey.
Step-by-Step: Your First-Time Cleaning Checklist
Now, let's walk through the process methodically. Follow this checklist to ensure no step or component is overlooked. Patience and thoroughness here set the standard for all future cleaning sessions.
Step 1: Complete Disassembly
Refer to your manual and carefully take apart every single component. This includes flanges (shields), backflow protectors, duckbill or silicone valves, diaphragms, connectors, bottles, lids, and caps. Even small sealing rings or gaskets must be removed.
Lay all parts out on a clean surface. This visual inventory ensures you clean and, later, reassemble everything. Pay special attention to complex pieces like backflow protectors; they often come apart into multiple pieces to prevent milk from entering the tubing.
Step 2: Initial Rinse & Wash
Rinse each part under cool to lukewarm running water to remove any loose particles. Fill your dedicated basin with warm (not scalding hot) water and a small amount of mild soap. Submerge and wash each part individually.
Use your soft brush to scrub all surfaces—inside, outside, and especially within threads, crevices, and the interior tunnels of flanges. For silicone valves and membranes, use gentle pressure with your fingertips or a brush to avoid tearing. The goal is mechanical removal of residues.
Step 3: The Thorough Rinse
This step is critical. Rinse each soapy part thoroughly under clean, running water for several seconds. Ensure all suds and soap residue are completely gone, as leftover soap can contaminate milk and cause stomach upset for your baby.
Check for slippery spots, which indicate lingering soap. Hold parts up to the light to see if water beads off evenly. Any soap film left behind defeats the purpose of cleaning, making this a step you cannot rush.
Step 4: Sanitizing After the First Wash
After the initial hand wash, sanitizing the parts before first use is highly recommended, especially for newborns under 3 months, premature infants, or immunocompromised babies. This provides an extra layer of protection.
You can sanitize using steam (a microwave or electric steam bag), by boiling in water for 5-10 minutes (if the manufacturer approves), or with a cold-water sanitizing solution. Always follow the sanitizer's instructions and your pump manual's guidelines for each material type.
What to Avoid: Critical First-Time Cleaning Mistakes
Knowing what not to do is as important as knowing the correct steps. These common errors can damage your pump parts, compromise their function, or introduce safety hazards.
Avoid using boiling water indiscriminately. While boiling is a valid sanitizing method, not all plastics are designed for it. High heat can warp or degrade certain parts, like some backflow protectors or connector pieces, affecting suction. Always check your manual first.
Never submerge electronic components or tubing. Wash only the parts that contact milk. The tubing should not be filled with water; if condensation appears, simply run the pump with the tubes attached to air dry them. Getting moisture in the motor or connectors can ruin your pump.
Steer clear of abrasive tools and harsh cleaners. Steel wool, harsh scouring pads, or bleach-based cleaners can scratch plastic, creating hiding spots for bacteria, and can break down delicate silicone, leading to cracks and milk leaks. Stick to soft brushes and mild soap.
Do not dry parts with a kitchen towel. Cloth towels can transfer lint and germs. Always air-dry parts completely on a clean rack or paper towels. Reassembling or storing parts while damp encourages mold and mildew growth, particularly in valves and membranes.
Daily Cleaning vs. First Clean & Sanitizing: A Practical Comparison
Understanding the difference between these routines helps you maintain efficiency without cutting corners. The first clean is a comprehensive, one-time event, while daily care is about consistent maintenance.
| Aspect | First-Time Cleaning | Daily/Routine Cleaning |
|---|---|---|
| Primary Goal | Remove manufacturing/packaging residues; prepare for first use. | Remove milk fats and biofilms from recent use. |
| Intensity | Deep clean followed by sanitization. | Thorough hand wash with soap and water. |
| Frequency | Once, before the very first use. | After every pumping session. |
| Key Focus | Every nook, cranny, and individual piece. | Surfaces that came into contact with milk. |
| Sanitizing | Highly recommended post-wash. | Recommended periodically (e.g., once daily for newborns). |
For daily care, the ease of cleaning is a key feature of well-designed pumps. MomMed's wearable pumps, for instance, feature fewer small parts than traditional models and use durable, food-grade silicone that resists milk residue buildup, simplifying the daily washing routine for busy moms.
Establishing Your Ongoing Pump Part Hygiene Routine
After the inaugural clean, a consistent routine keeps your pump safe and functional. This routine balances thoroughness with the practical realities of a new mom's schedule, helping to prevent issues like clogged ducts or mastitis.
The golden rule is to clean all parts that contact milk after every use. If you cannot wash immediately, rinse parts with cool water to prevent milk from drying and hardening, then wash as soon as possible. Never leave milk to sit in parts for extended periods.
Sanitize parts periodically based on your baby's needs. The CDC recommends sanitizing at least once daily for infants under 3 months, those born prematurely, or with weakened immune systems. For older, healthy babies, sanitizing once a week or as per your pediatrician's advice may be sufficient.
Store clean, completely dry parts in a clean, closed container or resealable bag in the refrigerator between uses within the same day? This is a common "hack," but it's not a cleaning method. The CDC states that rinsing is not adequate; proper washing with soap and water is still required before the next use. When in doubt, wash.
FAQ: New Mom's Top Breast Pump Cleaning Questions
Q: Do I absolutely need to sanitize the parts before the first use?
A: Yes, it is strongly recommended. While the initial wash removes physical residues, sanitizing (via steam, boiling, or solution) kills potential microbial contaminants from the manufacturing and packaging process, offering the highest safety level for your baby's first bottles.
Q: Can I just put all the parts in the dishwasher for the first clean?
A> Check your manual. Many pump parts are dishwasher-safe on the top rack, but the intense heat and harsh detergent of a dishwasher can be more abrasive than a first clean requires. Delicate silicone valves, membranes, and backflow protectors are often recommended for hand-washing only to preserve their integrity and lifespan.
Q: How do I clean the tubing? It looks dirty inside.
A> Tubing should not regularly get wet. The cloudiness is usually condensation from pumping. To clean, disconnect the tubing from the parts and run the pump for a few minutes to air-dry it. If milk accidentally backs up into the tubing, it must be replaced, as it cannot be adequately cleaned inside. MomMed pumps include backflow protection technology designed specifically to prevent milk from entering the tubing, making maintenance simpler and safer.
Q: What if I have hard water? Will it damage my parts?
A> Hard water can leave mineral scale deposits on parts, particularly in heating elements if you boil them. To descale, you can occasionally rinse parts in a mixture of one part white vinegar to three parts water, then rinse thoroughly with clean water. Always check your manual for descaling instructions specific to your pump model.
Q: How long do pump parts like valves and membranes last before needing replacement?
A> Silicone parts wear out. Duckbill valves, backflow protector membranes, and other soft parts typically need replacement every 1-3 months, depending on use frequency. Signs of wear include loss of suction, visible cracks, or stretching. Using worn parts can significantly reduce pumping efficiency and milk output.
Confidence from the Very First Drop
Mastering how to clean breast pump parts for the first time is more than a chore; it's the first act of care in your pumping journey. It establishes a standard of safety, ensures your equipment performs optimally, and provides the profound peace of mind that comes from knowing you're feeding your baby with the purest milk possible. This meticulous start simplifies every subsequent session, turning cleaning into a quick, familiar habit.
By choosing pumps designed with hygiene in mind, like MomMed's award-winning wearable pumps featuring easy-to-clean, BPA-free components and effective backflow protection, you invest in both your convenience and your baby's well-being. Remember, a clean pump is an efficient pump, supporting your milk supply and making your breastfeeding goals more achievable. You've got this, mom.
Ready to start your journey with a pump designed for simplicity and safety? Shop the MomMed collection at mommed.com for all your breastfeeding and pregnancy needs, from innovative wearable breast pumps to reliable pregnancy tests and essential baby care products.