
Accueil
Pregnancy, Breastfeeding, and Pumping: The Ultimate Guide for Moms
How to Clean Breast Pump After Each Use: The Essential Safety Guide for Pumping Moms
How to Clean Breast Pump After Each Use: The Essential Safety Guide for Pumping Moms
Your breast pump is a lifeline for feeding your baby, but without proper cleaning, it can become a source of harmful bacteria. Knowing exactly how to clean your breast pump after each use is not just a chore; it's a fundamental safeguard for your infant's health and your breastfeeding journey. This guide provides the definitive, evidence-based cleaning protocol recommended by health authorities, tailored for modern pumps. We'll cover the daily routine, deep cleaning, and special considerations for innovative wearable models, empowering you with the knowledge to pump with absolute confidence. As a trusted partner to moms, MomMed designs its breast pumps with safety and cleanability as top priorities, using BPA-free, food-grade silicone to support this essential routine.
The Critical Importance of Cleaning After Every Single Use
Cleaning your breast pump parts after each pumping session is non-negotiable. Breast milk is a perfect medium for bacterial growth, including pathogens like E. coli, Salmonella, and Listeria. According to CDC guidelines, improper cleaning can lead to contamination, which may cause severe gastrointestinal illness or even more serious infections in infants, whose immune systems are still developing.
Residual milk fat and sugars left on pump parts create a biofilm—a thin, sticky layer where bacteria thrive and multiply rapidly. This biofilm can be difficult to remove if parts are not washed promptly and thoroughly. The risk isn't just theoretical; cases of infant illness have been linked to contaminated pump parts.
Furthermore, for the breastfeeding parent, a dirty pump can introduce bacteria back into the milk ducts, potentially leading to painful conditions like mastitis or thrush (a yeast infection). A consistent cleaning routine protects both you and your baby, ensuring every ounce of milk is as safe and nutritious as possible. This practice is the cornerstone of safe pumping, regardless of pump brand or type.
Your Step-by-Step Daily Cleaning Protocol
This routine should be followed after every pumping session. Having a dedicated basin, brush, and drying rack used only for pump parts streamlines the process and prevents cross-contamination from kitchen sinks.
Step 1: Immediate Post-Pumping Disassembly & Rinse
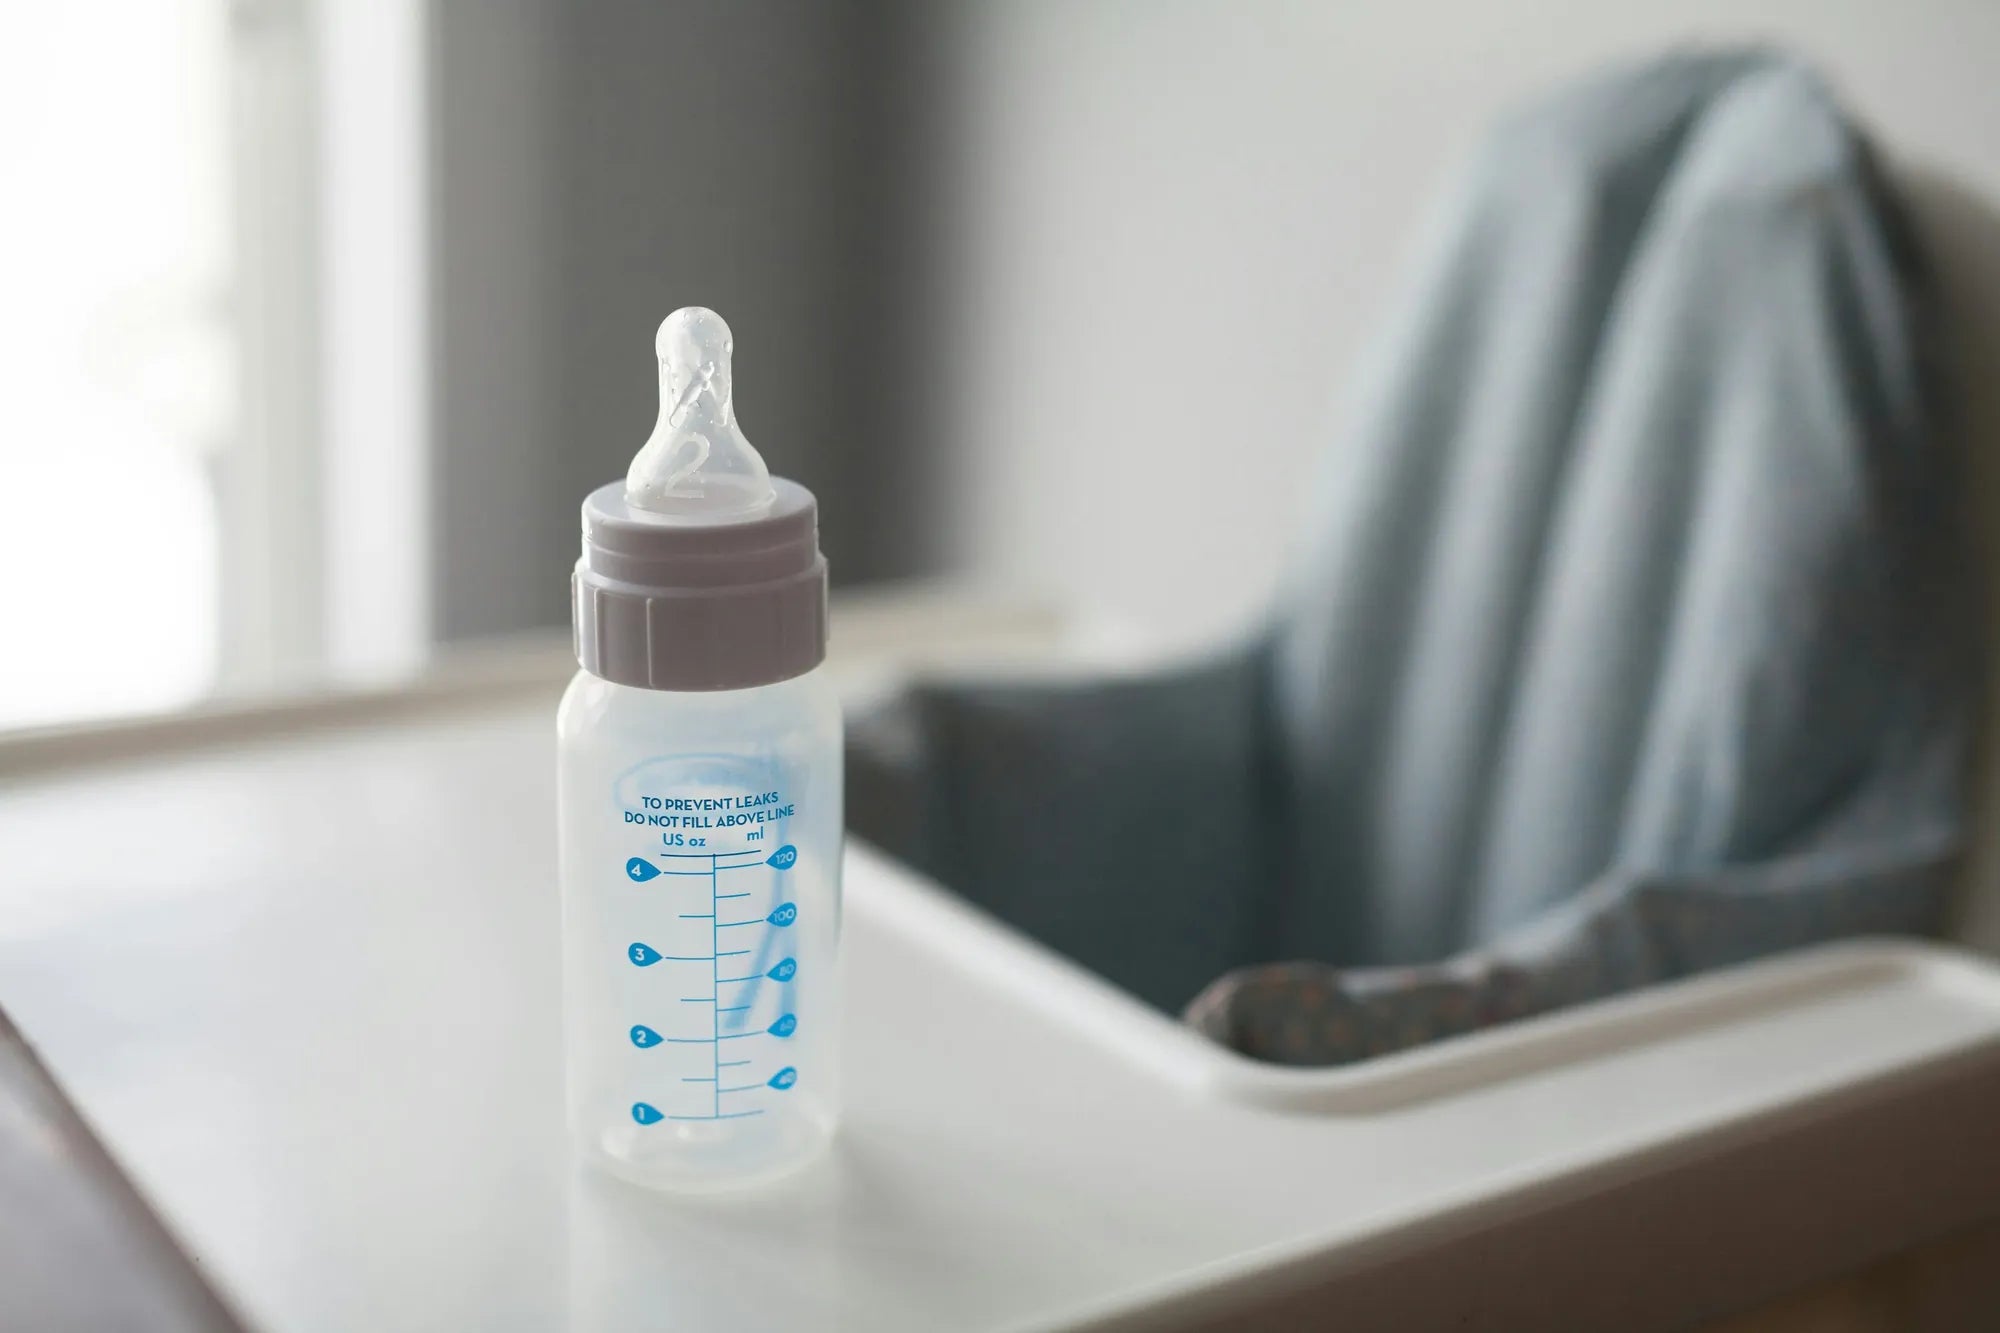
As soon as you finish pumping, disconnect the collection bottles or bags from the pump. Disassemble all parts that come into contact with breast milk. This always includes flanges (shields), valves, membranes, connectors, and collection bottles. Refer to your pump manual for a complete parts diagram.
Before the milk dries, give all these parts a quick rinse under cool running water. Avoid hot water initially, as it can cause the proteins in breast milk to adhere to the plastic, making them harder to clean. This preliminary rinse removes the bulk of the milk and makes the main wash more effective.
Step 2: The Main Wash: Hand-Washing Best Practices
Wash the parts in a clean wash basin or bowl that is used only for infant feeding items. Do not wash them directly in a sink, which can harbor germs. Fill the basin with hot water and add mild dish soap. Use a clean brush designated for pump parts to scrub every surface, paying special attention to crevices in valves, membranes, and the threads of bottles.
For flanges, scrub the interior tunnel thoroughly. If using a closed-system pump like those from MomMed, ensure the backflow protector membranes are cleaned gently but completely. Rinse all parts thoroughly under hot running water to ensure no soap residue remains, as soap can cause stomach upset for your baby.
Step 3: Drying & Storage: The Final, Crucial Step
Shake off excess water from the parts. Place them on a clean, unused dish towel or paper towel, or in a dedicated drying rack. Allow them to air-dry completely in an area protected from dust and kitchen contaminants. Do not use a dish towel to dry the parts, as this can transfer bacteria.
Once bone-dry, reassemble the clean parts and store them in a clean, covered container or resealable bag until their next use. Never store pump parts while they are still damp, as moisture promotes mold and mildew growth.
Hand-Washing vs. Dishwasher: A Detailed Comparison
While hand-washing is the universally recommended and most controlled method, some pump parts are dishwasher-safe. This table outlines the key considerations.
| Factor | Hand-Washing | Dishwasher |
|---|---|---|
| Effectiveness | High. Allows for targeted scrubbing of every crevice. | Variable. Depends on water pressure, detergent, and placement. Small parts may not be cleaned thoroughly. |
| Safety for Parts | High. Gentle handling prolongs part life, especially for delicate valves/membranes. | Risk of warping or damage from high heat if parts are not top-rack safe. Can degrade silicone over time. |
| Convenience | Requires dedicated time after each use. | Can be convenient for bottles and flanges if run daily. |
| Recommended For | All valves, membranes, backflow protectors, and silicone parts. Required for most wearable pump motors/cups. | Only bottles, flanges, and connectors if explicitly stated as dishwasher-safe in the manual. Always use a hot water cycle and heated dry. |
| Key Takeaway | The gold standard. Ensures meticulous cleaning of critical components. | Use with caution and never for essential small parts. Always verify manual instructions first. |
Special Guide for Cleaning MomMed Wearable Pumps
Wearable pumps like the award-winning MomMed S21 Double Wearable Breast Pump offer incredible convenience, and their cleaning is straightforward due to intelligent design. The collection cups are crafted from BPA-free, food-grade silicone and Tritan copolyester, materials chosen for their safety and ease of cleaning.
After each use, disassemble the cup completely: remove the silicone diaphragm (duckbill valve), the silicone backflow protector, the flange, and the collection bottle. Rinse immediately with cool water. Wash all parts (except the outer motor casing) in hot, soapy water using the provided brush, paying close attention to the duckbill valve folds and the backflow protector.
The motor unit itself should never be submerged. Wipe the exterior with a soft, damp cloth. Ensure all silicone and bottle parts are thoroughly rinsed and air-dried completely before reassembly. The design minimizes small, hard-to-clean parts, making the daily routine efficient. For moms using the MomMed S12 or Swing models, the same principles apply—always prioritize cleaning every component that contacts milk.
Common Cleaning Mistakes and How to Avoid Them
Even with good intentions, it's easy to fall into shortcuts that compromise safety. Avoid these common errors to ensure optimal pump hygiene.
1. The "Fridge Hack" Misapplication: Storing used pump parts in the fridge between sessions to wash less frequently is a debated practice. The CDC does not recommend it as a routine. If you choose this method, it is only for same-day use, parts must be in a sealed bag, and they must still be washed thoroughly every 24 hours. It is not safe for premature infants or babies with immune issues.
2. Improper Drying: Storing parts while damp or using a towel to dry them invites mold and bacteria. Always air-dry completely on a clean surface.
3> Neglecting to Clean the Wash Basin: The basin or brush you use must be cleaned with soap and hot water after each use and allowed to dry. It can be a primary source of recontamination.
4. Using Harsh Chemicals or Bleach Daily: Daily sanitizing with bleach or sterilizing solutions is unnecessary and can degrade pump parts over time, causing cracks where bacteria hide. Reserve sanitizing for specific circumstances outlined below.
Beyond Daily Cleaning: When and How to Sanitize
Sanitizing goes beyond cleaning to kill remaining germs. It is an extra step recommended in specific situations. The CDC advises sanitizing at least once daily for infants under 3 months old, those born prematurely, or with weakened immune systems. It's also wise when you first purchase a pump, after illness (yours or the baby's), and after any mold exposure.
Boiling Method: Place disassembled, cleaned parts that are safe for boiling (check your manual) into a pot of water. Bring to a rolling boil for 5 minutes. Remove with clean tongs and air-dry.
Steam Sterilization: Use a dedicated microwave or electric steam sterilizer bag or unit following the manufacturer's instructions. This is effective and convenient for most pump parts.
Bleach Soak (if boiling/steam not possible): In a clean basin, mix 2 teaspoons of unscented bleach per gallon of water. Submerge cleaned parts for at least 2 minutes. Remove, rinse thoroughly with hot water, and air-dry. This method should be used sparingly to preserve part integrity.
Frequently Asked Questions (FAQ)
Q: Can I just rinse my pump parts and store them in the fridge for the next use?
A: This "fridge hack" is a common time-saver but is not without risk. The CDC states fresh breast milk can be kept at room temperature for up to 4 hours, but this does not apply to residual milk on equipment. If you do this, ensure parts are sealed in a clean bag, used only for same-day pumping, and washed thoroughly every 24 hours. It is not recommended for newborns under 3 months or immunocompromised infants.
Q: How do I clean the pump tubing?
A> In a closed-system pump (like all MomMed pumps), milk should not enter the tubing. If the tubing appears moist or has milk inside, it indicates a problem with the backflow protector. To clean, detach it from the pump and hang it to air-dry. If necessary, you can run a mixture of white vinegar and water through it to eliminate moisture, followed by a complete air-dry. Never wash tubing with soap submersed in water unless specified in your manual.
Q: What kind of soap should I use?
A> Use a mild, fragrance-free dish soap with no heavy moisturizers or antibacterials. Regular blue Dawn or similar plain soaps are excellent choices. Rinse extremely thoroughly to remove all soap residue.
Q: How often should I replace pump parts like valves and membranes?
A> Silicone parts wear out. Duckbill valves, backflow protector membranes, and tubing should be replaced every 4-12 weeks depending on use, or immediately if you notice cracks, tears, loss of suction, or stretching. Worn parts harbor bacteria and reduce pump efficiency.
Q: Is it safe to use a bottle sterilizer for my pump parts?
A> Yes, electric or microwave steam sterilizers are generally safe and effective for sanitizing pump parts that are heat-tolerant. Always check your pump manual to confirm which parts can be sterilized this way. It is a convenient alternative to boiling.
Maintaining Your Pump for Long-Term Performance
Proper cleaning is also essential for the mechanical performance and longevity of your pump. Milk residue can clog valves and membranes, drastically reducing suction strength and milk output. Regular, thorough cleaning ensures every component functions as designed.
Inspect parts regularly for wear. A cracked flange or a stiff, less-pliable duckbill valve can not only be a hygiene issue but also lead to discomfort and inefficient pumping. Establish a schedule for part replacement; consider setting a monthly reminder. For motor maintenance, keep it clean and dry. Wipe the exterior and air vents with a dry cloth. Avoid letting liquid enter any motor housing or charging ports.
Following the manufacturer's care instructions, like those provided with MomMed pumps, ensures your investment is protected and performs reliably throughout your breastfeeding journey, whether it lasts for months or over a year.
Integrating Cleaning into Your Pumping Routine
The key to consistency is making the cleaning process as seamless as possible. Set up a dedicated station near your pumping area if you can: a basin, brush, drying rack, and storage containers. Clean parts immediately after pumping while your milk is still fresh; delaying makes the task harder and riskier.
For middle-of-the-night sessions, having a second set of pump parts can be a game-changer, allowing you to store the used set in a sealed container in the fridge (following the cautious guidelines mentioned) and wash everything in the morning. This strategy helps maintain sanity while adhering to safety principles.
Remember, this routine is an act of care. It protects the liquid gold you work so hard to produce and safeguards your baby's health. A clean pump is the foundation of a confident and sustainable pumping experience.
Mastering how to clean your breast pump after each use is one of the most impactful skills in your pumping journey. It transforms your pump from a mere appliance into a trusted, safe tool that supports your baby's health and your feeding goals. This routine, built on evidence and care, provides peace of mind with every session. At MomMed, we support this mission by designing our wearable and electric breast pumps with cleanability and safety at their core—using premium, BPA-free materials that stand up to daily washing while delivering comfortable, efficient performance. Your dedication deserves equipment that makes safety simple.
Shop the MomMed collection at mommed.com for breast pumps, replacement parts, and accessories designed to support your entire breastfeeding journey with confidence, comfort, and uncompromising safety.