


Accueil
Pregnancy, Breastfeeding, and Pumping: The Ultimate Guide for Moms
How Often to Clean Breast Pump: A Comprehensive Guide for Safe Feeding
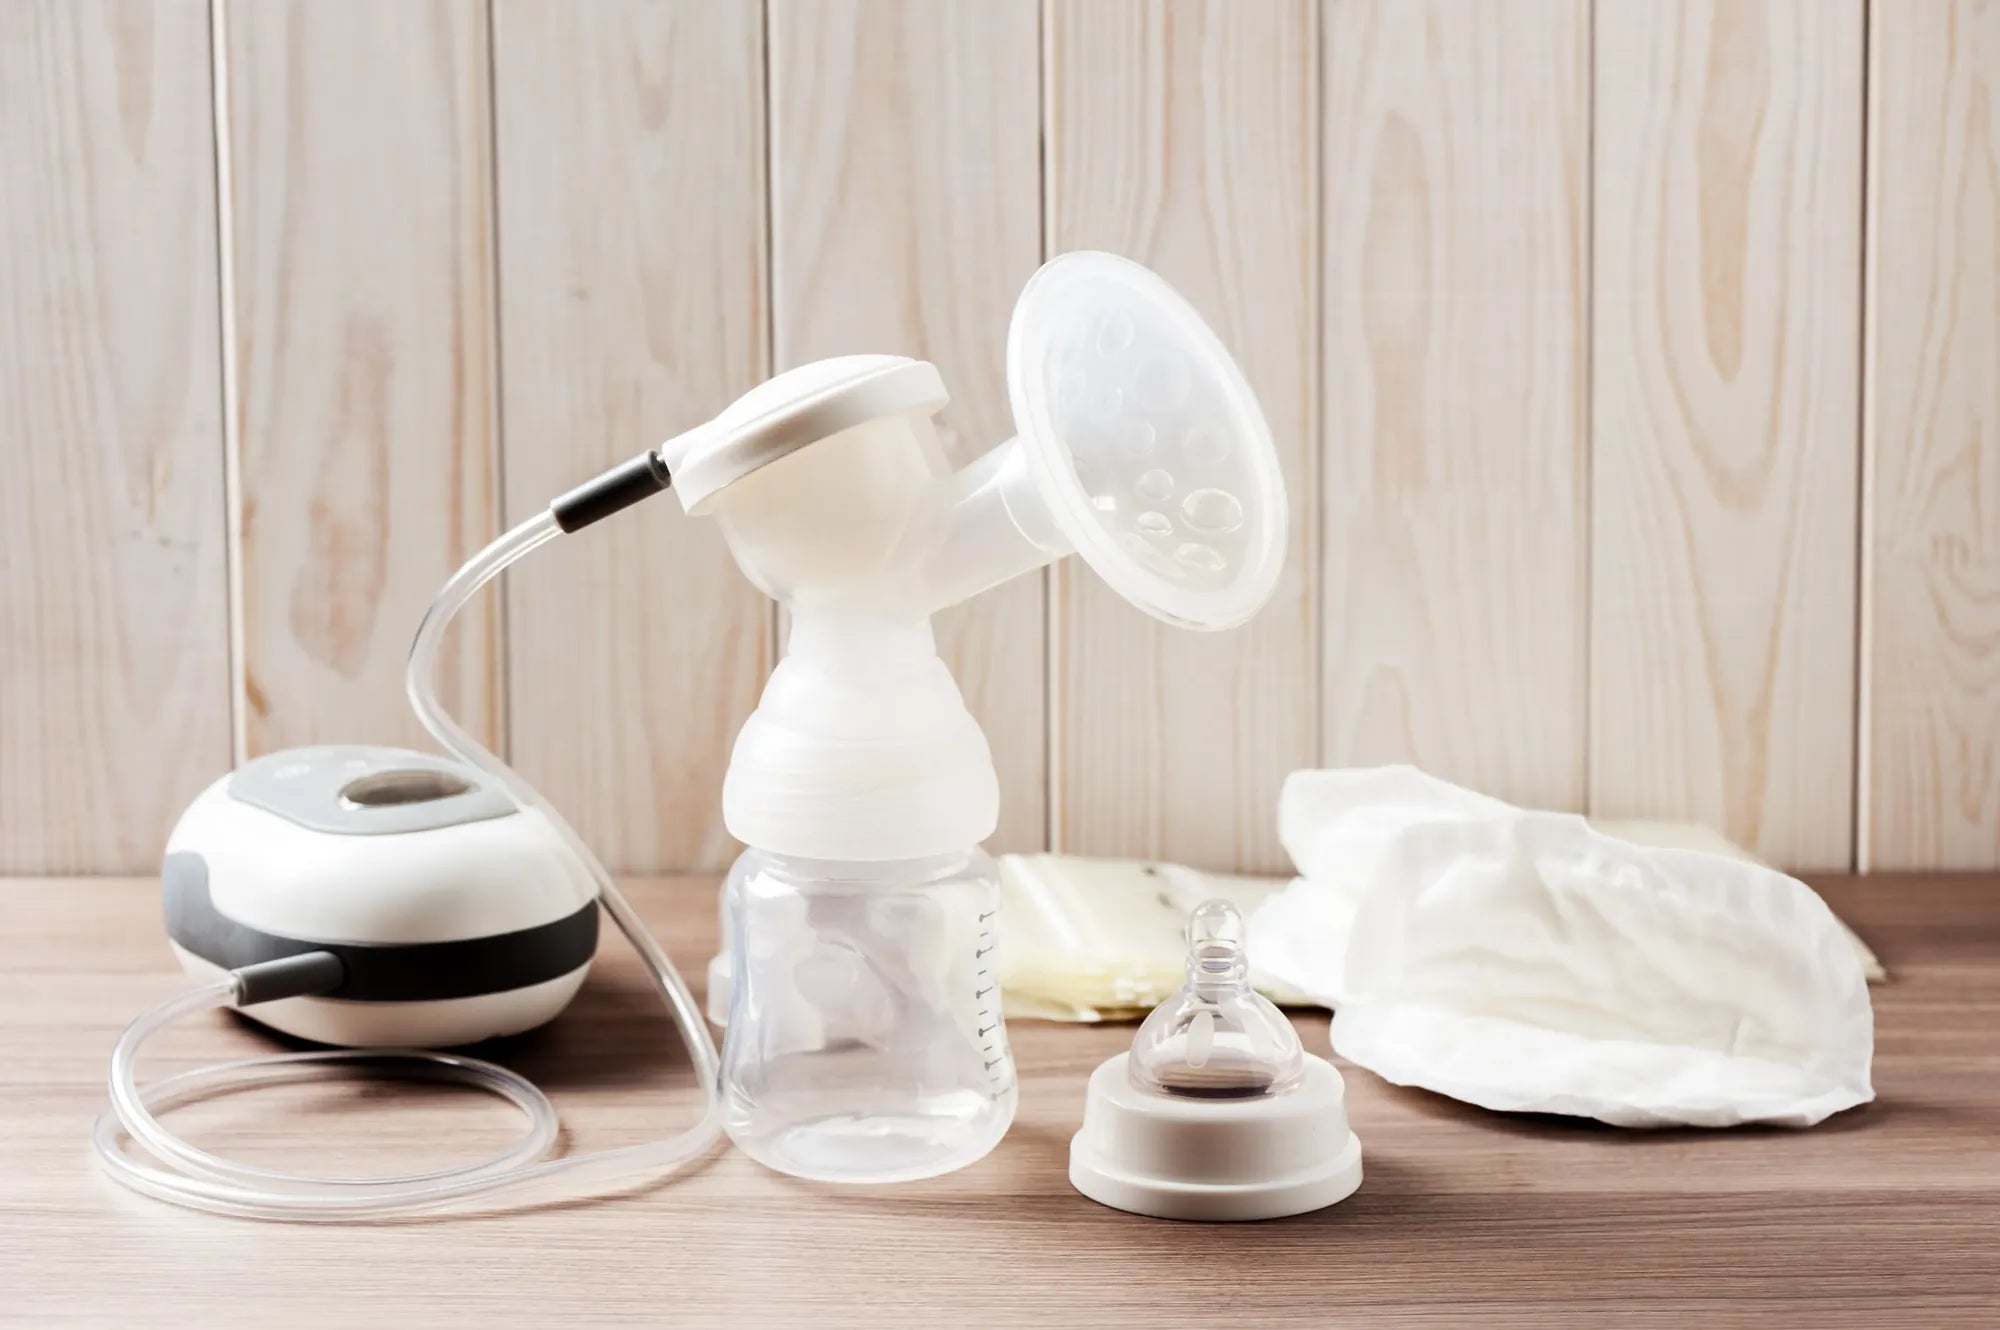
How Often to Clean Breast Pump: A Comprehensive Guide for Safe Feeding
Juggling feeding schedules, sleep deprivation, and the constant hum of a pump, the last thing you need is confusion about cleaning. Yet, knowing how often to clean a breast pump is one of the most critical pieces of knowledge for a pumping parent. It's the simple, non-negotiable barrier between your liquid gold and harmful bacteria. This comprehensive guide translates official guidelines into a clear, actionable routine, empowering you to maintain impeccable hygiene without adding unnecessary stress to your day.
Why Proper Breast Pump Cleaning is Non-Negotiable
Breast milk is a perfect food, but its nutrient-rich composition also makes it an ideal breeding ground for bacteria. Improper cleaning can lead to the growth of pathogens like Cronobacter sakazakii (which can cause severe infections) or mold, especially in moist, hard-to-see areas like tubing or valve crevices.
These contaminants pose a real risk to your baby's developing immune system. Furthermore, milk residue can degrade pump parts like valves and membranes, leading to a loss of suction, inefficient milk removal, and ultimately, potential impacts on your milk supply. Hygiene isn't just about safety; it's about ensuring your pump works effectively to support your breastfeeding goals.
This is why brands like MomMed engineer their pumps with hygiene in mind, using BPA-free, food-grade silicone for all parts that contact milk. This commitment to safe materials makes thorough cleaning easier and more effective, but the responsibility for a consistent cleaning routine rests with you.
The Golden Rules: CDC Guidelines for Breast Pump Cleaning Frequency
The Centers for Disease Control and Prevention (CDC) provides the gold-standard guidelines for breast pump hygiene. Their recommendations are based on minimizing the risk of contamination for infants, especially those most vulnerable. Here’s how to apply them in real life.
After Every Use: Parts That Touch Breast Milk
This is the cardinal rule. Every component that comes into contact with breast milk or your body must be cleaned after each pumping session. This includes:
- Flanges (breast shields)
- Valves (duckbill, silicone flap, or backflow protector)
- Membranes (if applicable)
- Milk collection bottles or containers
- Any connectors or adapters between the flange and bottle
This step is not optional. Even if you plan to pump again in two hours, these parts must be properly washed or stored using the "refrigerate parts" method detailed next.
Daily Cleaning: The Storage Container
If you use a dedicated, larger container to store milk in the refrigerator throughout the day (e.g., combining milk from several sessions), this container needs a full wash with soap and water at least once every 24 hours. Do not simply add new milk to a container that hasn't been cleaned since the previous day.
When to Clean Less Frequently: The "Refrigerate Parts" Method
For parents of healthy, full-term infants, the CDC approves a significant time-saving method. You can safely store pump parts in a sealed container or clean zip-top bag in the refrigerator between uses for up to 24 hours.
This "fridge hack" means you don't have to wash parts after every single session within that window. It is a lifesaver for middle-of-the-night pumps or consecutive sessions at work. Simply ensure parts are sealed and kept cold, then wash them thoroughly at the end of the 24-hour period.
Weekly (or As Needed) Cleaning: Tubing & External Unit
A crucial clarification: Do not routinely wash the tubing unless milk has backed up into it. Moisture trapped in tubing is a prime spot for mold growth. Instead, disconnect it and let it air dry. If milk does enter the tubing, it must be cleaned immediately and dried thoroughly before reuse.
The external motor unit should never be submerged. Wipe it down weekly or as needed with a disinfectant wipe or a cloth dampened with a mild cleaner, taking care to avoid air vents.
Your Step-by-Step Cleaning & Sanitizing Routine
Knowing the frequency is half the battle; executing it correctly is the other. Follow this sequence for optimal cleanliness.
Step 1: Immediate Post-Pumping Rinse
As soon as possible after pumping, disassemble all parts that touched milk. Give them a quick rinse under cool running water. This prevents milk fat from drying and sticking, making the full wash easier.
Step 2: Thorough Washing
Wash each part individually. Use a dedicated wash basin and brush (not your kitchen sink or a sponge used for dishes). Wash with hot, soapy water, scrubbing all surfaces, especially crevices in valves and flange edges.
Alternatively, many pump parts, including those from MomMed, are top-rack dishwasher safe. Place small parts in a closed-top basket or bag to prevent them from falling through. Use a hot water cycle and air-dry setting.
Step 3: Rinsing & Drying
Rinse all parts thoroughly under running water to remove all soap residue. Shake off excess water and place parts on a clean, unused dish towel or drying rack in an area protected from dust and pets. Allow to air-dry completely before reassembling or storing. Do not towel dry, as this can transfer germs.
Step 4: When and How to Sanitize
Sanitizing goes beyond cleaning to kill more germs. The CDC recommends sanitizing pump parts at least once daily for:
- Infants under 3 months old
- Premature infants
- Infants with a compromised immune system
For older, healthy babies, sanitizing once per week or as desired is sufficient. Methods include using microwave steam bags, boiling in water for 5 minutes, or using a countertop electric sterilizer. Always follow the manufacturer's instructions for your specific parts.
Special Circumstances & Pro Tips
Real-life pumping often happens outside the ideal home environment. Here’s how to adapt.
On-the-Go Pumping (Commuting, at Work)
Portability is key. Use a insulated cooler bag with ice packs to store both milk and pump parts (using the fridge hack) between sessions. Consider investing in multiple sets of flanges and valves so you always have a clean set ready. Wearable pumps like the MomMed S21 Double Wearable Breast Pump are designed for discrete, cord-free pumping anywhere, but their collection cups still require the same rigorous cleaning after use.
Power Pumping Sessions
Power pumping involves cycling short pumping and rest periods over an hour. You do not need to clean parts between each 10-20 minute session within that single hour-long block. Use the refrigerator method for the parts during the short rest periods, then clean everything thoroughly once the entire power pumping session is complete.
Handling Milk Residue & Hard-to-Clean Parts
For stubborn milk film, a soak in warm, soapy water for a few minutes can help. Use a small brush designed for bottle parts to scrub inside valve openings and flange tunnels. Regularly inspect parts for cracks, cloudiness, or stretched silicone, as these can harbor bacteria and affect suction.
MomMed Pump Care: Maximizing Performance & Hygiene
Proper care directly impacts the efficiency and longevity of your pump. For MomMed pumps, which are engineered for hospital-grade performance and comfort, maintenance is straightforward but essential.
Care for Wearable Pump Designs
For wearable collection cups, take extra care with the inner silicone pieces and seals. Ensure they are completely dry before reassembly to maintain the closed system and proper suction. Avoid getting water in the motor connection ports of the cups.
Maintaining Suction & Comfort
Clean valves and membranes are the heart of good suction. A worn or milk-clogged valve will drastically reduce efficiency, forcing you to use higher, less comfortable suction levels. Regular cleaning ensures the adjustable multiple suction modes and levels on pumps like the S21 work as intended, providing effective, comfortable milk removal.
When to Replace Parts
Even with perfect cleaning, parts wear out. Follow this general guideline:
| Part | Replacement Frequency | Signs of Wear |
|---|---|---|
| Duckbill/Flap Valves | Every 4-8 weeks | Loss of suction, visible tears, stretching |
| Backflow Protectors | Every 3-6 months | Cloudiness, cracks, milk in tubing |
| Silicone Flanges/Cushions | Every 2-3 months | Loss of elasticity, stickiness, tears |
| Tubing | As needed | Milk residue inside, cracks, poor fit |
Common Cleaning Mistakes to Avoid
Steer clear of these pitfalls to ensure your routine is truly effective.
- Not Fully Disassembling: Every single piece that can be taken apart must be. Milk hides in the smallest spaces.
- Letting Parts Stay Damp: Storing slightly damp parts in a closed bag or container invites mold and bacteria. Air-dry completely.
- Using Harsh Cleaners or Bleach: These can degrade silicone and leave harmful residues. Stick to mild dish soap.
- Neglecting Your Cleaning Tools: Your wash basin and brush need regular cleaning and replacement too.
- Washing Dry Tubing: As stated, only wash tubing if milk enters it. Otherwise, let it air-dry.
Conclusion: A Clean Routine for Confident Feeding
Mastering how often to clean a breast pump boils down to a few key principles: clean milk-contact parts after every use (leveraging the fridge hack for sanity), sanitize when your baby's vulnerability requires it, and ensure everything is bone-dry before storage. This routine, while sometimes tedious, is a profound act of care—for your baby's health and for your own breastfeeding journey. When paired with reliable, well-designed equipment from trusted brands, it removes one major worry, allowing you to focus on the connection that feeding brings. You are doing an incredible job.
Frequently Asked Questions (FAQ)
Q: Can I just rinse my pump parts instead of washing them?
A: No. Rinsing only removes visible milk but does not eliminate the fats and proteins that bacteria feed on. Proper washing with soap and friction is required to break down and remove these residues after every use.
Q: How do I clean my breast pump tubing?
A: Only clean tubing if milk has backed into it. If so, rinse it thoroughly, then run a mixture of soapy water through it. Rinse until water runs clear. Hang it to air-dry completely—you can use a clean, dry paper towel to wick moisture through the tube. Never store it while damp.
Q: Is the dishwasher safe for my MomMed pump parts?
A: Yes, most MomMed pump parts that contact milk (flanges, valves, bottles, connectors) are top-rack dishwasher safe. Always refer to your specific product manual. Place small parts in a mesh bag. The external motor unit should never go in the dishwasher.
Q: My baby is 6 months old. Do I still need to sanitize daily?
A: For a healthy, full-term 6-month-old, daily sanitization is not a CDC requirement. A thorough daily washing with soap and water is sufficient. You may choose to sanitize weekly or as desired for extra peace of mind.
Q: What if I accidentally left my pump parts unwashed overnight?
A: Do not use them. Bacteria will have had ample time to grow. Wash the parts thoroughly with hot, soapy water, then sanitize them before the next use. If the parts were in a warm environment, consider replacing valves and membranes if they show any residue or odor you cannot remove.
Q: How does proper cleaning affect my milk supply?
A: Directly and significantly. Clogged or worn parts reduce suction efficiency, meaning your breast isn't fully emptied. Incomplete emptying signals your body to produce less milk. Clean, fully functional parts are essential for effective milk removal and maintaining a healthy supply.
Shop the MomMed collection at mommed.com for all your breastfeeding and pregnancy needs, from award-winning wearable pumps to essential replacement parts designed for safety and performance.