


Accueil
Pregnancy, Breastfeeding, and Pumping: The Ultimate Guide for Moms
Can You Soak Breast Pump Parts? A Comprehensive Guide to Safe Hygiene
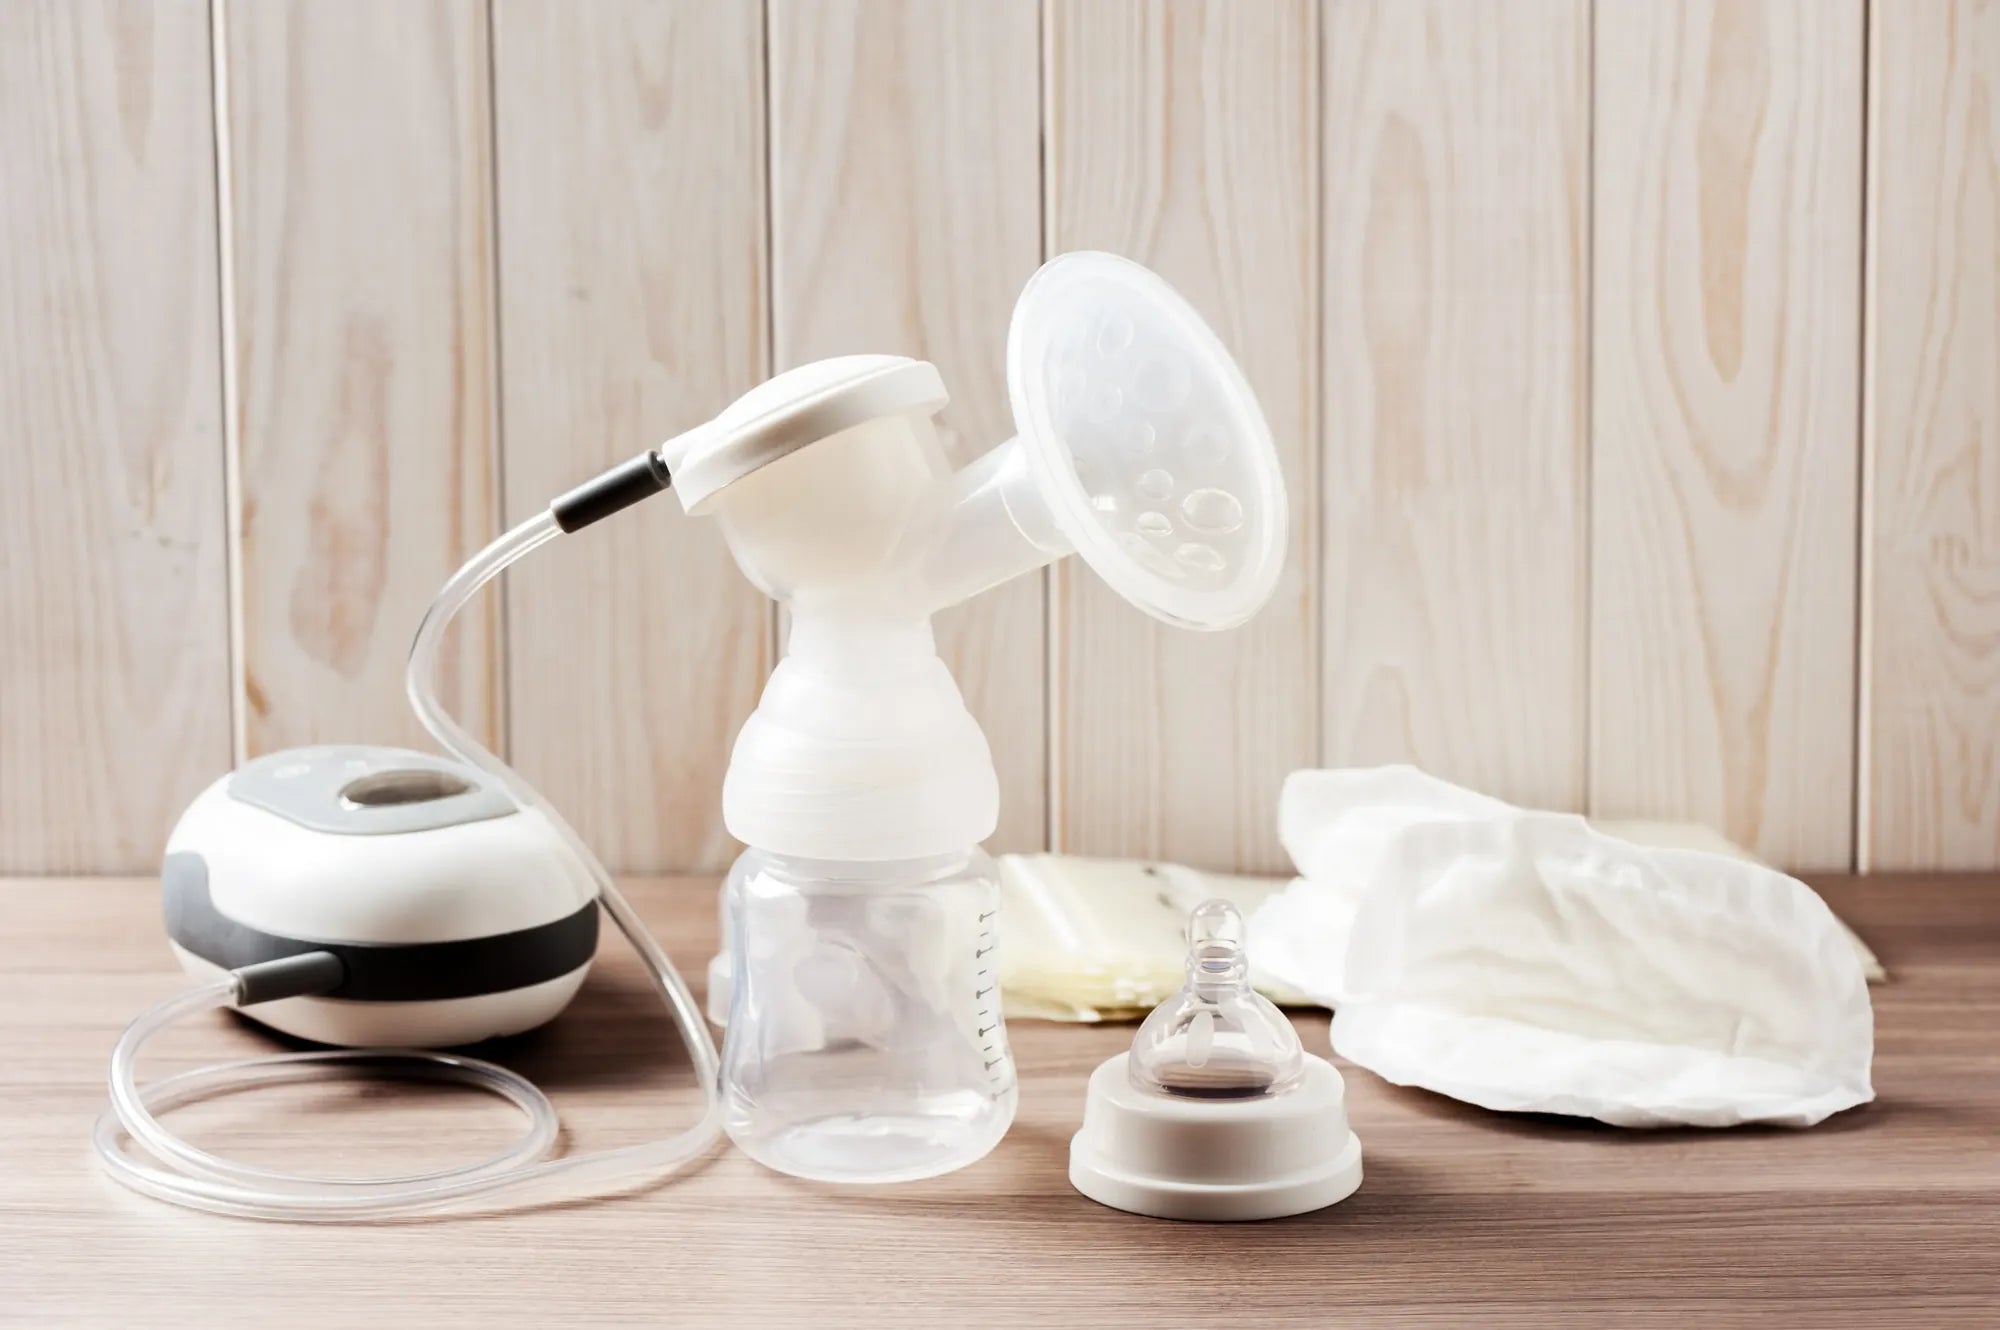
Can You Soak Breast Pump Parts? A Comprehensive Guide to Safe Hygiene
The Importance of Proper Breast Pump Hygiene
Maintaining impeccable breast pump hygiene is non-negotiable for your baby's health and your milk supply. Breast milk residue left on pump parts creates a perfect breeding ground for harmful bacteria, which can lead to infant illness or conditions like thrush. For mothers, contaminated parts are a leading contributor to mastitis and clogged ducts.
This brings us to a fundamental and common question for pumping parents: Can you soak breast pump parts? The answer is a definitive yes, but with critical caveats. Soaking is not just permissible; it's a recommended step in a thorough cleaning protocol when done correctly. This comprehensive guide will detail the safe, effective, and evidence-based methods for soaking your pump components, endorsed by major health authorities and lactation experts.
We will dissect the official recommendations, provide a fail-proof step-by-step soaking guide, and address material-specific care, particularly for modern pumps like those from MomMed, which utilize advanced, food-grade materials. By the end, you will have the confidence to integrate soaking into your routine, ensuring every pumping session supports your and your baby's well-being.
Understanding the Basics: What Health Authorities Recommend
The Centers for Disease Control and Prevention (CDC) sets the gold standard for breast pump cleaning. Their guidelines form the backbone of safe practice. The core principle is that all pump parts that contact breast milk (flanges, valves, membranes, connectors, bottles) must be cleaned after every use to prevent bacterial growth.
The CDC's process involves three key actions: Rinsing, Washing, and Sanitizing. Rinsing removes immediate milk residue. Washing, which often incorporates a soaking step, uses detergent to remove milk fat and protein. Sanitizing, an extra step for certain situations, further reduces germs. It's crucial to understand that soaking is a component of the washing phase, not a replacement for it.
The Food and Drug Administration (FDA), which regulates breast pumps as medical devices, echoes this emphasis on cleanliness. They advise users to follow the manufacturer's instructions, which universally include detailed cleaning steps. These guidelines are designed to protect vulnerable infants, especially those who are premature or have compromised immune systems, though they apply to all babies.
Ignoring these protocols risks introducing pathogens like Staphylococcus, E. coli, and Candida (which causes thrush) into your baby's feeding system. Adhering to a disciplined routine of soaking and washing is your first line of defense.
The Role of Soaking in Your Cleaning Routine
Soaking serves a specific and vital purpose: it loosens tenacious milk fat (lipids) and proteins that can adhere to pump parts, particularly in small, complex components like duckbill valves or backflow protectors. Simply scrubbing under running water often fails to dislodge this microscopic film.
By submerging parts in warm, soapy water, you allow the detergent to break down the fats and proteins through emulsification. This pre-treatment makes the subsequent hand-washing or rinsing dramatically more effective, ensuring no residue remains to harbor bacteria. Think of soaking as a pre-wash soak for your pump parts, similar to soaking a greasy baking dish.
For many parents, especially those managing multiple pumping sessions a day, soaking also offers a practical pause. You can safely submerge parts in a dedicated basin immediately after pumping, allowing you to tend to your baby before returning to complete the full wash cycle. This prevents dried, hardened milk that is far more difficult to clean.
However, soaking is not a "set it and forget it" solution. It is an active step with defined parameters for time, temperature, and solution, which we will outline next. Proper execution is key to making soaking a benefit, not a bacterial risk.
The Right Way to Soak Breast Pump Parts: A Step-by-Step Guide
Executing the soaking process correctly is essential for it to be effective and safe. This step-by-step guide follows CDC recommendations and best practices from lactation consultants.
Step-by-Step Soaking Instructions
1. Disassemble Completely: Immediately after pumping, take apart every single component that came into contact with breast milk. This includes flanges, valves, membranes, connectors, backflow protectors, and bottles. Refer to your pump's manual to ensure you don't miss any small parts.
2. Perform a Preliminary Rinse: Rinse each part under cool or lukewarm running water. Avoid hot water initially, as it can cause milk proteins to denature and stick to the plastic, akin to cooking an egg onto the surface.
3. Prepare a Dedicated Cleaning Basin: Use a clean wash basin, bowl, or container used only for cleaning infant feeding items. Never use the kitchen sink itself, as it harbors more germs than a toilet seat. The basin should be washed with hot, soapy water and air-dried between uses.
4. Create the Soaking Solution: Fill the basin with warm water and add a small amount of mild, fragrance-free dish soap. The water should be comfortably warm to the touch, not scalding hot. Excessive heat can degrade plastics and silicone over time.
5. Submerge and Soak: Place all rinsed parts into the soapy water, ensuring they are fully submerged. Use a clean plate or lid to weigh down floating parts if necessary. The optimal soaking duration is 5 to 15 minutes. This is sufficient to loosen residue without allowing bacteria in the water to proliferate.
6. Wash Thoroughly After Soaking: After soaking, scrub each part with a clean brush dedicated to pump parts. Pay special attention to crevices, threads, and valves. Rinse thoroughly under running water to remove all soap suds. Air-dry completely on a clean dish rack or paper towel.
What to Use (and What to Avoid) for Soaking
Recommended:
Use a mild, fragrance-free dish soap (e.g., Dawn Free & Clear, Seventh Generation Free & Clear). These are effective at cutting through milk fat without leaving harsh chemical residues or fragrances that could irritate your baby's digestive system or your skin.
Strictly Avoid:
Do not use bleach, antibacterial soaps, harsh detergents, or dishwasher pods for routine soaking. Bleach is for periodic sanitizing only and can damage parts if used incorrectly. Avoid using vinegar as a regular cleaning agent; it is not a detergent and does not effectively remove milk fat. Never use scalding hot water, as it can warp plastic and degrade silicone seals prematurely.
Special Considerations for Different Materials
Breast pump parts are made from various materials, each requiring slightly different care. Understanding these differences ensures the longevity of your pump and the safety of your milk.
Most modern pumps, including all MomMed pumps, utilize BPA-free, food-grade silicone and plastics. This silicone, used in valves, membranes, and flange cushions, is prized for its durability, flexibility, and stain resistance. It is inherently safer and more resilient than older plastic compounds but still requires gentle care.
For these high-quality silicone parts, the warm, soapy water soak is ideal. It effectively cleans without causing the micro-abrasions that harsh scrubbing can create. Silicone is also generally heat-tolerant, making it compatible with steam sanitizing methods after washing. However, prolonged exposure to extreme heat or direct sunlight can cause it to become brittle over time.
Hard plastics (like polypropylene in flanges and bottles) are also safe for soaking. The primary risk with plastics is degradation from high heat or harsh chemicals, which is why warm—not boiling—water and mild soap are prescribed. Always check your manufacturer's manual for any specific material warnings.
Caring for Your Wearable Pump Parts
Wearable pumps like the MomMed S21 Double Wearable Breast Pump introduce unique components such as collection cups, internal motors (shielded by backflow protectors), and more complex tubing pathways. The principle remains the same: every part that contacts milk must be cleaned after each use.
For wearable pumps, disassembly is critical. Soak all milk-contact parts—collection cups, valves, silicone diaphragms, and lids—following the standard procedure. The beauty of pumps like the MomMed S21 is their design for easy disassembly and reassembly, making the soaking and cleaning process straightforward despite the advanced technology.
Pay extra attention to the backflow protection membranes. These small silicone pieces are your pump motor's first defense against moisture and milk. A quick soak helps ensure no milk residue compromises their integrity, which is essential for maintaining the pump's hospital-grade suction and ultra-quiet operation.
Soaking vs. Other Cleaning Methods: A Detailed Comparison
Soaking is one tool in your cleaning arsenal. Understanding how it compares to other methods helps you build a comprehensive routine. The table below outlines the primary methods.
| Method | Best For | Frequency | Key Notes & Precautions |
|---|---|---|---|
| Soaking in Soapy Water | Daily cleaning; loosening milk fat and protein residue. | After every use. | Essential preparatory step for effective washing. Use a dedicated basin and mild soap. Soak for 5-15 mins only. |
| Hand Washing with Brush | Primary cleaning after soaking. Scrubbing crevices. | After every use, post-soak. | Use a brush reserved for pump parts. Rinse all soap off thoroughly. Air-dry completely. |
| Dishwasher (Top Rack) | Convenience, if manufacturer-approved. | As desired, if parts are dishwasher-safe. | Check your manual. Hot water and detergent may degrade parts faster. Still requires disassembly. |
| Steam Sanitizing (Bags/Microwave) | Sanitizing, not cleaning. Extra germ reduction. | Once daily, or as recommended for preterm/ill infants. | MUST clean via soaking/washing first. Steam cannot remove milk film. Effective for killing germs on already-clean items. |
| Boiling Water Sanitizing | Sanitizing without a steam bag. | Periodically, or as needed. | Submerge clean parts in rolling boil for 5 minutes. Can accelerate wear on plastics and silicone. Not recommended for daily use. |
| Bleach Soak (Sanitizing) | High-level disinfection, e.g., after illness or mold concern. | Only as needed, not for routine. | Follow CDC ratio: 2 tsp bleach per gallon of water. Soak clean parts for 2+ minutes. Rinse EXTENSIVELY with water afterward. |
As the table illustrates, soaking is the foundational practice that enables other methods, like sanitizing, to be effective. You cannot sanitize a dirty part.
Frequently Asked Questions (FAQ) on Soaking Pump Parts
Q: Can I soak breast pump parts in vinegar to remove hard water stains or milk film?
A: It is not recommended for regular cleaning. While a diluted white vinegar solution can help with mineral deposits, it is not a detergent and does not effectively break down milk fat. For milk residue, mild soap is superior. For hard water stains, a occasional vinegar soak (followed by a thorough soap wash) may be used, but consult your manual first.
Q: How long is too long to soak parts? Can I soak them all day for convenience?
A: Soaking for hours is counterproductive and unsafe. Stagnant, soapy water with milk residue becomes a bacterial soup after 30-60 minutes. The CDC warns against allowing parts to sit in water for extended periods. Limit soaking to the 5-15 minute pre-wash phase. If you need to delay washing, rinse the parts and let them air-dry, then wash properly later.
Q: Can I soak all the parts together, including the tiny valves?
A: Yes, you can soak them together for efficiency. To prevent losing small pieces like valves or membranes, place them inside a dedicated mesh laundry bag (used only for this purpose) or a closed-top colander before submerging them in the basin. This keeps them contained and makes retrieval easy.
Q: Do I need to sanitize after every soak and wash?
A: For healthy, full-term infants, thorough washing (which includes soaking and scrubbing) after each use is generally sufficient. The CDC recommends sanitizing at least once daily to be extra cautious. However, sanitizing is crucial daily if your baby is under 3 months old, was premature, has a weakened immune system, or if you are dealing with thrush or mastitis.
Q: Is it safe to soak pump parts if I have a silicone allergy?
A: Medical-grade silicone is generally hypoallergenic and inert. True silicone allergies are exceptionally rare. Most reactions are to residues left by soaps, fragrances, or lotions. Using a fragrance-free, hypoallergenic soap and rinsing parts thoroughly should prevent any reaction. If concerns persist, consult your allergist.
Building a Sustainable and Safe Pumping Routine
Knowing can you soak breast pump parts is the first step; integrating it into a manageable routine is the next. Consistency is more sustainable than perfection. Establish a simple station: a dedicated basin, brush, and drying rack next to your sink. Having multiple sets of parts (like extra flanges and valves) can be a game-changer, allowing you to soak and wash one set while using another.
Listen to your body and your baby. Proper pump hygiene directly impacts milk supply by preventing clogs and infections. Ensuring a perfect flange fit, as achievable with MomMed's range of sizes, also supports efficiency and comfort, making the entire process—from pumping to cleaning—more seamless.
Remember, the goal is to reduce the bacterial load to a safe level, not to achieve a sterile environment. Your diligence in following these soaking and cleaning protocols provides a massive layer of protection, allowing you to pump with confidence wherever you are.
Empowerment Through Knowledge and the Right Tools
The question "Can you soak breast pump parts?" opens the door to a critical practice in infant feeding safety. Yes, you can and should soak them as a fundamental step in a rigorous cleaning routine. This guide has provided the evidence-based how and why, from CDC guidelines to material-specific care.
Your commitment to this process is a profound act of care. Pairing this knowledge with reliable, well-designed equipment makes the journey smoother. MomMed designs its products, like the S21 Wearable Pump with its easy-to-clean, BPA-free silicone parts, with the realities of a pumping parent's life in mind—prioritizing safety, comfort, and practicality.
Trust your diligence. You now possess the comprehensive information to protect your baby's health and your own. Let this confidence fuel your breastfeeding and pumping journey, knowing each clean part is a building block for your little one's well-being.
Ready to streamline your pumping routine with easy-to-clean, hospital-grade equipment? Shop the MomMed collection at mommed.com for all your breastfeeding and pregnancy needs, from wearable pumps and adjustable flanges to prenatal test kits and baby care essentials.